Home »
Android
How to Start/Create a New Project in Android Studio?
Android Studio | Create a New Project: In this tutorial, we will learn how to start (create) a new project in Android Studio – A step by step guide.
By Manu Jemini Last updated : June 06, 2023
If there is no project opened i.e., if you don't have a project opened, you need to create a new project in Android Studio. In this tutorial, you will learn to create a new project if you don't have one or you wish to create a new one.
Steps to Start/Create a New Project in Android Studio
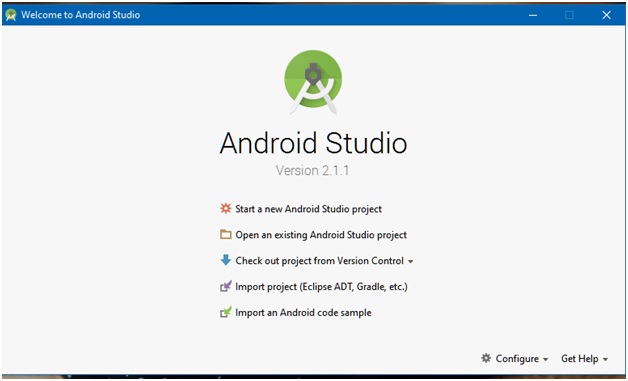
Step 1: The first step is to start the 'Android-Studio'. It will look like this.
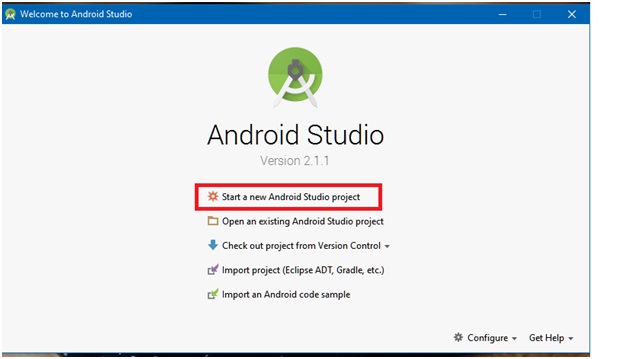
Step 2: Now to make a new project, clicks on start a new Android studio project.
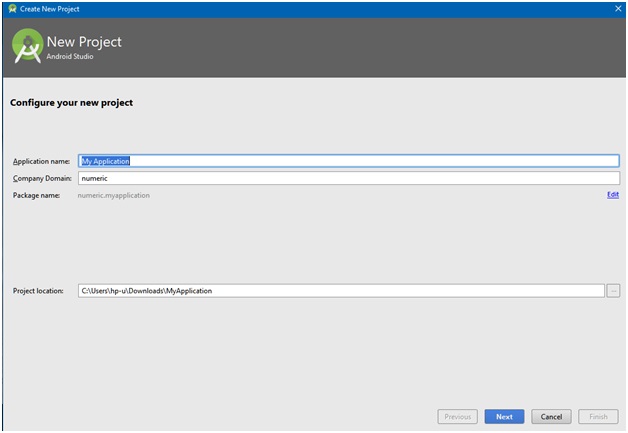
Step 3: Then the window will change and will ask you about the name of your Application and the company. You can also just click on → Next.
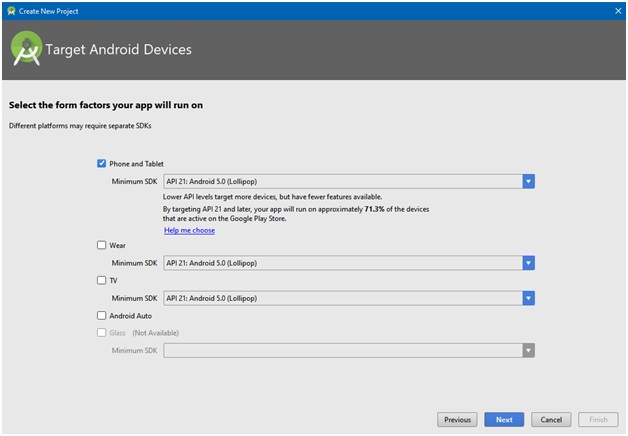
Step 4: This will lead you to another window which will ask you about the different android version and compatibility of you app with them. Choose what you like and press next.
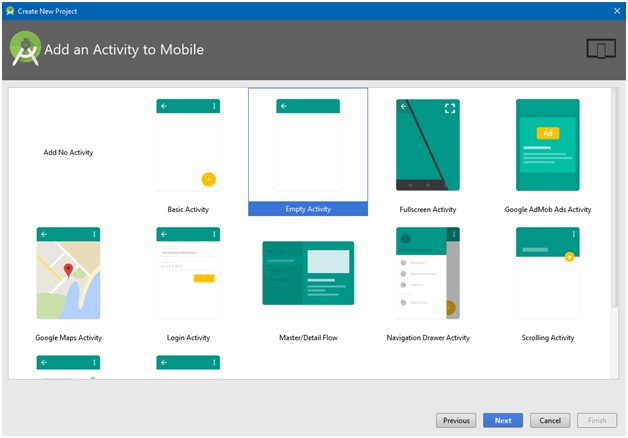
Step 5: Then comes to the activity, choose one from the many but if you are super beginner, choose an Empty activity and press next.
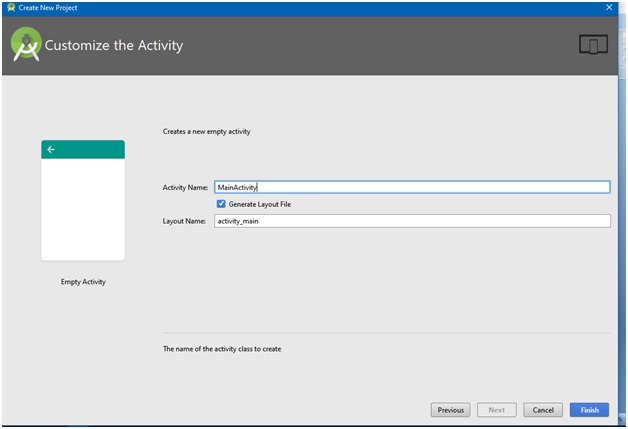
Step 6: At last give your activity a name or choose default by clicking → finish. You are all set and good to go.
Step 7: After your gradle build your studio will look something like this.
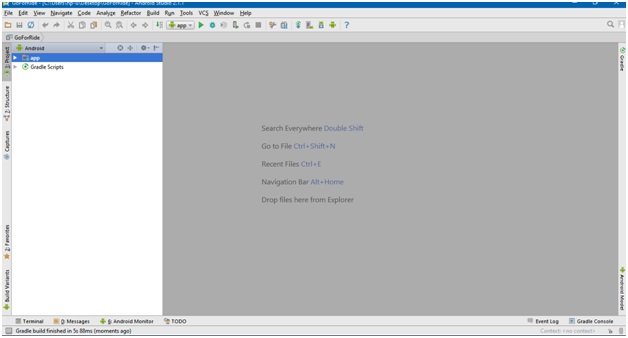
After this you are all set to work with your project with your main activity java file and layout.