Home »
Laravel
Migration in Laravel
Migration in Laravel: In this tutorial, we are going to discuss how to create a project and how to work with Laravel? Here, we will see how to create migration in Laravel?
Submitted by Bharti Parmar, on November 16, 2019
Before moving forward we need to know some facts about it,
- Resources: In these directories, we have already a js, lang, sass and view page. Where, sass and js file holf their uncompressed, unminified js, CSS, sass file.
- view/welcome.blade.php: Which is already defined in storage/framwork/views/.... (at the bottom of the page: path/welcome.blade.php)
Migration in Laravel
We are creating migration for creating databases or Database columns in PHPMyAdmin or any other database. After migration it will be automatically creating a database in PHPMyAdmin means we don't have to create again database and it's columns in PHPMyAdmin.
Here, we need to create a post-migration table for creating a table column to store, retrieve, edit and update the data, we can take columns name according to our requirement.
First, On CMD run this command for creating a migration table,
$ php artisan make:migration create_posts_table
Now, you can see this migration file in this path and open it: database/migration/create_posts_table
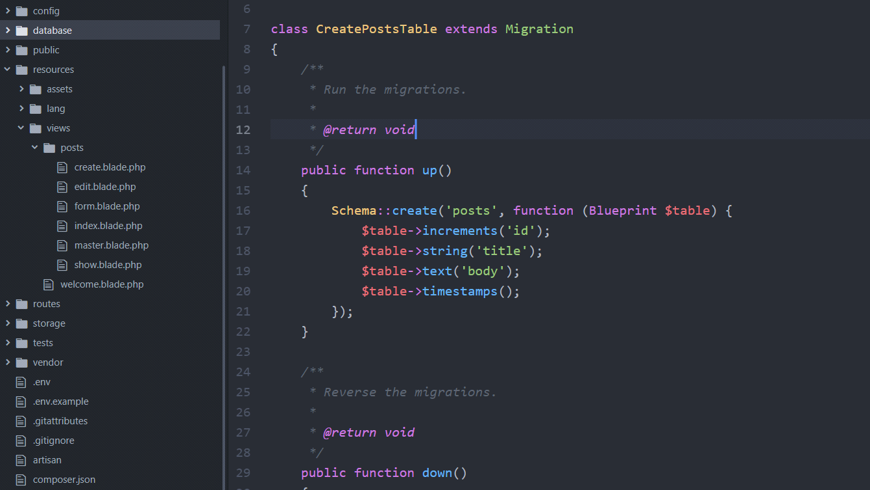
Here, I am declaring a column name in public function up{ // code }
Example: Code for create_posts_table
class CreatePostsTable extends Migration
{
    public function up()
    {
        Schema::create('posts', function (Blueprint $table) {
            $table->increments('id');
            $table->string('title');
            $table->text('body');
            $table->timestamps();
        });
    }
    public function down()
    {
        Schema::dropIfExists('posts');
    }
}
public function up{}: In this function, we are creating a database schema. It is the blueprint of the table that's why we are writing a Blueprint $table in the Schema.
public function down{}: In this function, dropIfExists means to drop the table "posts" if already exists.
Now, again on CMD: $ php artisan migrate
Here, this command is used to migrate the table columns successfully. Every migration table has two classes "UP" and "down".
- "UP" class: This method is used to set execution whenever the migration command is running.
- "Down" class: This method is used to set when you want to rollback after migration. You can say that it is the reverse of the "UP" method.
Now, after migration, we have a new Posts table in PHPMyAdmin's blog' DB table named 'posts'. Again Here, "Posts" is your table name from where you can store, retrieve, delete and update your data.
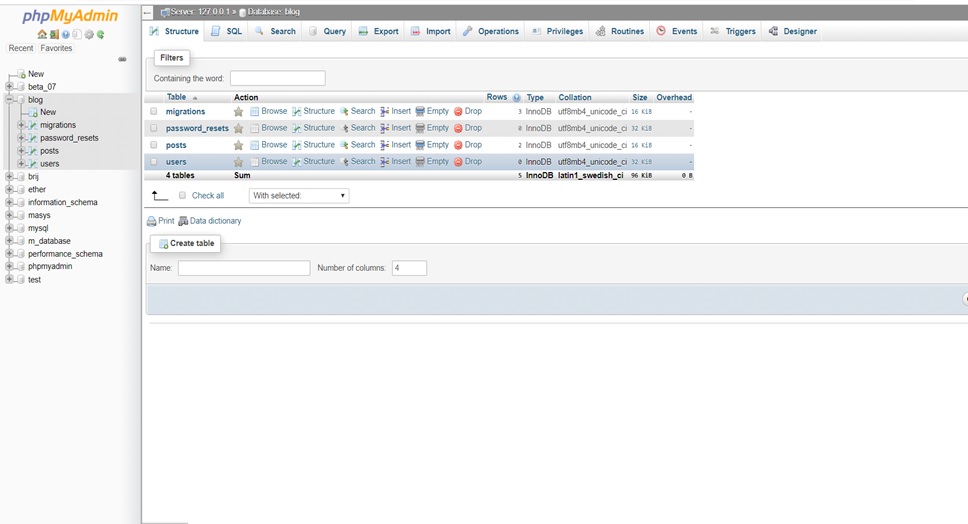
Now, here you can see after the migration database id automatically created in the PHPMyAdmin.
Conclusion:
In this article, we have learnt about the migration in Laravel. I hope you understood the concept, we will know more about it in the up coming articles. Have a great day! Happy Learning!
Advertisement
Advertisement