Home »
VueJS Tutorial
VueJS Installation on Windows and Mac OS
Learn how to install VueJS on Windows (with NodeJS and Visual Studio) and Mac operating system?
Submitted by Venkatesan C, on February 18, 2022
There are some prerequisites to create the VueJs project. First, we need to set up a development environment. Below mentioned tools need to be installed on our machine.
- NodeJS (to run JS apps locally in the machine)
- Visual studio code (preferred code editor)
The installation steps can be different, depending on the type of OS you are running in. In this tutorial, let's look at Windows and Mac OS installations, and have a look at how a Vue application is created.
Install VueJS on Windows
Since we have to have NodeJs and VsCode installed on our machine, to develop and run the VueJS application. Let's install NodeJs and Visual studio code first in our machine.
NodeJS Installation
Download the NodeJS from https://nodejs.org/en/. Download the LTS version.
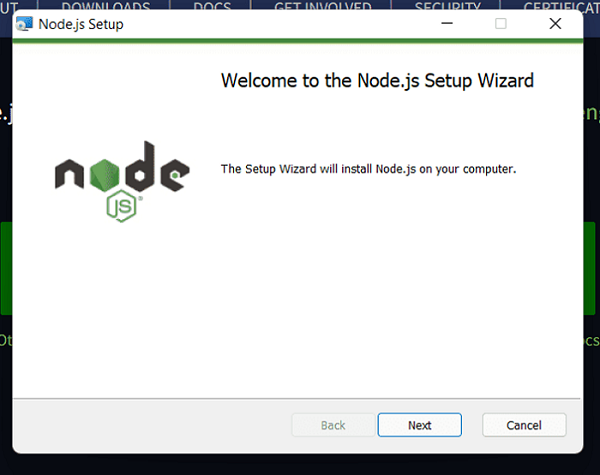
Double click the NodeJS package, then follow the steps as below,
1) Click next
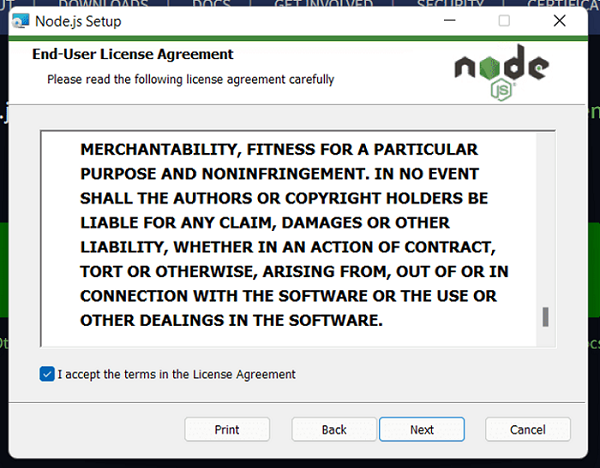
2) Accept the agreements and click next.
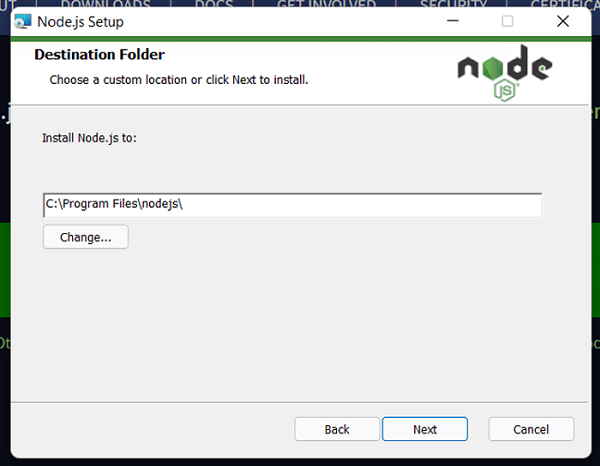
3) Click next.
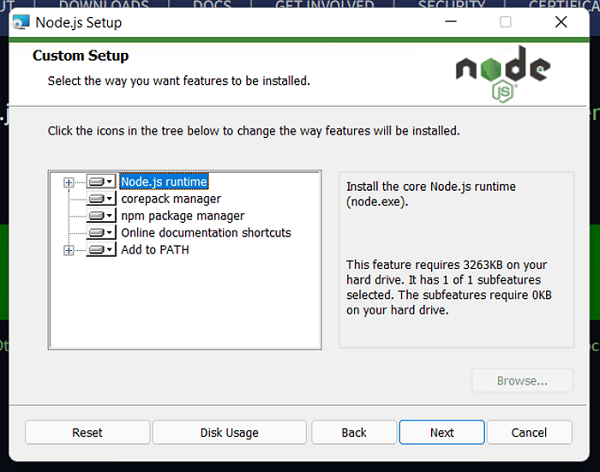
4) Click next.
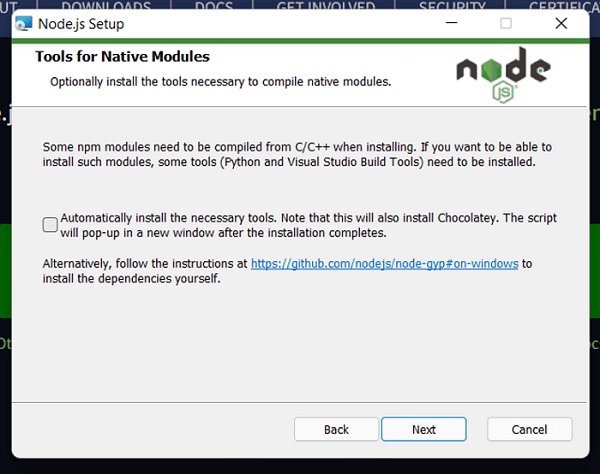
5) Make sure the checkbox isn't checked, since it will install chocolatey package if it's left checked. Then click next
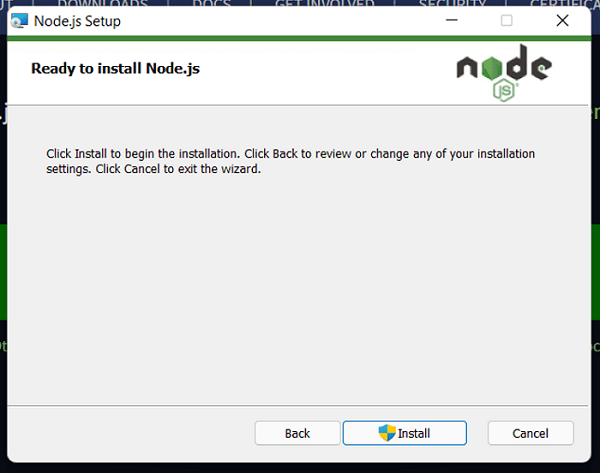
6) Click install.
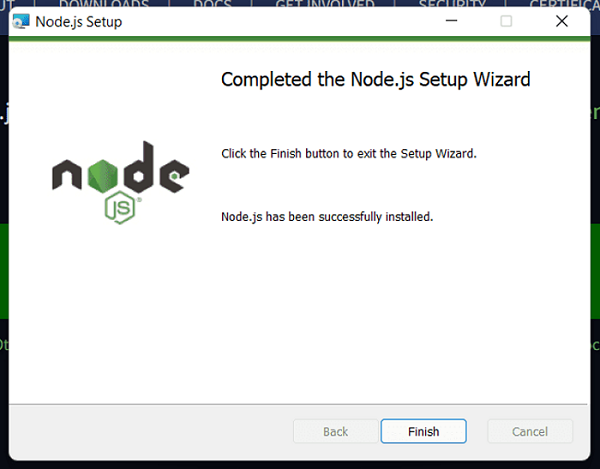
7) Click finish.
Now the node js will be installed on your machine, to check whether it's installed or not, run the following command, checking the versions of node and npm.
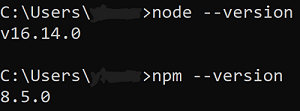
The versions need not be exactly the same as above, as long as it outputs some version, everything is fine.
VS Code installation
Download Visual studio code from https://code.visualstudio.com/ . Double click the downloaded package and follow the steps given below,
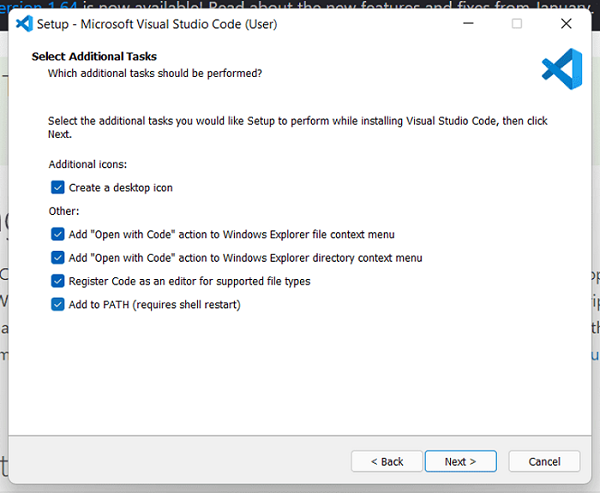
1) Accept the agreement and click next.

2) Make sure these checkboxes are checked, since it will become handy in some cases.
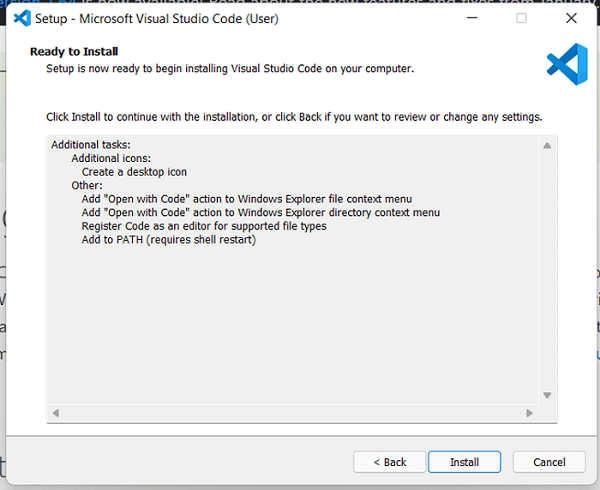
3) Click install.
4) Click finish.

Install VueJS on Mac OS
NodeJS Installation
Download the NodeJS from https://nodejs.org/en/. Download the LTS version.
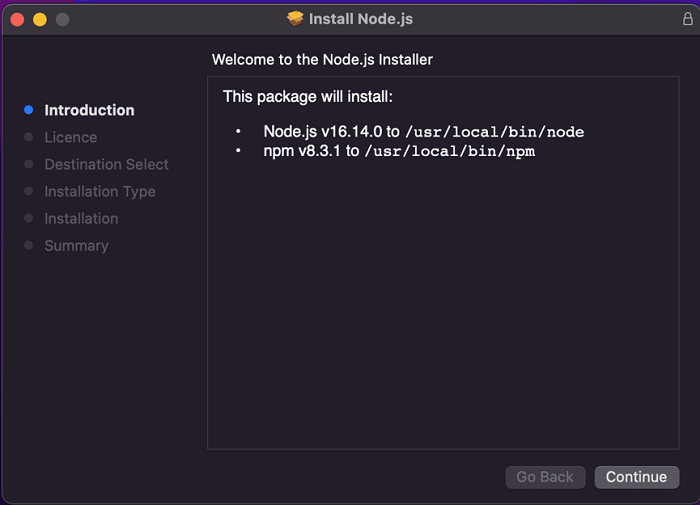
Double click the NodeJS package, the follow the steps as below,
1) Click continue.
2) Click continue.
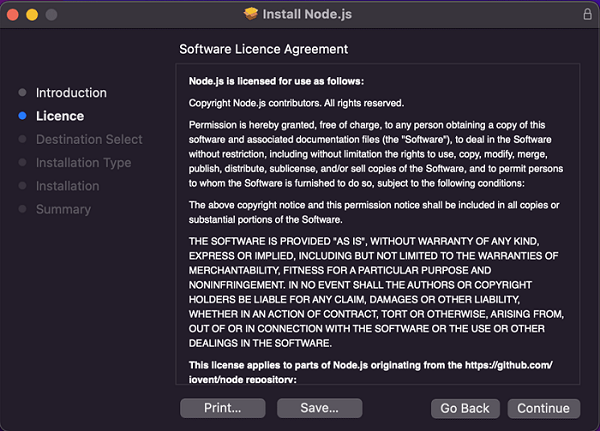
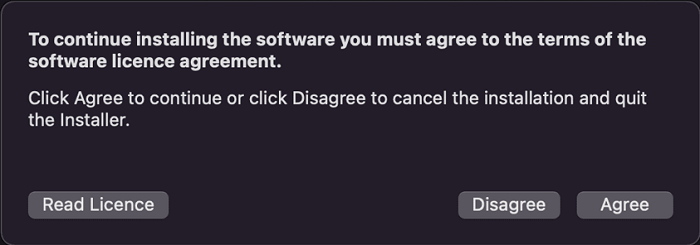
3) Agree to the agreement.
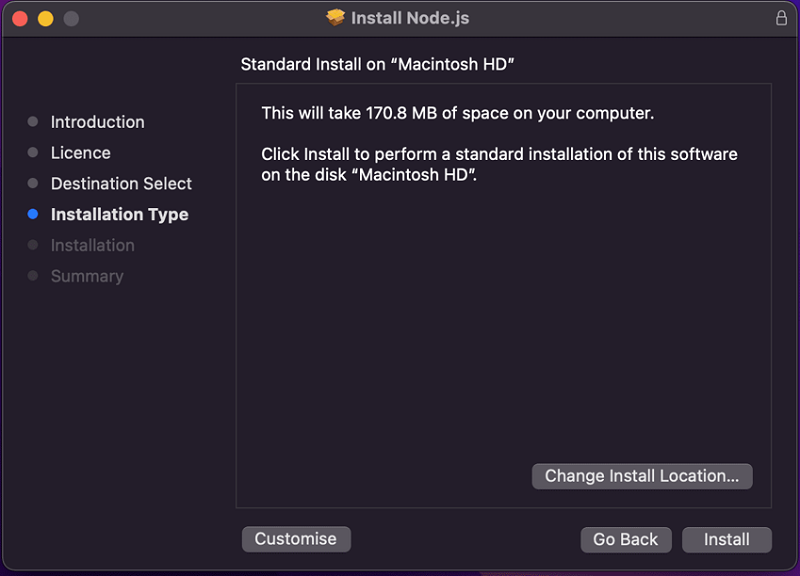
4) If you want to change the install location, click change install location and click install.
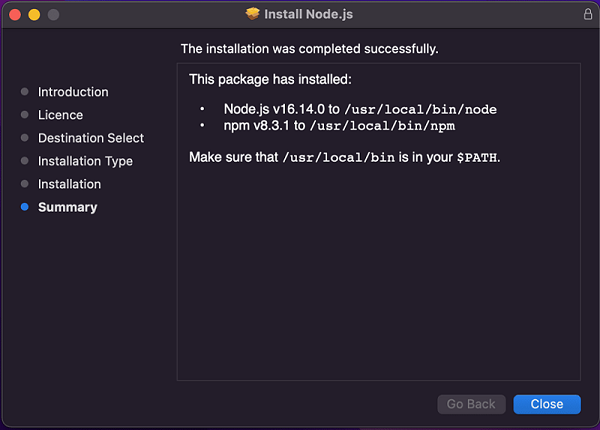
5) Once the installation is complete, click close.
VS Code Installation
Download Visual studio code from https://code.visualstudio.com/. Double click the downloaded package, the visual studio will open.
VS Code Setup
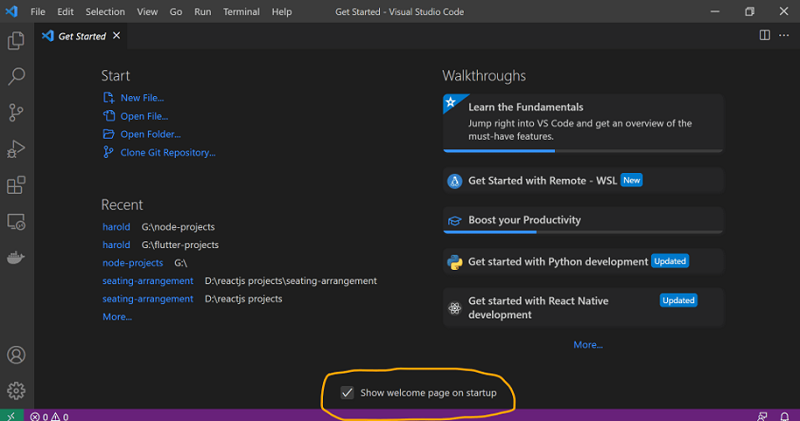
Once you open the Visual studio code, the screen might look something like this.If you want the get started window not to appear anymore, make sure to uncheck the "show the welcome page on startup".
Let's look at a couple of plugins that help to code Vue better. Plugins are available in the sidebar which look like 4 square grids, they are,
1) Volar
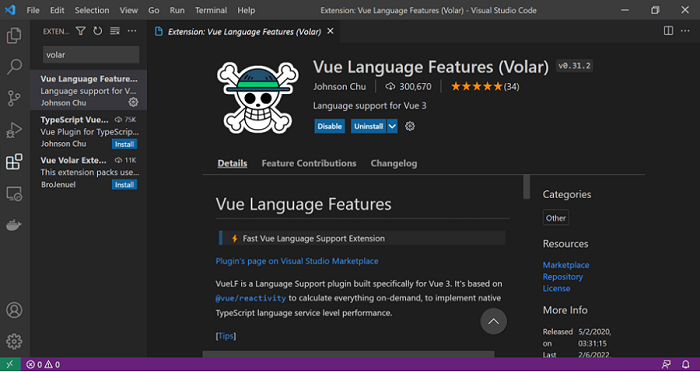
2) Vetur

These plugins provide code snippets that can help to code faster, boosting productivity.
Since we have set out a code editor, let's take a look at how we can add Vue to our project.
There are four ways to create a Vue project, they are,
- CDN package
- Npm
- Vue-cli
- Vite
1) CDN
By simply adding the CDN link to a script tag, you can have a Vue set up, up, and running. However, it's not recommended to use this approach to build large applications and for a real-time development.
<script src="https://unpkg.com/Vue@3"></script>
This approach is recommended only to add Vue to an existing legacy project or for prototyping purposes.
2) NPM
In the project folder, you can add the Vue by simply running this command.
npm install Vue@next
This will install Vue 3 into the project, this is a preferred approach over CDN for building large scale applications.
3) Vue-cli
Vue-cli is a command line build tool that helps us to rapidly develop VueJs applications with preconfigured settings that are common when developing a Vue application.
You can install Vue-cli globally in your system by running the following command.

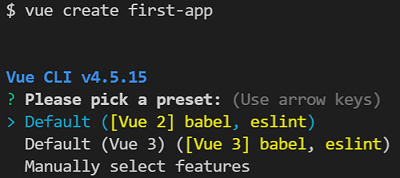
Once the Vue-cli is added globally, now you can create Vue applications using Vue-cli by running the following command.
As you can see it provides us some options like whether to install presets like Vue 2 or Vue 3 based projects with babel and eslint options. You can also manually select the features that you might need.
Once everything is done, you will be prompted to run the below commands, to run the application.
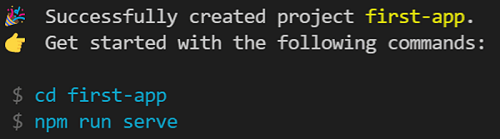
Let's run these commands and look at the output.
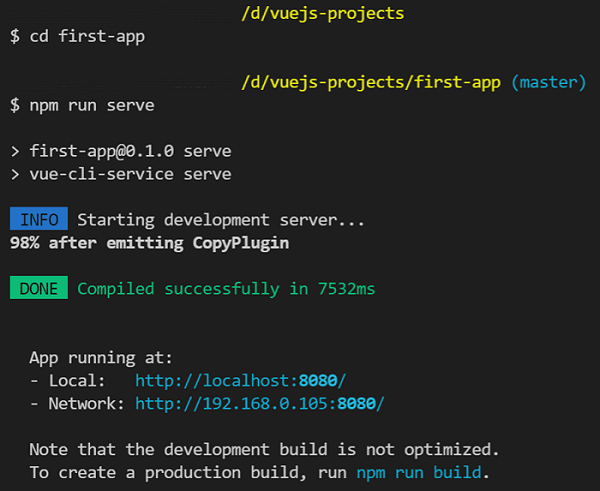
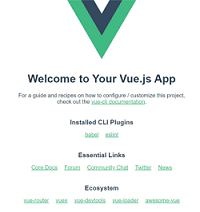
The application is running at http://localhost:8080/, you can view the application in browser with this URL. The output will be like the one given below.
4) Vite
Vite is also a build tool like Vue-cli but this is much faster providing an amazing development experience, with HMR (hot module replacement) and much more optimized features.
This is the recommended way to create not just Vue applications, but also other applications of other frameworks like react, svelte, lit, preact etc.
Let's look at the steps to create a Vite based Vue application.
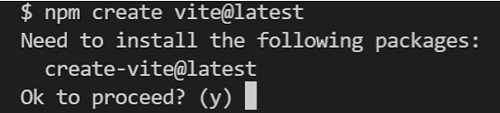
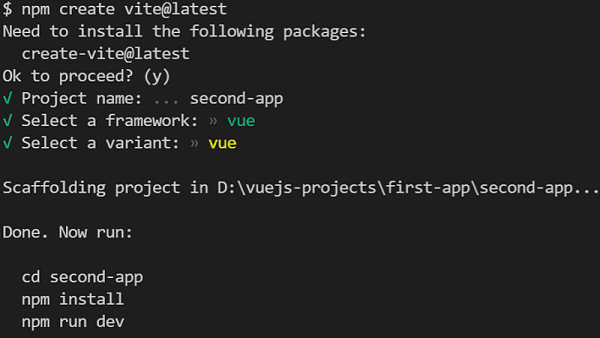
Run the following command, since we run Vite for the first time it prompts us for permission to install create-vite@latest package which comes with the Vite.
1) Just Enter since (y) is the default option.
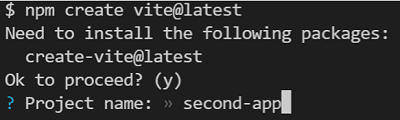
2) Enter the project name.
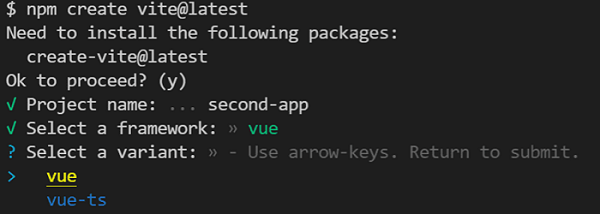
3) Select the framework, in our case, it's Vue.

4) Select a variant which means whether we want to code in js or ts, choose Vue for JS.
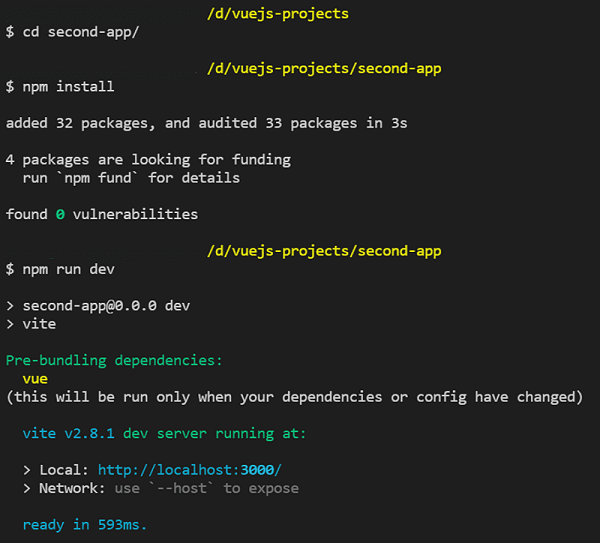
5) Once the project creation is complete. It asks us to run the following three commands,
6) Let's run these commands and look at the output.
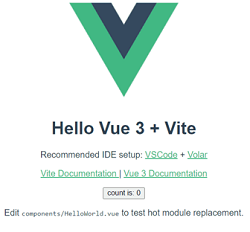
- Note the difference in speeds when creating applications with Vue-cli and Vite. Vite is far superior in this case. It quickly provides the structure, ready to code and performant development experience.
- It's not just that Vite spins a dev server faster, a few of the very good things about Vite are HMR and it's bundle size. It quickly updates the application in case of changes, which is better than the Vue-cli's hot reloading. The bundle size is dramatically reduced when using Vite.
Vite's output
With Vite's output we have reached the end of this article. In the next article, let's discuss the folder structure of VueJs application. Hope you had a great reading.
Advertisement
Advertisement