Home »
CSS
How to clear floats (clearfix) using CSS?
CSS | Clear Floats (Clearfix): In this tutorial, we are going to learn about the clearfix in CSS – Here, we will learn how we can clear floats of the elements using CSS.
By Anjali Singh Last updated : July 10, 2023
Introduction
Dealing with various elements on a website or web page can sometimes prove to create many problems hence one should be aware of many properties, tricks or ways to cope with those problems. We do not want our website or web page to appear as shabby or unresponsive to the users, therefore fixing every problem or issue becomes highly important. Although it is quite acceptable that one can not know all the properties involved in website or web page development, therefore one must create a habit of looking up for things whenever in doubt or is unsure as to what to be done to solve a particular problem. This article can help many such websites or web page developers out there to tackle such problems and also help them to learn something that they might not have known before or may have known but have forgotten.
Clearing floats (clearfix) using CSS
As said in the earlier section that dealing with various elements can prove to be very challenging, therefore this article revolves around one such aspect of the elements that we come across regularly while developing a website or web page and you must be actively aware of this term as well, the term is floating. We use the floating property very often for the placement of various elements throughout our web page, for example, we set an element to float right, we set an image to float left and for various other purposes. But we all know what the floating property is used for right? So, how this article is going to help us? The question that must have hit you right now, for that keep on reading and you will finally understand the purpose of the article!
Solution
Sometimes we face a problem that many elements after a floating will tend to flow around it. If you have not to face this kind of problem yet then you might in the future. So how do we fix this problem? Well, the answer is clearfix. clearfix is a CSS property that is used or implied to resolve particularly this kind of problem. This property or method is very easy to implement as well.
CSS Clear Floats (Clearfix) Example
There are times when we have the elements who are taller than the elements containing it, therefore to solve this problem we use overflow: auto and add it to the containing element.
Syntax
Element{
    overflow:auto;
}
Example to clear floats (clearfix) using CSS
<!DOCTYPE html>

<html>

<head>
    <style>
        div {
            border: 5px solid #ccc;
            padding: 5px;
        }

        .clearfix {
            overflow: auto;
        }

        .img {
            float: right;
        }
    </style>
</head>

<body>
    <div class="clearfix">
      <img class="img" src="img_forest.jpg" width="160" height="150"/>
      IncludeHelp is a learning wesbite for students. IncludeHelp is a learning wesbite for students.
      IncludeHelp is a learning wesbite for students.
    </div>
</body>

</html>
Output
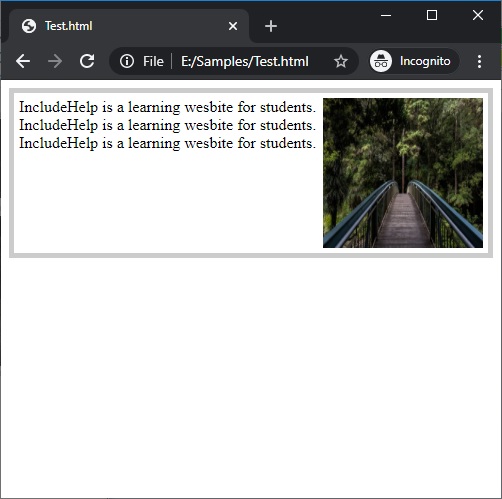
In the above example, the image doesn't overflow its outside container.
Note: The overflow: auto will only work well as long as you have control over your margins and paddings, therefore make sure that your margins and paddings are correct otherwise you might see scrollbars.
CSS Examples »
Advertisement
Advertisement