Home »
Node.js
Take a screenshot from a particular section of a page using Node.js and Puppeteer API
In this article, we will learn how we can take a screenshot of a particular section of a page using Node.js and Puppeteer API?
Submitted by Godwill Tetah, on May 29, 2019
In my last articles, I ended on how we can take a screenshot of the entire web page?
Today, we’ll see how we can take a screenshot of a particular section of a page, like a page logo, entire header, footer, ...
As we already know, Puppeteer is a Node library developed by Google and provides a high-level API for developers.
So let’s look at the second way how to get screenshots...
Note: You should have Node.js and puppeteer installed in your PC.
With Node.js and puppeteer already up and running, let’s get started.
Page.screenshot can take some parameters to help us perform complex tasks.
Note: fullpage option is set to false which.
What if I want to take the screenshot of a particular section of a web page?
We can achieve that with the clip option.
The clip option has x, y coordinates and equally width and height parameters.
Open a text editor and type the following code and save it with the file name app.js:
const viewPort = { width: 1280, height: 800 }
const options = {
  path: 'clipped_screenshot.png',  // set's the name of the output image'
  fullPage: false,
  // dimension to capture
  clip: {
    x: 0,   // x coordinate
    y: 0,   // y coordinate
    width: 1280,      // width
    height: 150   // height
  }
}
const puppeteer = require('puppeteer');

(async () => {                                    //asynchronous function
  const browser = await puppeteer.launch() // launch puppeteer
  const page = await browser.newPage() // function
  await page.setViewport(viewPort)
  await page.goto('file:///E:/HDD%2080%20GB%20DATA/CODING%20TUTORIALS%20AND%20CODES/go237.com/go237%20web/New%20design/index.html')
  await page.screenshot(options)                       // the option parameter is gotten from the const option seen above
  console.log ('done')// output console message when completion is done.
  await browser.close() // close browser
})();
NB: You can use any url of your choice,
In this example, I used a webpage that was already downloaded to facilitate the tutorial, but if it concerns a URL on the www, internet connection is required to navigate to the website/web page.
The file should be saved in your Node.js directory.
From the code above, we, first of all, include the puppeteer module,
- Launch a virtual browser
- Open a new page
- Navigate to the URL address
- Take a screenshot at the x, y coordinates and then finally close the browser
Run the code by initiating the file at the command prompt like a regular Node.js file.
Following our code, done will be printed out on the command line console when the conversion is complete.

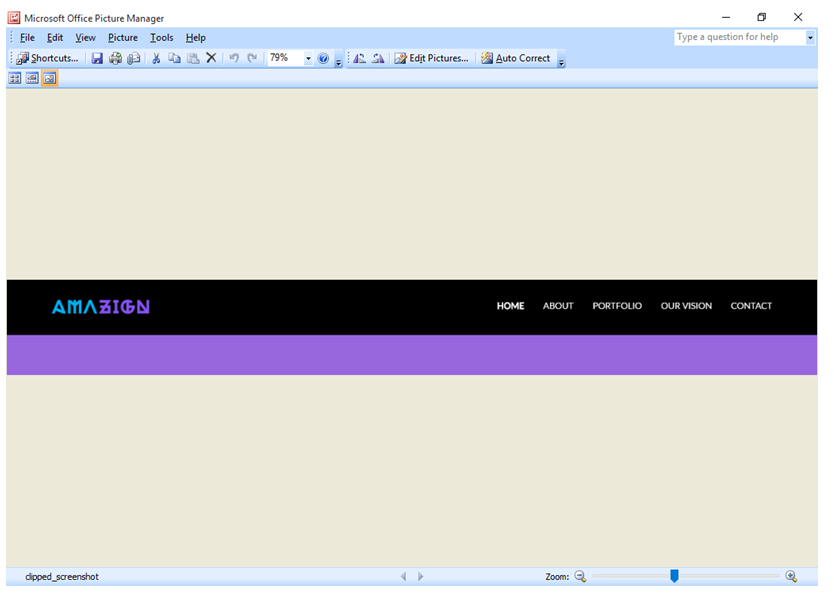
The Output image file is then stored in the default Node.js directory with name clipped_screenshot.png.
Output image file: