Home »
JavaScript
The JavaScript DOM
In this tutorial, we are going to learn about the JavaScript DOM (Document Object Mode) in JavaScript?
Submitted by Siddhant Verma, on October 15, 2019
Document Object Model
The Document Object Model built on the browser has an important role in building dynamic web applications.
Today we'll look at how we can inject content and change content on the web page using JavaScript DOM by building a very simple web application.
The HTML DOM can be accessed using JavaScript. This is usually called The DOM Programming Interface where the programming interface is the properties and methods of each object. The property represents a value that we can get or set by changing the HTML elements on the page method is some action we can perform like adding or deleting some HTML. We'll look at both by building a simple application.
JavaScript DOM Example
We'll build a simple To-Do application where we can add to-do items on the web page and mark them done by clicking them. Navigate to the directory of your choice and create an index.html file and add the following starter template,
<html lang="en">

<head>
    <meta charset="UTF-8">
    <meta name="viewport" content="width=device-width, initial-scale=1.0">
    <meta http-equiv="X-UA-Compatible" content="ie=edge">
    <link rel="stylesheet" href="styles.css">
    <title>DOM JS</title>

</head>

<body>
    <h1>To Do List</h1>
    <h3>A simple to do list using JavaScript DOM</h3>
    <p>Add items to the list using the add button and mark them done by clicking them</p>
    <div class="container">
        <br>
        <input type="text" placeholder="Type an item">
        <button id="btn">Add Item!</button>
        <ul class="list">

        </ul>
    </div>

    <script>
    </script>
</body>

</html>
Add some styles in the styles.css file,
body {
    background: whitesmoke;
}

h1 {
    margin: 5px auto;
    padding: 20px;
    color: brown;
    font-family: 'Franklin Gothic Medium', 'Arial Narrow', Arial, sans-serif;
    text-align: center;
}

p {
    text-align: center;
    color: black;
    font-family: Arial, Helvetica, sans-serif;
}

.container {
    max-width: 400px;
    padding-left: 400px;
    text-align: center;
}

h3 {
    text-align: center;
    color: blueviolet;
    font-family: 'Franklin Gothic Medium', 'Arial Narrow', Arial, sans-serif;
}

input {
    text-decoration: none;
    height: 40px;
    background: rgba(186, 217, 230, 0.521);
    border: 1px solid black;
    text-align: center;
    letter-spacing: 2px;
    font-family: monospace;
}

button {
    text-align: center;
    border: 2px solid black;
    border-radius: 5px;
    padding: 10px;
    background: steelblue;
    color: white;
    text-decoration: none;
    cursor: pointer;
}

ul {
    list-style-type: none;
}

.item {
    font-family: 'Segoe UI', Tahoma, Geneva, Verdana, sans-serif;
    font-size: 20px;
    cursor: pointer;
}

.done {
    text-decoration: line-through tomato;
}
HTML Output:
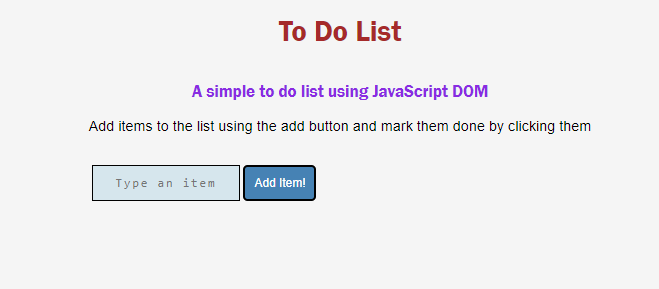
Alright now that we have some basic styles setup we'll break down our logic. We need a reference to our empty list, the <ul> tag in our HTML where we'll insert items. We also need a reference to the button that will allow us to add items to the list and one to the input field. So let's do this first,
<script>
	var addItem=document.querySelector('#btn');
	var list=document.querySelector('.list');
	var input=document.querySelector('input');
</script>
Now we need to attach a click type event listener to our button. You can read more about event listeners here. Inside the event listener, we'll get a reference to the text that the user has typed in the input field and then append that text on the list. We'll create some HTML using a template string and add that to our list using the innerHTML property.
<script>
	var input=document.querySelector('input');
	var newItem=input.value;
	var addItem=document.querySelector('#btn');
	var list=document.querySelector('.list');
	addItem.addEventListener('click',e=>{
		var newItem=document.querySelector('input').value;
		var html='<li><span class="item">${newItem}</span></li>';
		list.innerHTML+=html;
	})
</script>
For a better user interface, we must clear the input field since we have already appended that item on the page. We can do this by setting the input field's value to an empty string,
input.value = "";
HTML Output:
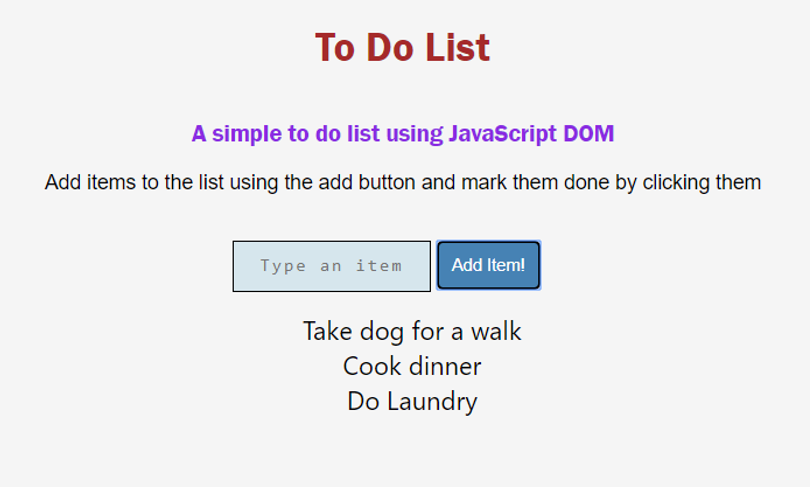
Great! Now we can append items to the list and we have done all this using JavaScript by manipulating the HTML DOM. Now the only thing left is to mark the items on the list as done by clicking them. Head over to the stylesheet and see that we have a class done which styles our span tags or the list items differently.
All we have to do is attach an event listener to our items and add this done class to these items. So let's do this,
list.addEventListener('click',e=>{
	//console.log(e.target.innerHTML);
	e.target.classList.toggle('done');
})
HTML Output:
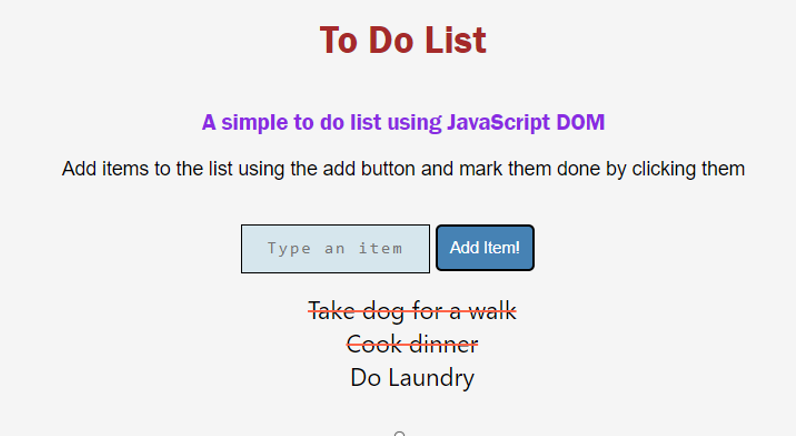
We're done now! Have a look at all the JavaScript that we have written to manipulate DOM,
<script>
	var input=document.querySelector('input');
	var addItem=document.querySelector('#btn');
	var list=document.querySelector('.list');
	addItem.addEventListener('click',e=>{
		var newItem=input.value;
		//console.log(newItem);
		var html='<li><span class="item">${newItem}</span></li>';
		list.innerHTML+=html;
		input.value="";
	})
	list.addEventListener('click',e=>{
		//console.log(e.target.innerHTML);
		e.target.classList.toggle('done');
	})
</script>
Voila! You can now mark the items done by clicking them and mark them undone again by clicking them. We have made this super simple application only by manipulating the DOM through JavaScript.
As an exercise you can add another feature to this app. Add a button which removes all the items from the list. Think, it’ll be a cakewalk to implement this now that you have a hang of JavaScript DOM.
Advertisement
Advertisement