Home »
CATIA Tutorial
CATIA – Create multiple holes on rectangular prism by utilizing transformation feature
Learn how to create multiple holes on rectangular prism by utilizing transformation feature in CATIA?
Submitted by Benisha Lama, on February 24, 2022
Transformation: Patterns toolbar is present in the Transformations toolbar. The Patterns toolbar comprises three tools that you can see below – Rectangular pattern, Circular pattern, and User-defined pattern. The options help create multiple copies or a feature or set of features swiftly.
Step 1: Start by opening the software, then proceed to open a new file then select the Part design.
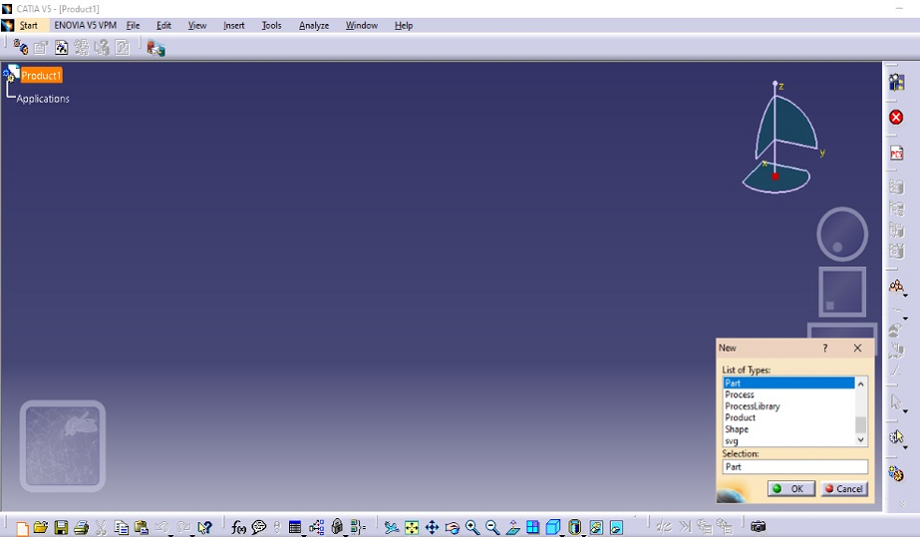
This screen will be displayed.
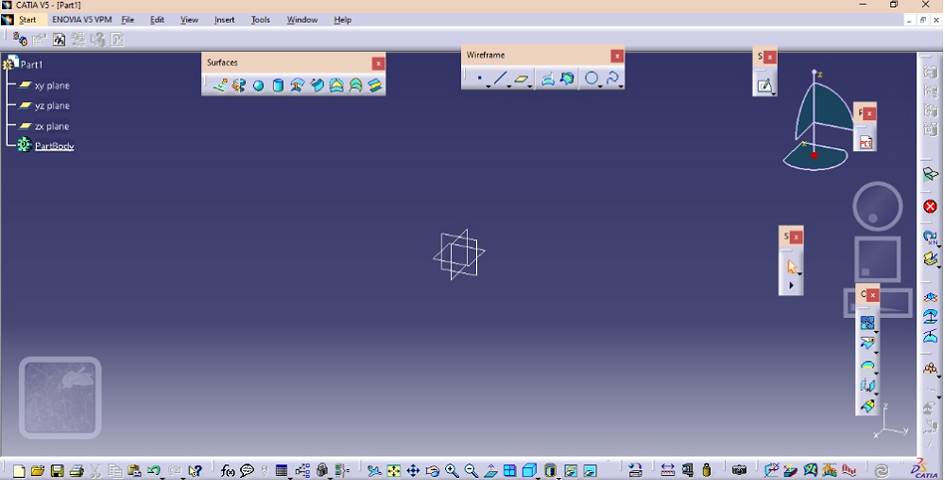
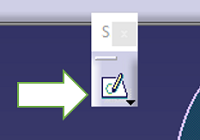
From there click on the sketch option after selecting the plane on which the design has to be created.
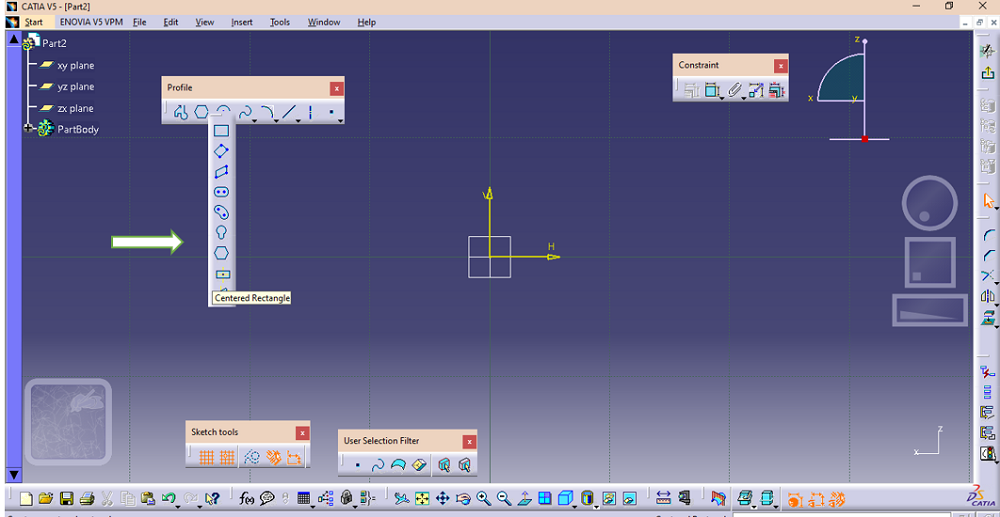
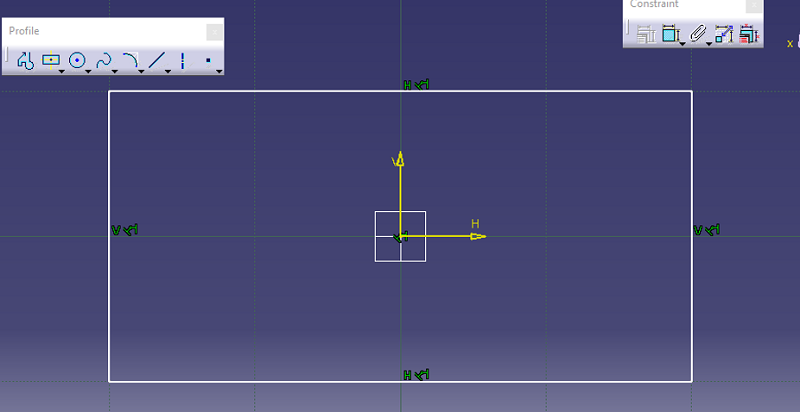
Step 2: In the sketch workbench, from the profile feature choose the centered rectangle from the option.
Step 3: Pick the location on which the rectangle has to be centered. Below it has been centered of the origin then extend from that.
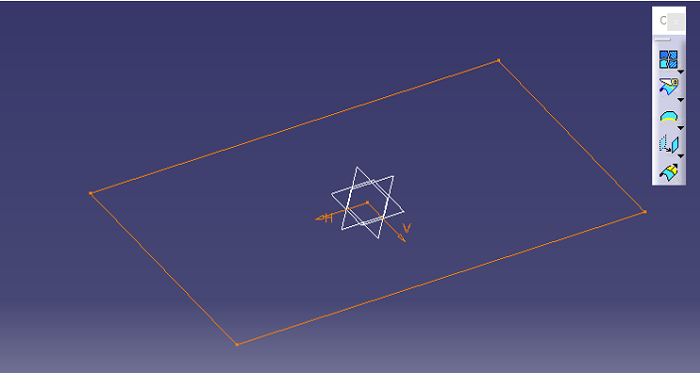
Step 4: Procced to constraint the rectangle by selecting the sides of the rectangle that needs to be constrained. After constraining the rectangle exit the sketch workbench.
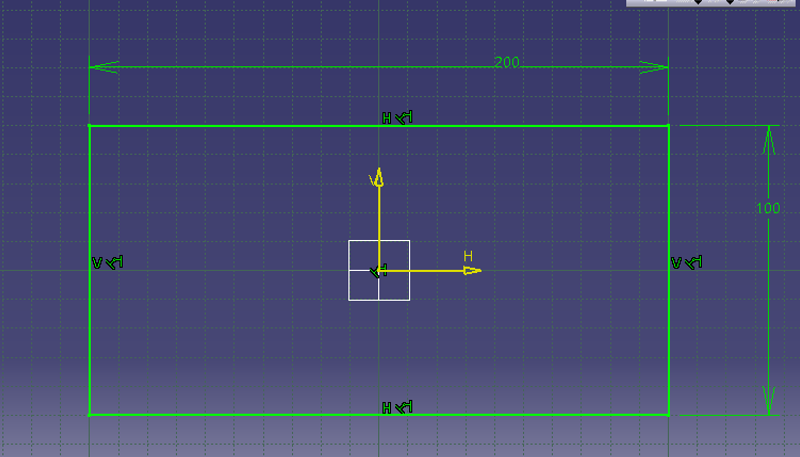
The rectangular sketch will look this way.
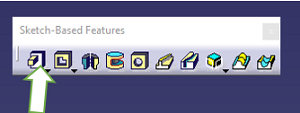
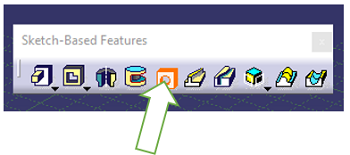
Step 5: From the sketch-based feature click on the PAD option to give a 3D dimension to the rectangle.
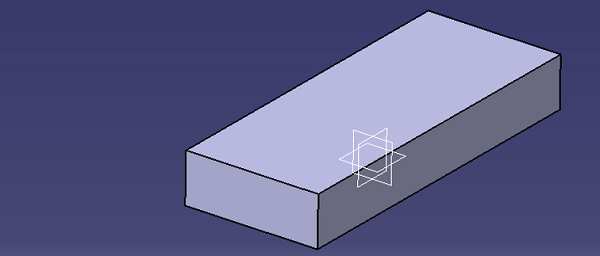
Step 6: Click on the Hole option and proceed by selecting the face of the rectangle on which the hole has to be created.
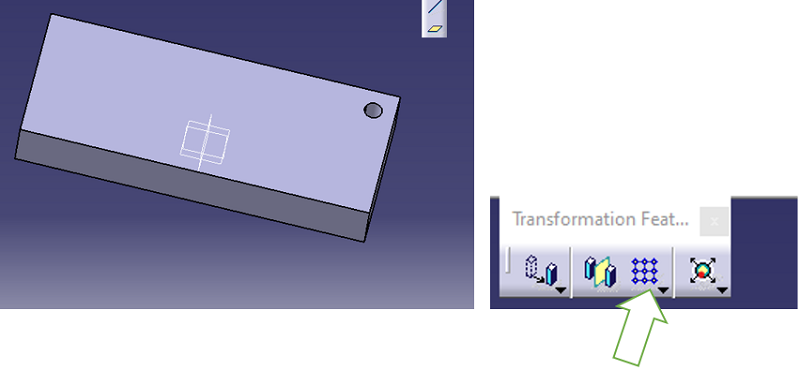
Step 7: Place the hole on the top right corner then set the desired diameter. Below the diameter taken is 10 mm and the hole is extended up to the last. Click OK.

Step 8: The hold has been created. To create multiple holes of the same size on the rectangular prism - choose the rectangular pattern option from the transformation feature.
It's better to utilize the transformation rather than using the hole option multiple times as the latter one is too time-consuming.
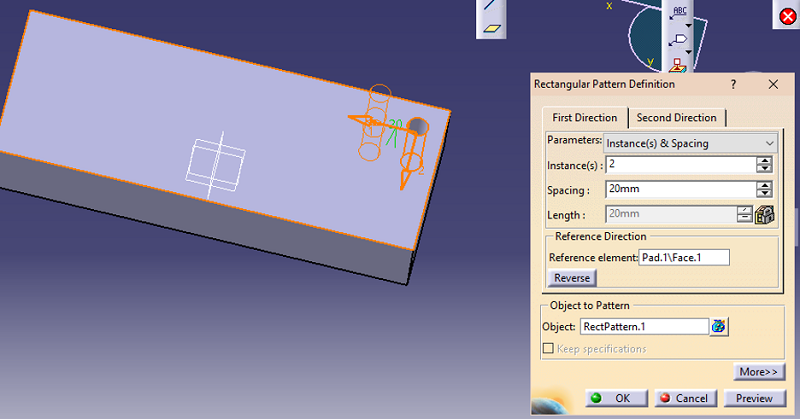
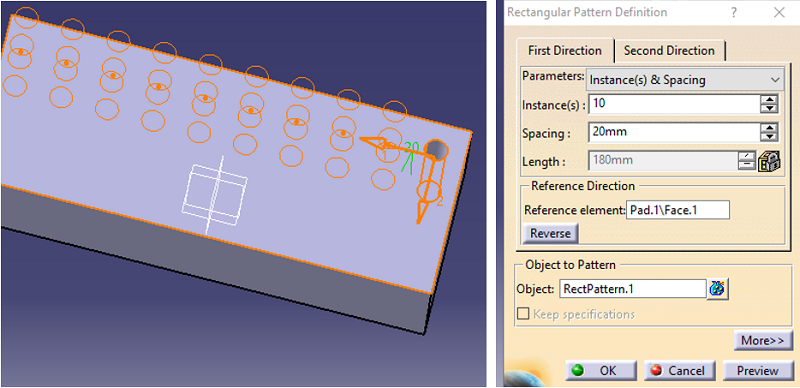
Step 9: From the Rectangular pattern dialog box, for the first direction set the desired instances along with the spacing.
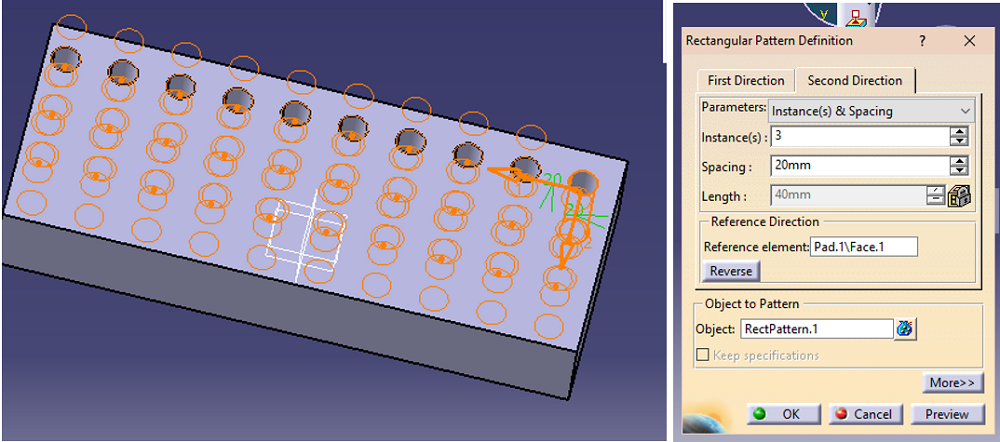
Step 10: As for this tutorial the whole rectangular prism has to be filled with multiple holes, from the rectangular pattern dialog box go to the second direction and increase the instances.
Step 11: Keep on increasing the instances along with reversing its direction until the whole rectangular prism is filled with holes.
Result:

Advertisement
Advertisement