Home »
CATIA Tutorial
CATIA – Create petri dish using extrude and fill feature
Learn how to create petri dish using extrude and fill feature in CATIA?
Submitted by Benisha Lama, on February 24, 2022
Extrude: This task shows you how to create a wall by extrusion. You can extrude sketches composed of lines, circles, projection of lines, and projection of circles. You can also extrude all kinds of opened profiles.
Fill: Select curves or surface edges to form a closed boundary. You can select a support surface for each curve or edge. In this case, continuity is assured between the fill surface and selected support surfaces.
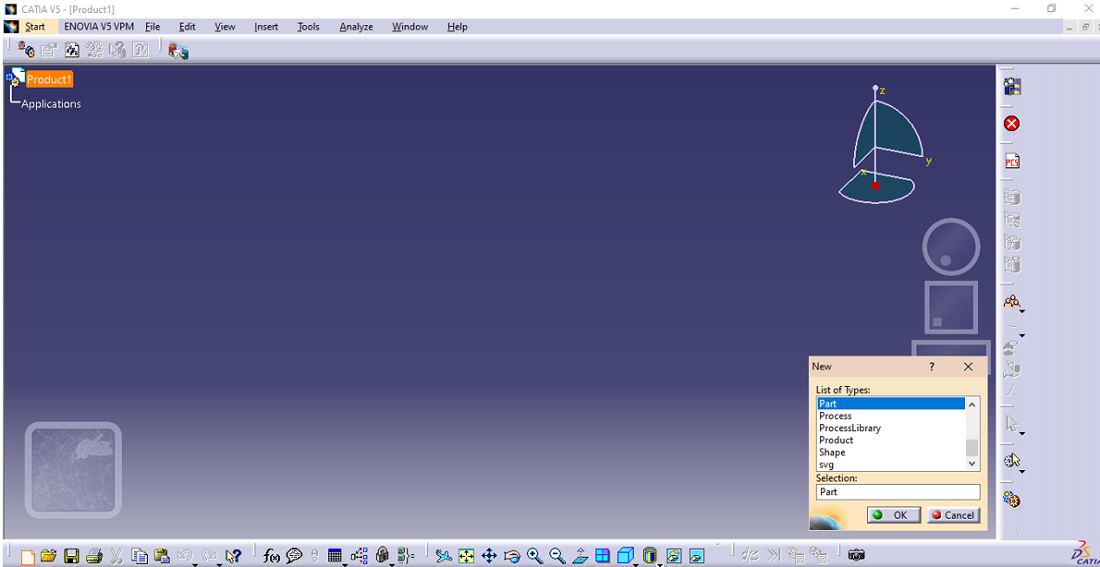
Step 1: Start by opening the software, then proceed to open a new file then select the Part design.
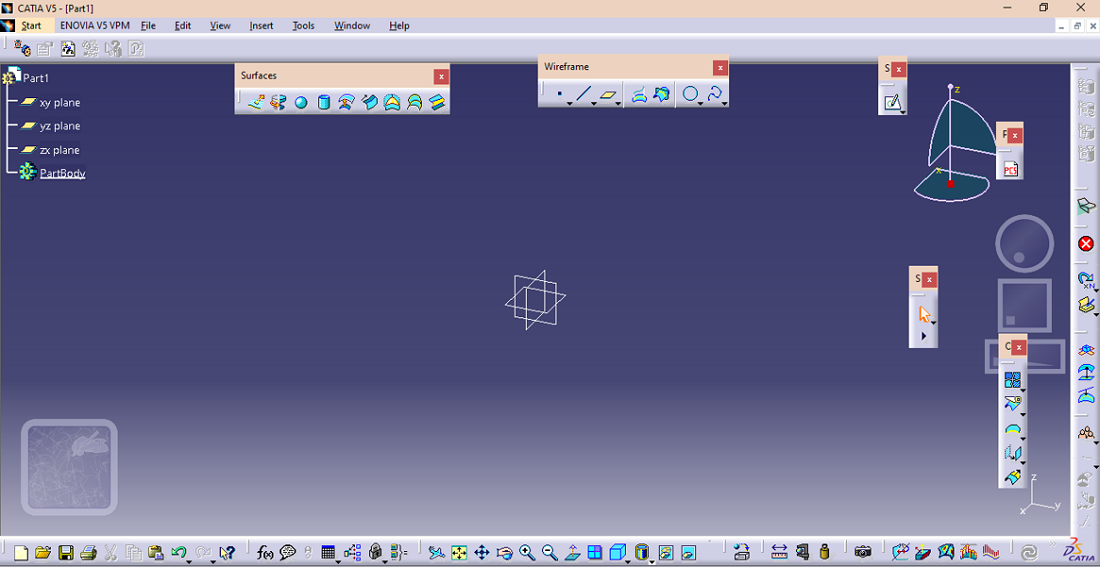
This screen will be displayed.
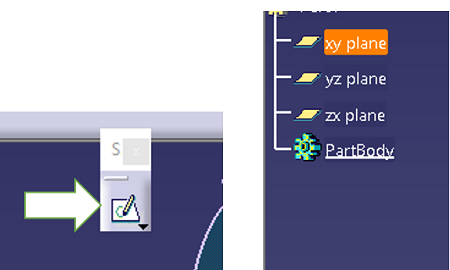
From there click on the sketch option after selecting the plane on which the design has to be created.
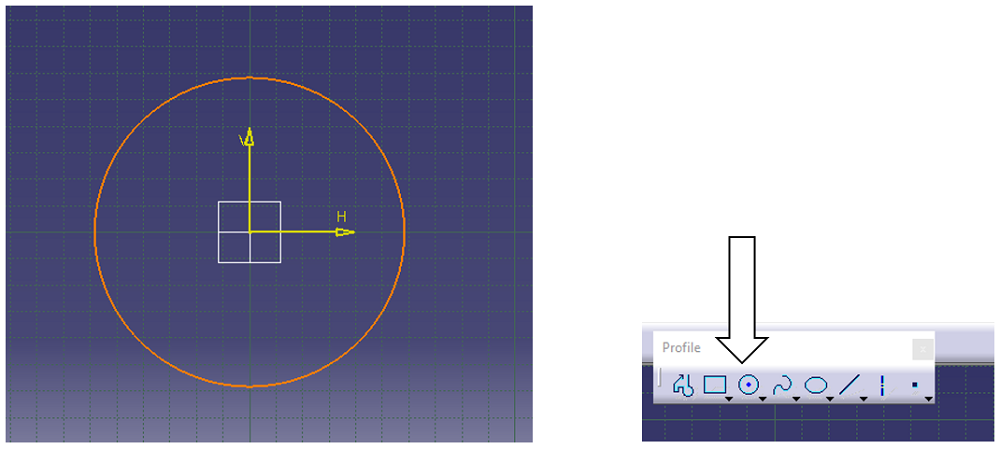
Step 2: From the profile option choose the circle and draw the circle on the sketch interface. There are different types of circle drawing options but choose the centered one as it's easier and hassle-free.
Step 3: Constraining the sketch is important. Proceed to constraint the sketch by selecting the y-axis and the circle then click on the constraint option.
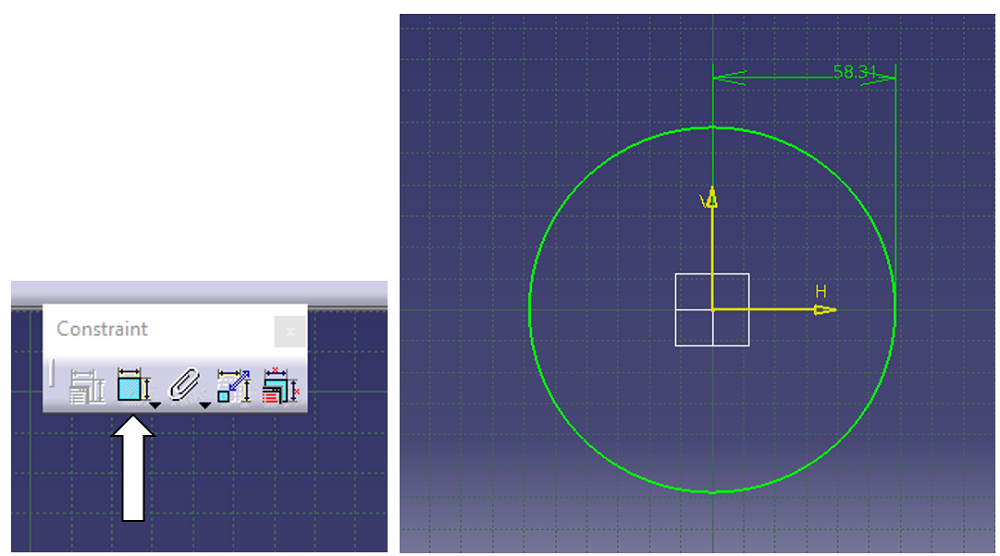
When the sketch is constrained, the lines will appear green.
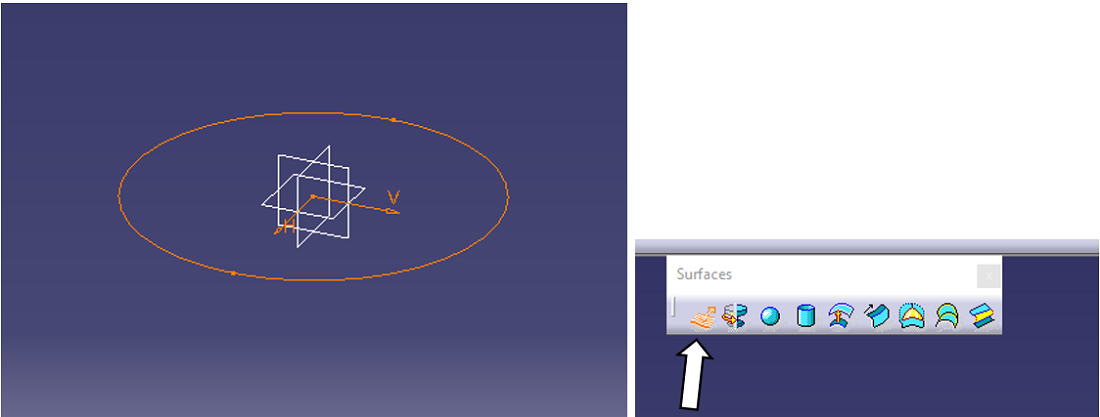
Step 4: Exit the sketch interface. The circle will look this way. Further from the surface dialog box choose to extrude option while selecting the circle.
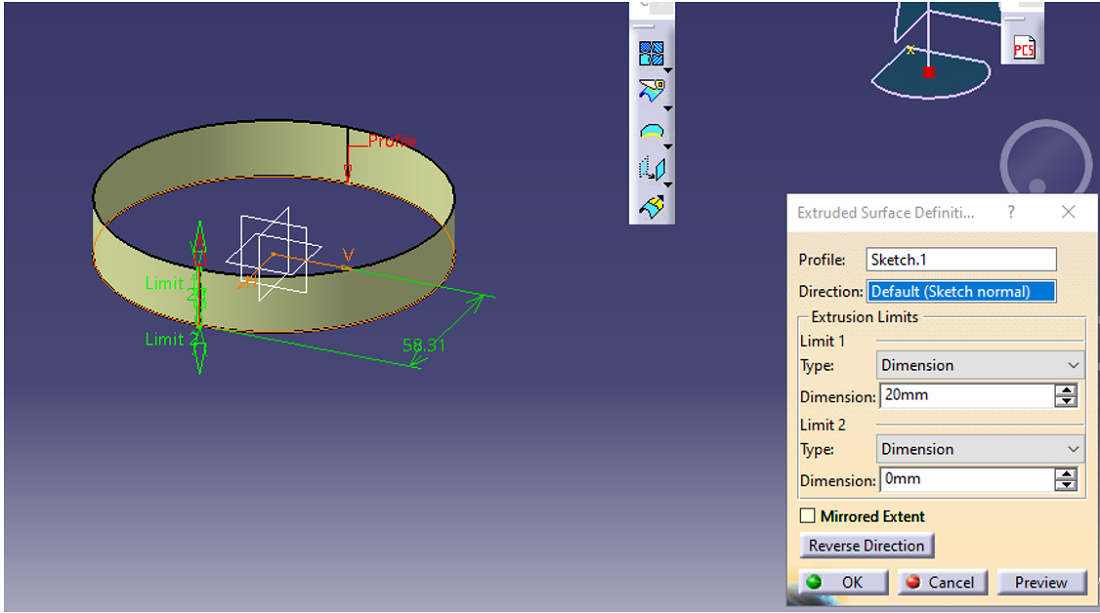
Step 5: The Circle will be extruded. From the extrude dialog box, the dimensions of the limits can be increased or decreased as per the requirements. Click on OK after setting the dimensions.
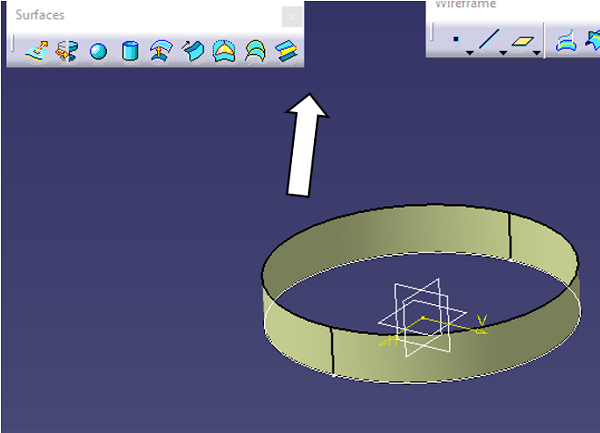
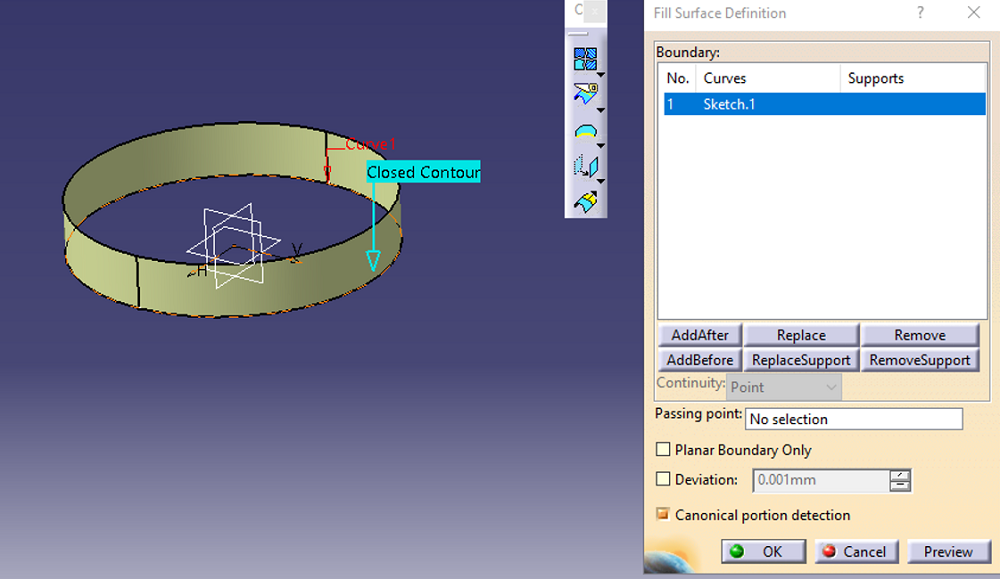
Step 6: To fill out the bottom of the extruded circle, from the surface dialog box select the option FILL.
Step 7: Fill surface dialog box will appear whereby the curve that needs to be filled has to be selected. It can either be the upper one or the lower one. After selecting click Ok to proceed further.
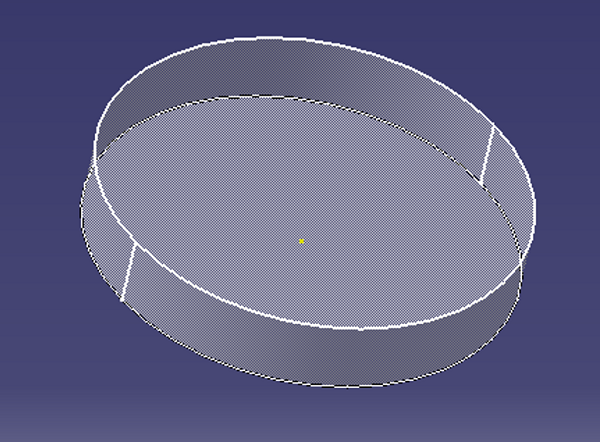
Step 8: The petri dish has been created.

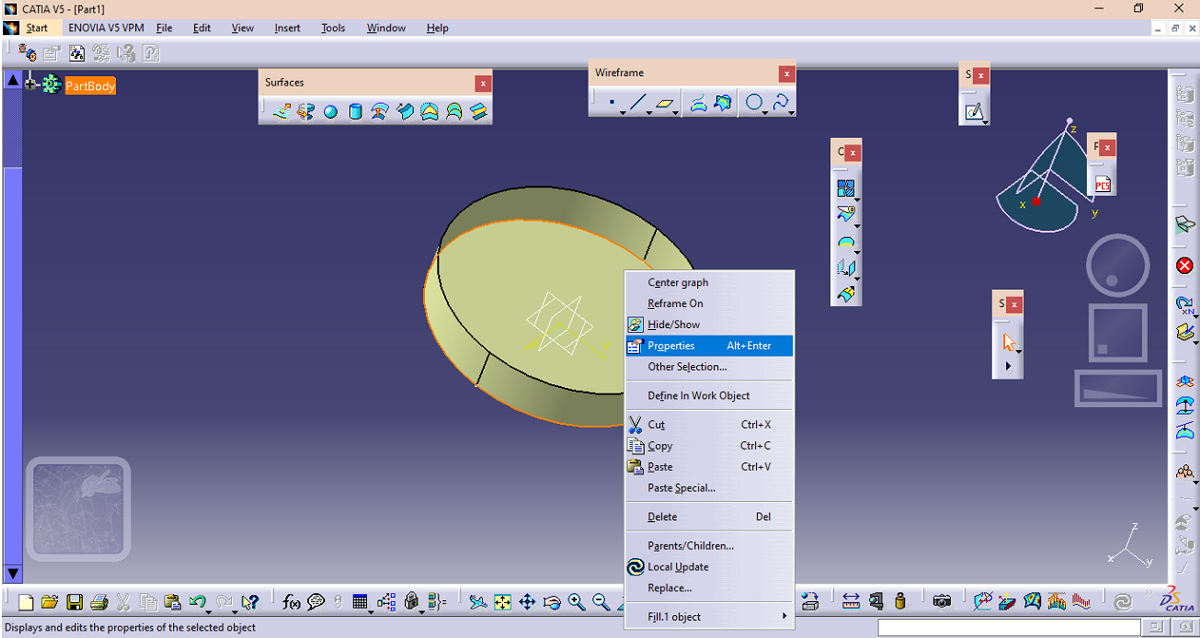
Step 9: To change the color of the petri dish right click on the model from there on click on properties.
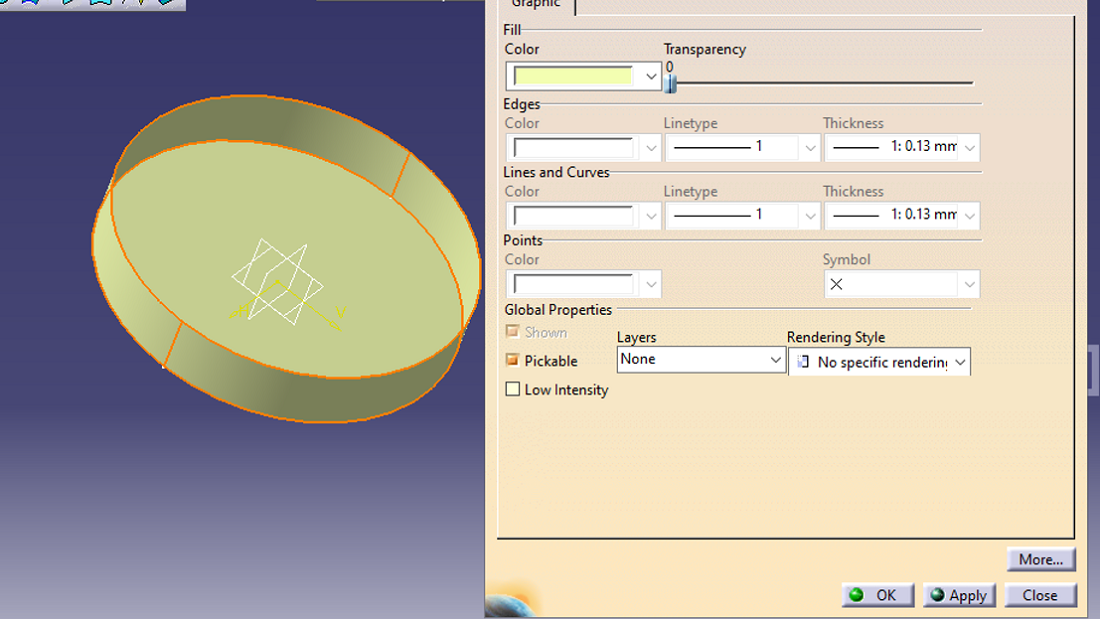
Step 10: The properties dialog box will appear, there on choose the desired color and even the transparency can be adjusted.

Result:
Advertisement
Advertisement