Home »
Eclipse
Start a java project in eclipse
In this article, we will look upon how we start to create a JAVA project in eclipse mars 2?
Submitted by Manu Jemini, on February 28, 2018
The Eclipse IDE is very popular and used to make a wide range of projects. The JAVA projects are used to make tools which will be platform independent. We can make java projects in some other way too but the IDE is here to help you through.
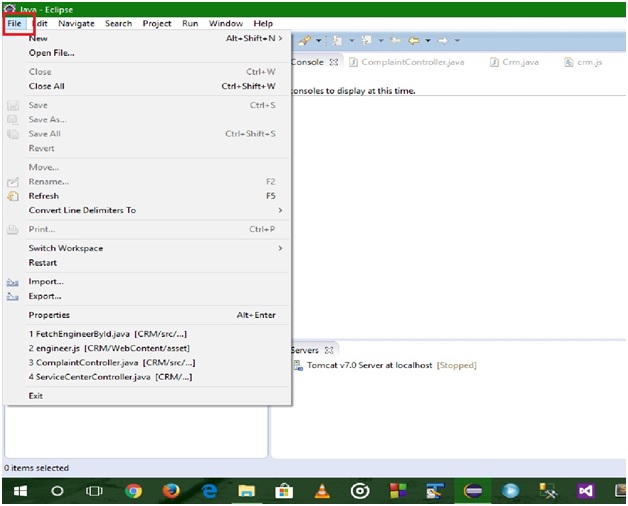
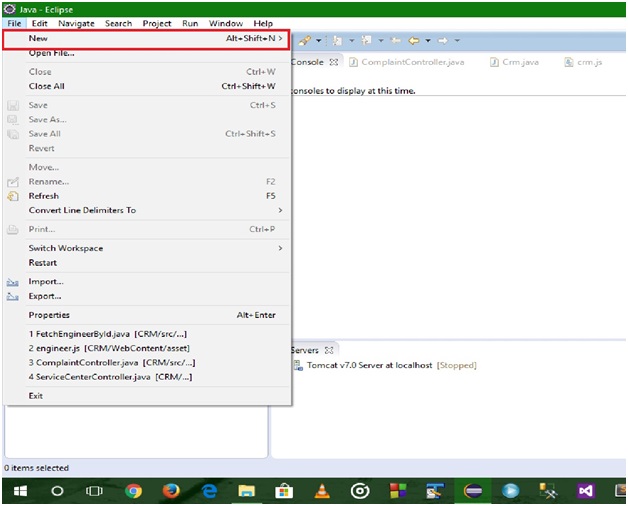
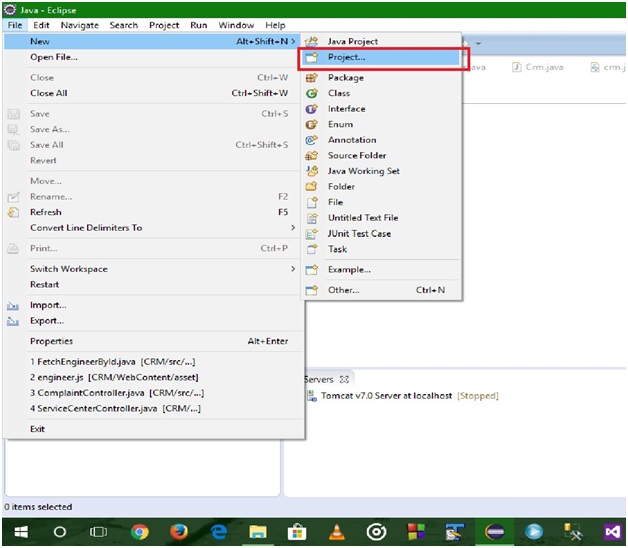
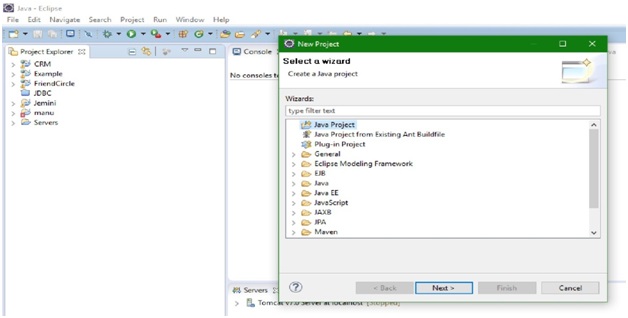
To create a Java project we have to follow these 6 simple steps. First, click on the File icon then hover on new field which will create a new menu to choose the type of projects or files you want to create. Choose projects and a window will open up which will ask you about the type of the project you want to develop, so choose java project and click next. In the window fill the corresponding name for the project and click next. This wizard will tell us about the advance configurations which are not important for beginners, so keep on clicking next. In the End click finish and you will have your project ready.
1) Click on the File Option
2) Hover on the new option
3) Click on the projects option
4) Choose the type of the project you want to make
5) Fill the name you want your project to have and click next
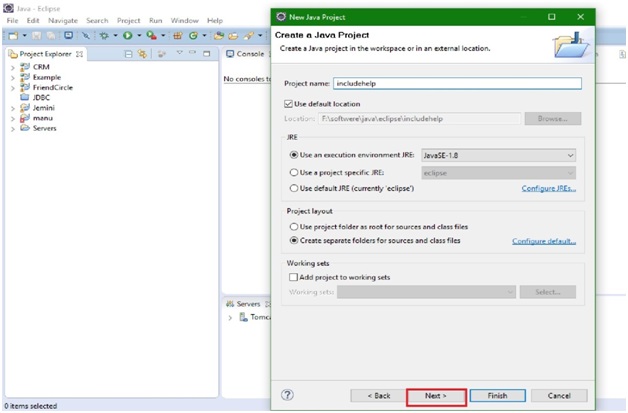
6) Click Finish

7) Project name includehelp is filled with source folder and JRE system library full of jar files.
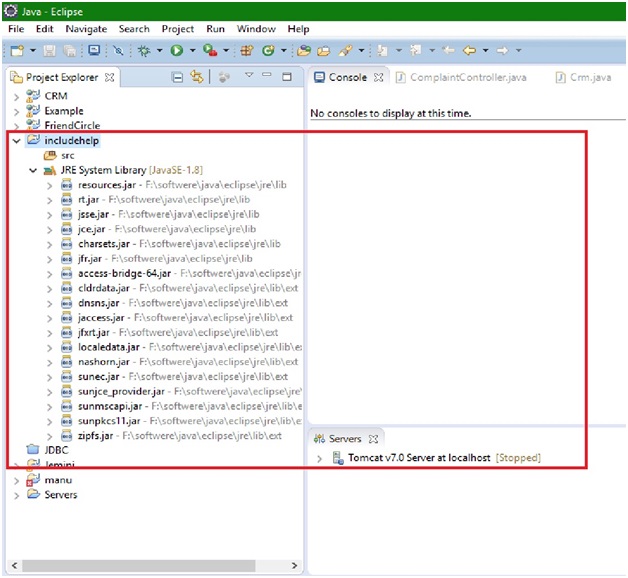
Here you have your fresh project ready to develop.
Advertisement
Advertisement