Home »
MySQL
MySQL CREATE TABLE Statement
MySQL | CREATE TABLE: Learn about the MySQL CREATE TABLE Statement, with its explanation, syntax, and query examples.
Submitted by Apurva Mathur, on September 03, 2022
CREATE TABLE Statement
A table in MYSQL helps you to store all the data in the form of rows and columns. A single database can contain n number of tables, and a single table and have n number of rows and columns. In the column section, we have attributes of the entity and in the row section, we store values.
CREATE TABLE Statement Syntax
CREATE TABLE table_name (
	COLUMN_NAME1 datatype(size)[desciption],
	COLUMN_NAME2 datatype(size)[desciption],
	...
	Table constraints
)
Now we'll see all these terms used in the syntax separately:
- CREATE TABLE: This is the main statement which tells MYSQL to create a table.
- table-name: Table name should be included no two tables can have same name.
- "COLUMN_NAME: Column names should be also unique, in one table no two column should have same name.
- data_type: Specifying data type with column name is important here else it will show you an error. Always mention size of the column with data type.
- description: Description here refers to setting the values NULL | NOT NULL
- Table constraints: Constraints are simply a restriction of a table; we'll study about this in upcoming article. The table constraints mainly consist of keys like primary or foreign or etc.
Create a Table in MySQL Command-Line Client
Let us see how we create a table in the MySQL command line client?
Suppose we are asked to create a table named "student", inside this table, we have 4 columns: ID, student_name, age, and department.
Steps to create a table for the above situation:
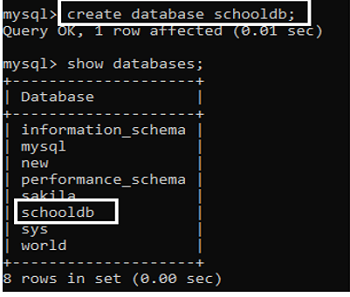
Step 1: Create a database named a "schooldb";
create database schooldb;
Step 2: Now we'll create a table inside this "schooldb" database;
CREATE TABLE student(
  id int NOT NULL AUTO_INCREMEN,
  student_name varchar(45) NOT NULL,
  age int NOT NULL,
  department varchar(35) NOT NULL,
  PRIMARY KEY (id)
);
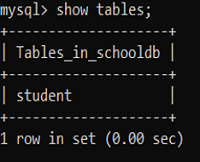
Our table is created successfully.
Step 3: Using DESCRIBE student; we can see all the columns.

Create a Table in MySQL Workbench
The steps to create a table in the MySQL workbench are as follows:
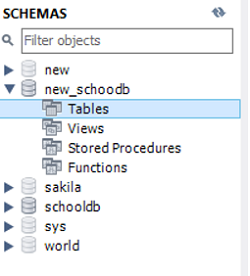
Step 1: First we'll create a schema (here I am creating a schema named "new_schooldb").
Step 2: Inside this database, we'll create our table. For this, we'll first click on our database and then we'll right-click on tables, then we'll create tables.
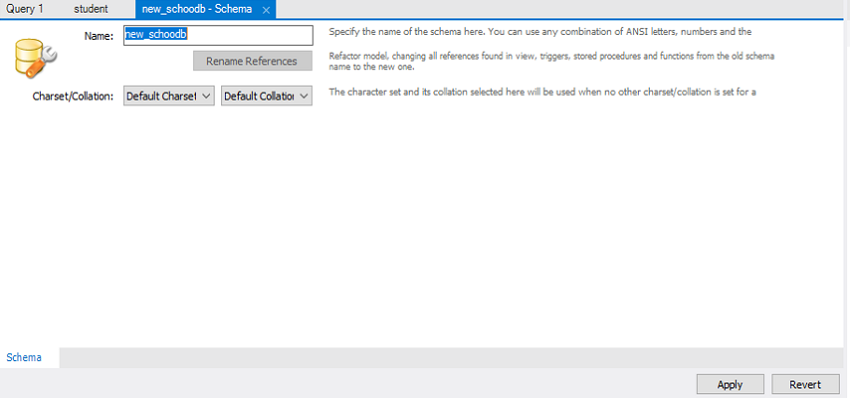
Step 3: After clicking on create tables we'll see the following page,
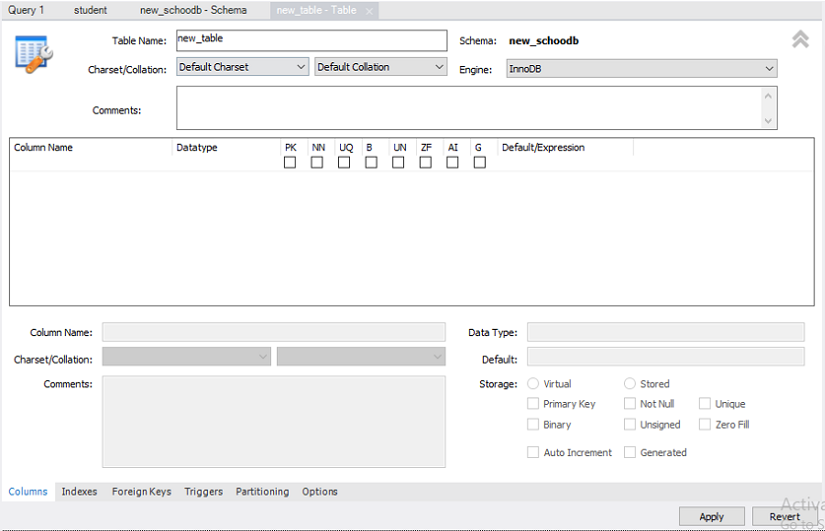
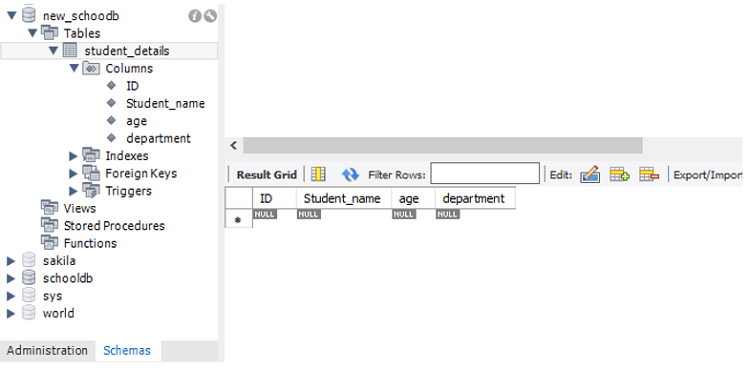
Step 4: Give table name (here I am creating a table named student_details), then under the column section you have to write your entire column name by describing their data type and giving constraints.
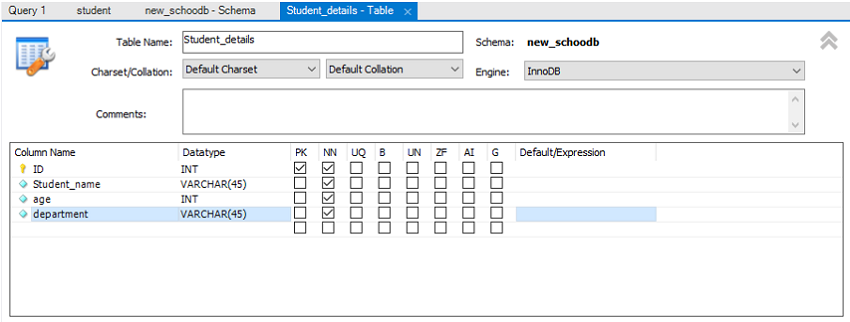
After this click on apply, and your table is created successfully.
Advertisement
Advertisement