Home »
Articles
Adobe Photoshop | Set Images in other image shape
In this graphic design tutorial, we are going to learn how to set different types of images in a particular frame? Like I am using map of India as a frame and putting few images in this map. Here, Adobe Photoshop is used for designing. For better understanding take a look of screenshots.
Submitted by Shamikh Faraz, on July 04, 2018
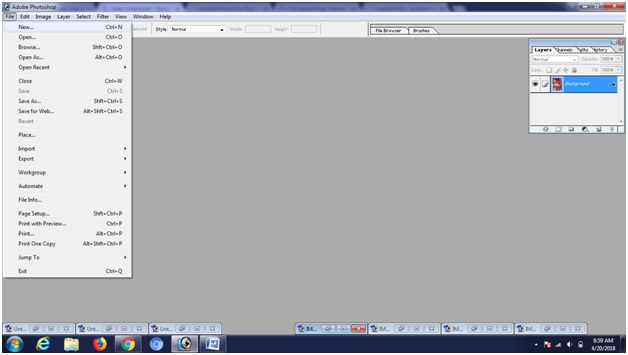
Step 1: Open Adobe Photoshop and click on new file or just use ctrl+N.
Step 2: Open your images that you want to set in a frame and check their resolutions. You can set any resolution ‘pixels/inch’ size, but it must be same for all images and new created file.
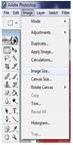
Step 3: Click on ‘Image’ → Image Size to check resolution of your new file. Here it is 72 pixels here. So your images must be same pixel size e.g. 72 pixel. Otherwise size mismatch problem will occur.
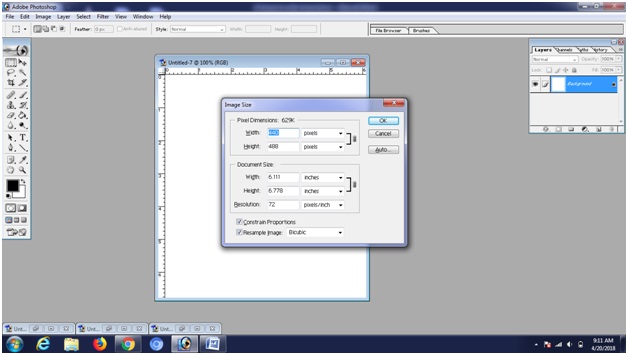
Step 4: If resolution is different from your new created file in step 1, then change this image pixel size to same as new created file. Like in the below image resolution size is 300 pixel which will give a size mismatch problem, so you should set it to 72 pixels. Other image measurements e.g. height, width, you can set according to you , but pixels/inch size must be same.
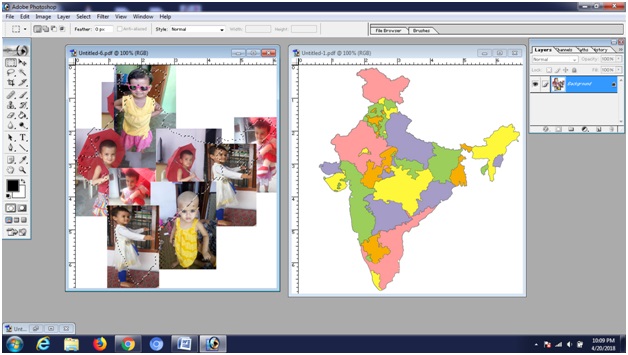
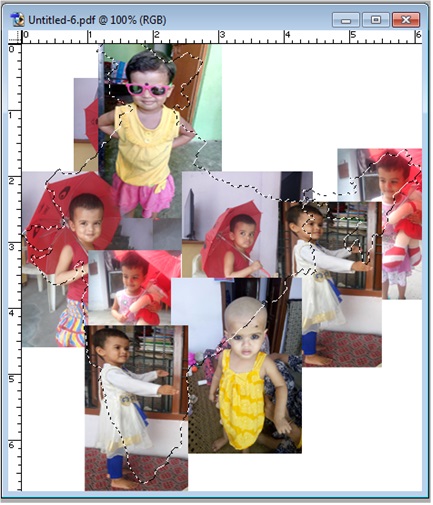
Step 5: After setting same resolution of all images, simply copy and paste those images on ‘new file’ created in step 1. Adjust them according to requirement. Draw left, right, up, down.

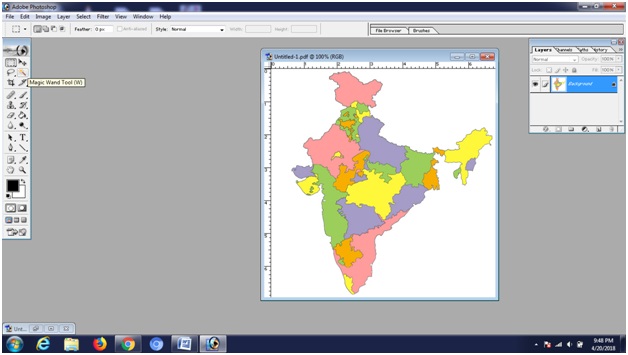
Step 6: Open that image whose frame you want to use. Like in the image below India map is used. Select ‘Magic Wand Tool’ from tool bar or press ‘W’ key to select ‘Magic Wand’.
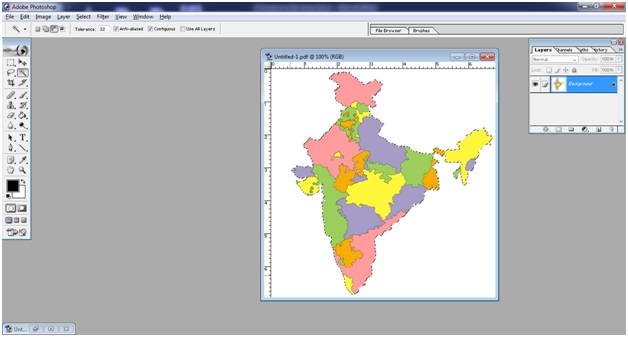
Step 7: After selecting magic wand tool, click on the white space around the image (If there is no white space around the image then use eraser to make while space around the image). Remember don’t click on the image, otherwise no result.
Step 8: After click on white space, go to select → Inverse or simply use short cut key shift+ctrl+I
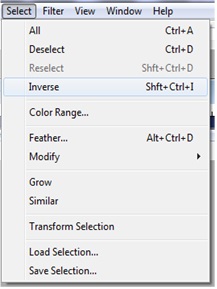
After inverse, image will be with a selection boundary.
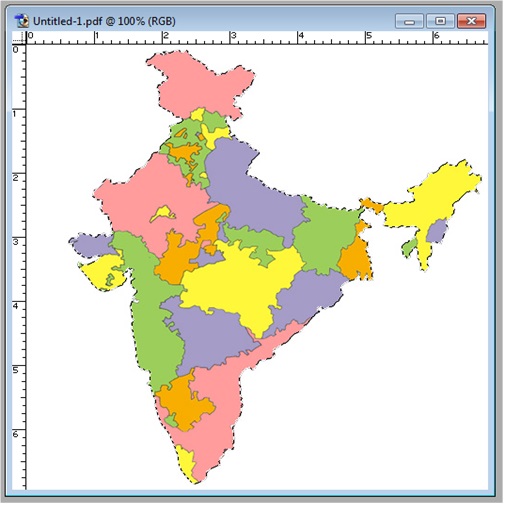
Step 9: select ‘Marquee’ tool from tool bar or just press ‘M’ using keyboard. Drag and drop the selection boundary from this image to the page on which you have set your images in step 5.
New page will look like this.
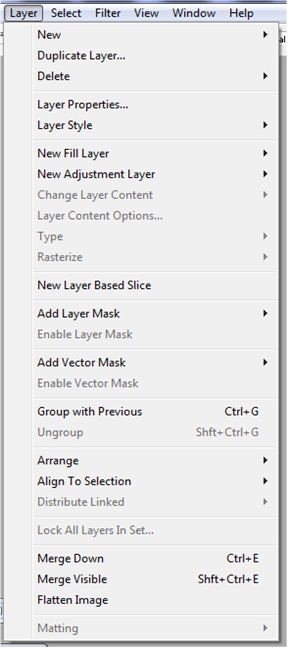
Step 10: Group all the images. Go to Layer → Flatten Image or by pressing Shift+ctrl+E
Step 11: After grouping copy and paste the grouped layer to a new file. Just use ctrl+C for copying, ctrl+N for creating new file and ctrl+V for pasting final output to new file. Your desired output will be looking like.

Advertisement
Advertisement