Home »
Node.js
Email form using Nodemailer and Node.js (project)
Here, we are designing an HTML form to send an email using Nodemailer in Node.js, Here, we are using Gmail transporter to send an email.
Submitted by Godwill Tetah, on September 15, 2019
In the previous articles on sending emails with Node.js using Nodemailer module, we looked at the various means of sending emails with Node.js and Nodemailer, we also looked at various options for sending emails using the Gmail transporter, we looked at sending attachments from URL or from the local machine.
Today, we will study the code of a little project on sending emails from a form running in a web browser.
If you are a newbie in the world of Node.js or the Nodemailer module, please check out previous tutorials and read patiently.
Note: You should have a basic understanding of Node.js, Nodemailer, express and html.
Code:
This code is just to give you an idea and get you started. You can edit and add better CSS or features later. We are going to use an old method of rendering HTML in the node. In this project, we'll use the Gmail transporter. Your PC should be connected to the internet.
In your project folder, create a file called app.js. Type the following code in app.js:
var http = require ( "http" ) ;
const puppeteer = require ('puppeteer');
const fs = require ('fs');
var nodemailer = require('nodemailer');
var express = require ( 'express' ) ;
var app = express () ;
var bodyParser = require ( 'body-parser' ) ;
var urlencodedParser = bodyParser.
urlencoded ({ extended : true }) ;
// Running Server Details.
var server = app. listen(8080 , function ()
{
var host = server. address() . address
var port = server. address() . port
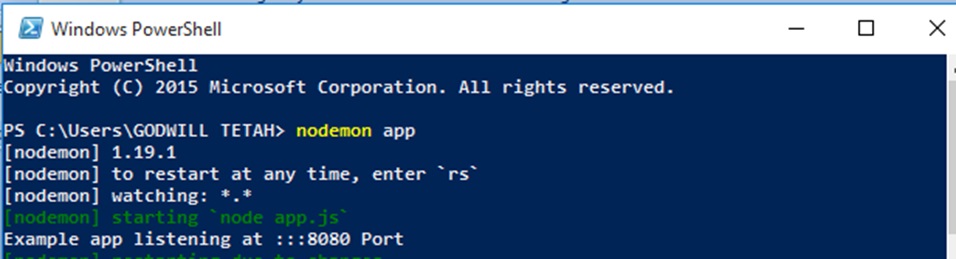
console.log( "Example app listening at %s:%s Port" , host, port )
}) ;
// we used just one route which is the /form
app. get( '/form' , function ( req, res ) {
var html = '' ;
html += "<body>" ;
html += "<body bgcolor = lightgrey>";
html += "<center>";
html += "<form action='/thank' method='post' name='form1'></br>" ;
html += "<fieldset>";
html += " <legend>COMPOSE MAIL:</legend>";
html += "To:<input type= 'text' name='to' ></br></br>" ;
html += "Email:<input type='text' name='email' ></br></br>" ;
html += "Subject:<input type='text' name='subject' ></br></br>" ;
html += "<textarea name='body' rows='10' cols='30'></textarea></br></br>" ;
html += "<input type='submit' value='submit'></br></br>";
html += "<INPUT type='reset' value='reset'>" ;
html += "</fieldset>";
html += "</form>" ;
html += "</body>" ;
// form action
res. send ( html) ;
}) ;
app. post ('/thank' , urlencodedParser, function ( req, res ){
var reply ='' ;
The code above creates a form at the form route (/form). Our port has been set to 8080.
Now, let's add the code responsible for sending email. Open the app.js file and add the following code bellow.
var transporter = nodemailer.createTransport({
  service: 'gmail',
  auth: {
    user: YOUR_GMAIL_ ADDRESS',
    pass: 'YOUR_PASSWORD'
  }
});

var mailOptions = {
  from: req.body.email,
  to: req.body.to,
  subject: req.body.subject,
  html: req.body.body
};

transporter.sendMail(mailOptions, function(error, info){
  if (error) {
    console.log(error);
  } else {
    console.log('Email sent: ' + info.response);
  }
});
res. send ( 'email sent' + " " +  'to' + " " +  req.body.to ) ;

}) ;
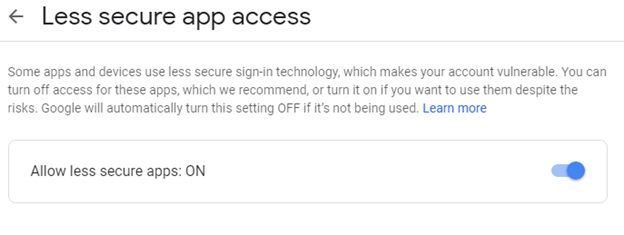
Using Gmail as your transporter, you can also enable the less secure app access setting.
Sending email requires internet connection.
In the code above add your Gmail address and password before running your code.
Do not fear about your password security. It's a tested and secured module used by many since 2010.
Finally, run your code and open in your browser.
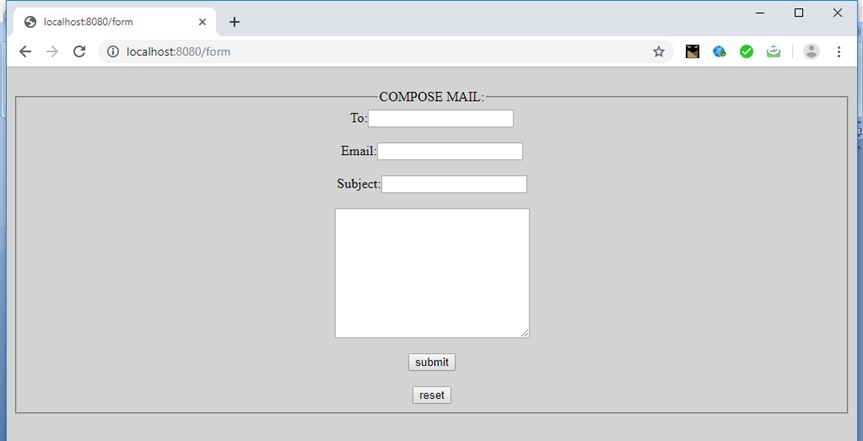
Finally, fill the form and click submit to send.
Thanks for coding with me! See you @ the next article. Feel free to drop a comment or question.
Advertisement
Advertisement