Home »
Node.js
Passport local strategy section 1 | Node.js
Node.js | Passport local strategy: Here, we are going to learn about the various requirements for setting up the passport-local strategy with Node.js/Express and MongoDB database.
Submitted by Godwill Tetah, on September 16, 2019
In my last article, we had an overview of the passport module and explained the meaning of strategies.
Here, we will look at the various requirements for setting up the passport-local strategy with node/express and MongoDB database to build a login form.
I have broken the steps down to make it simpler to understand.
Note: You should have a basic understanding of Node.js, Express, MongoDB database, and HTML.
Getting started...
In this first section of the passport-local strategy implementation, we will,
- Create an html login form
- Install express and other middlewares such as body-parser which we need to work with
- Set up our express server
Note: Make sure your own files are organized in one folder.
Let's begin by creating our html login form...
Open a text editor and type the following code: Save the file as form.html
<html>

<head>
    <title>passport</title>
</head>

<body>
    <center>
        <pre>
    <form action="/" method="post">
      <div>
        <label>Username:</label>
        <input type="text" name="username" required placeholder ='Username' />
      </div>
      <div>
        <label>Password:</label>
        <input type="password" name="password" required placeholder='password' />
      </div>
      <div>
        <input type="submit" value="Submit" />
      </div>
    </form>
	</pre>
    </center>
</body>

</html>
The form action above has been set to: <form action="/" method="post"> meaning the back-end is found at the main route or home route which is globally represented by "/" and the method as the post.
Install required modules and middlewares
We are now going to install all the modules/middlewares we are going to use.
To quickly do so, open your cmd terminal, move to your node project directory and type the following commands as seen below,


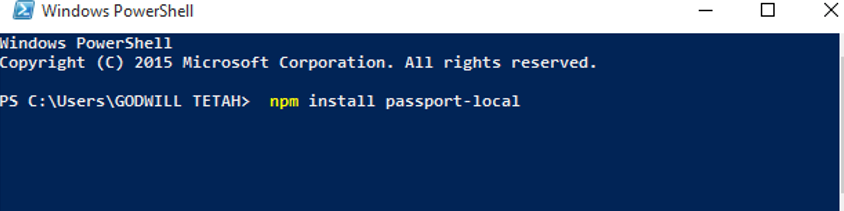
Wait for a while as npm downloads the packages for you.
Note: You can use either command prompt or PowerShell as terminal.
Let's set up our express server...
Open a text editor and type the following code: save the file as app.js
/*  EXPRESS SETUP  */

const express = require('express'); // require express modules
const app = express();

const bodyParser = require('body-parser'); // require body-parser
app.use(bodyParser.urlencoded({
    extended: true
}));

app.get('/', (req, res) => res.sendFile('form.html', {
    root: __dirname
})); // create main route

// the route is configured to read the html file
// we created above called form.html
const port = process.env.PORT || 3000; // set port 3000
app.listen(port, () => console.log('App listening on port ' + port));
That's all for this first section. We have created our HTML form, installed the modules we are going to use and finally set up our express server.
Read further setup steps: Passport local strategy section 2 | Node.js
Thanks for coding with me! See you @ the next article. Feel free to drop a comment or question.
Advertisement
Advertisement