Home »
Node.js
Postman tool for REST API in Express/Node
In this article, we will be talking about a useful tool named postman tool for REST API, when working with node.js/express REST API.
Submitted by Godwill Tetah, on June 25, 2019
When dealing with routes (like in express), we may use any of the REST verbs and at times, the browser is limited to facilitate testing the routes/REST API.
Postman tool for REST API
POSTMAN is a tool which helps us easily work with REST API. It has it's desktop and web version (chrome extension).
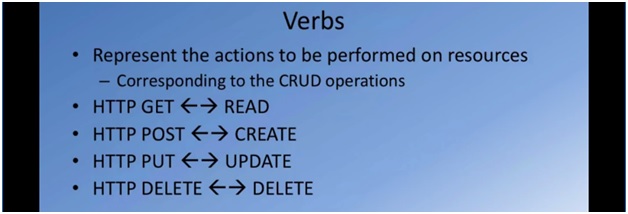
Before we see how it works, let's remind ourselves about the various REST API operations according to courser.org node.js tutorial video.
Take Note! You should have Node js installed in your computer.
With Node.js already up and running, let's get started.
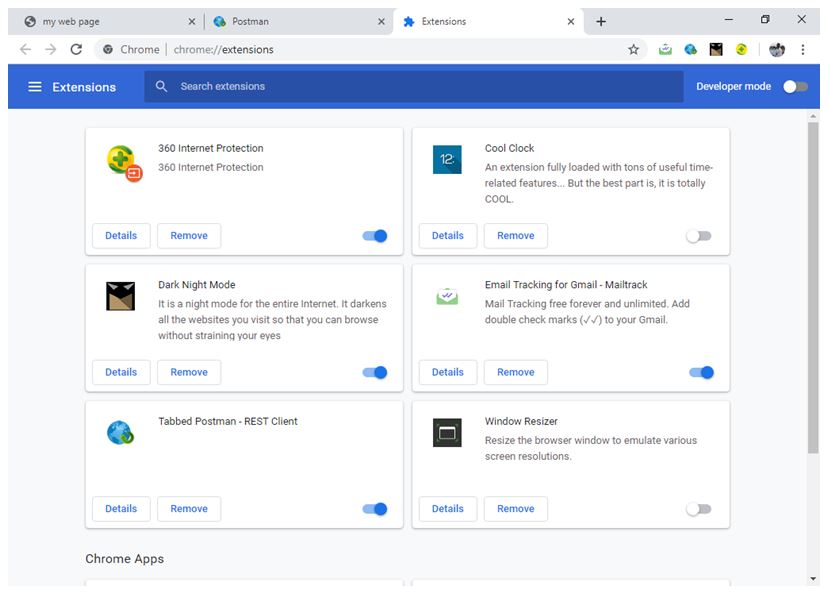
Download POSTMAN follow the installation procedure to install or download on the web as chrome extension...
I personally used the web version, but using the PC software is the same.
Wait for a while as it downloads.
NB: Internet required!
In this article we’re going to create an express route or REST API and use POSTMAN. Open a text editor and type the following code and save it with the file name app.js:
const express = require ('express');
const http = require ('http');
const morgan = require('morgan');
const bodyParser = require ('body-parser');

const hostname = 'localhost';
const port = 8080;

const app = express();
app.use (morgan('dev'));
app.use (bodyParser.json ());


app.all('/dishes', (req,res,next) => {

	res.statusCode = 200;
	res.setHeader ('Content-Type', 'text/plain');
	next();
} );

app.get ('/dishes', (req,res,next) => {  // get operation
	res.end ('will send all the dishes to you!');
} );
app.post ('/dishes', (req,res,next) => { //post operation

	res.end ('will add the dish:' + req.body.name + 'with details:' + req.body.description );
});

app.put ('/dishes', (req,res,next) => { //put opration
	res.statusCode = 403;

	res.end ('put operation not supported on dishes');
});

app.delete ('/dishes', (req,res,next) => {
	res.end ('deleting all dishes!');
} );

app.get ('/dishes/:dishId', (req,res,next) => {
	res.end ('will send will send details of the dish:' + req.params.dishId + 'to you' );
} );
app.post ('/dishes/:dishId', (req,res,next) => {

	res.statusCode = 403;

	res.end ('post operation not supported on /dishes/' + req.params.dishId);
});

app.put ('/dishes/:dishId', (req,res,next) => {
	res.write('updating the dish:' + req.params.dishId)
	res.end ('will update the dish:' + req.body.name + 'with details' + req.body.description );
});

app.delete ('/dishes/:dishId', (req,res,next) => {
	res.end ('deleting dish:' + req.params.dishId);
} );

app.use (express.static (__dirname + '/tools'));
app.use ( (req,res,next) => {
res.statusCode = 200;
res.setHeader ( 'content-type', 'text/html' );
res.end ('<html><body><h1>This is an express Server</h1></body></html>')
});
const server = http.createServer (app);
server.listen (port,hostname, () =>{
	console.log (`server running at http://${hostname}:${port}`)

} );
The file should be saved in your default node.js project directory.
Initiate the JavaScript file at the console by typing node app.js
Take Note!: Your command line directory should be same with node js module/project directory.
Open your browser and navigate to http://localhost:8080

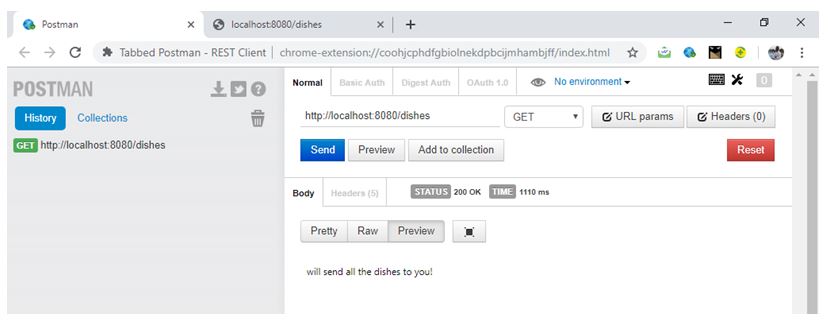
Now, let's open post man and see how it works.
It's user interface is very simple to understand.
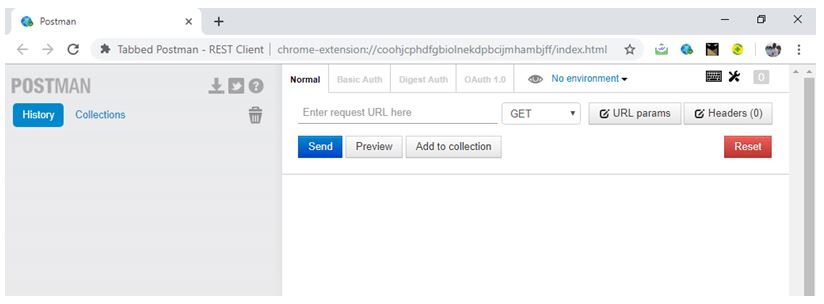
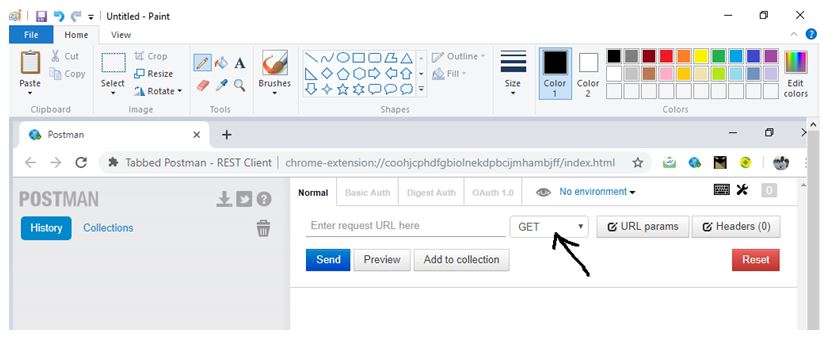
All the REST properties can be seen below, left just to input URL, select operation, and send.
Thanks for coding with me. Your comments are most welcome.
Advertisement
Advertisement