Home »
React JS
How to add an Image in React Native App?
React Native | Adding an Image: In this article, we will learn how to add an image in a react native application?
Submitted by Godwill Tetah, on February 10, 2020
Adding an image in your android or IOS app is as easy as you can ever imagine and has some slight differences with React Js but the same logic.
As usual, we must first import the image component from react-native and later include it in our code.
The image component in react-native uses the source component which defines the source of the image to display in your react native android or IOS application.
The source property in reacts native's image component can display images from local disk, URI and data provided.
The image component can also be accompanied by the style property where styling can be done.
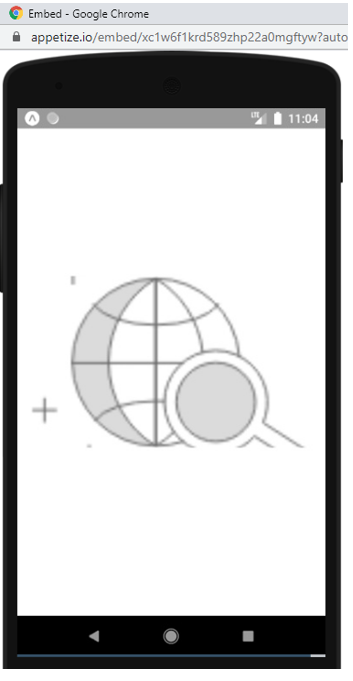
The example below displays an image from a URI source.
Open your App's App.js file and type the following,
import * as React from 'react';
import { Text, View, Image,} from 'react-native';

export default function App () {

  return (
    <View style={{padding: 10, justifyContent: 'center',
    flex: 1
}}>
    <Image
      style={{height:200, width:'100%'}}
source={{uri:'http://go237.com/wp-content/uploads/2019/12/1470399671_SEO.png'}}
      />

      </View>

  );
}
To add an image from local disk, the syntax becomes,
source={
	require('../tetah/logo.png')
}
Output
More properties can be seen on official documentation.
Thanks for coding with me! See you @ the next article. Feel free to drop a comment or question. God Bless You!
Advertisement
Advertisement