Home »
Android
How to Install and Set up Android Studio on Windows?
Guide to Install Android Studio on Windows: In this tutorial, we will learn how to install and set up Android Studio on Windows.
By Shamikh Faraz Last updated : June 06, 2023
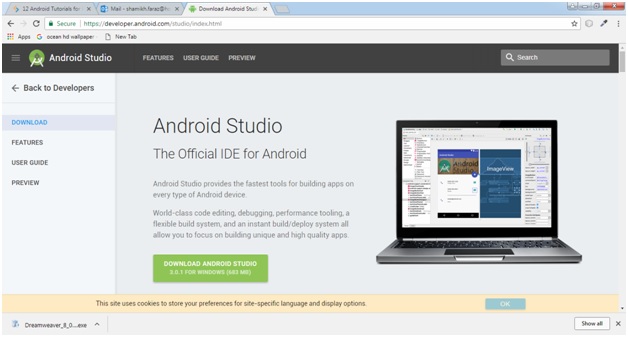
Download Android Studio
Step 1: Download Android studio by clicking on developer.android.com
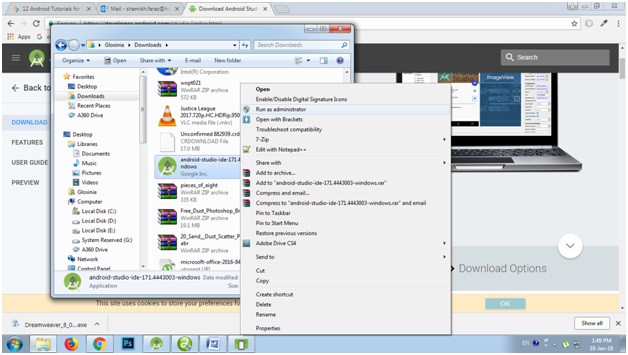
Install Android Studio
Step2: Go to your downloaded destination folder and 'Right click' on Android Studio setup. Click 'Run as administrator'.
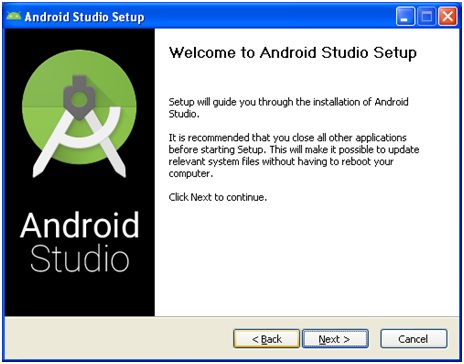
Step 3: After clicking on 'Run as administrator'. Next window will be looking like this. Click on Next.
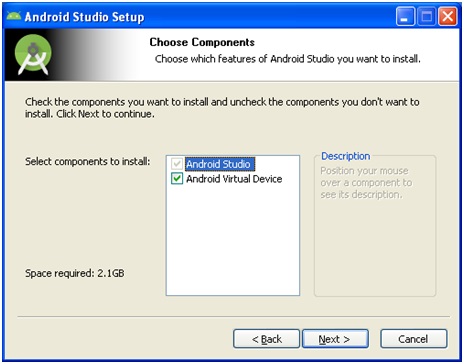
Step 4: Click on 'Next'.
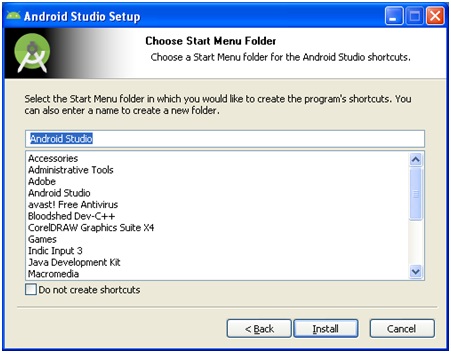
Step 5: Click on 'Install'.
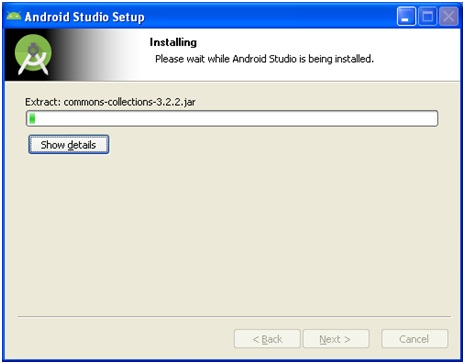
Step 6: Next window will be looking like this.
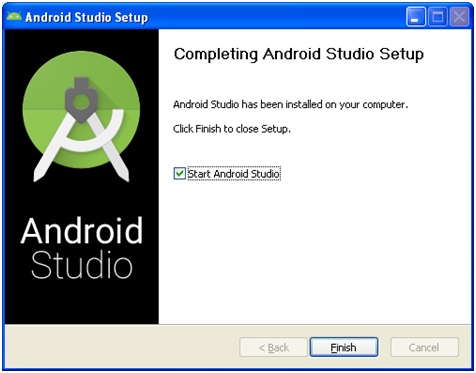
Step 7: Installation completes. Click on 'Finish'.
IDE Configruation
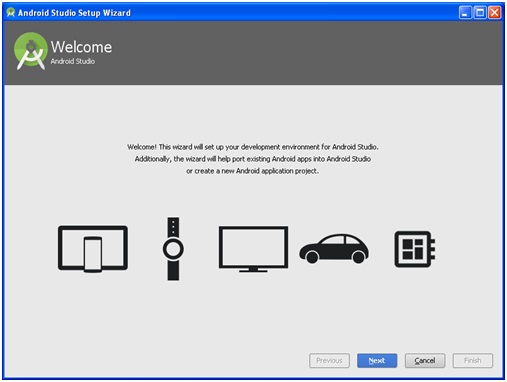
Step 8: After installation, IDE configruation will start. Click on 'Next'.
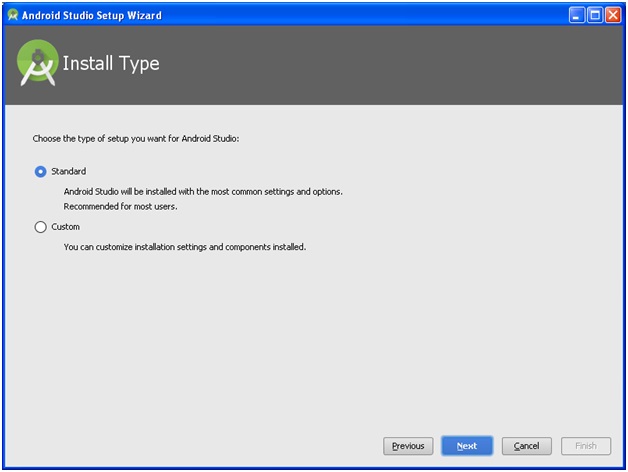
Step 9: Here you can customize your software setting, but you should select 'Standard' for complete setting. Click 'Next' after selecting 'Standard' option.
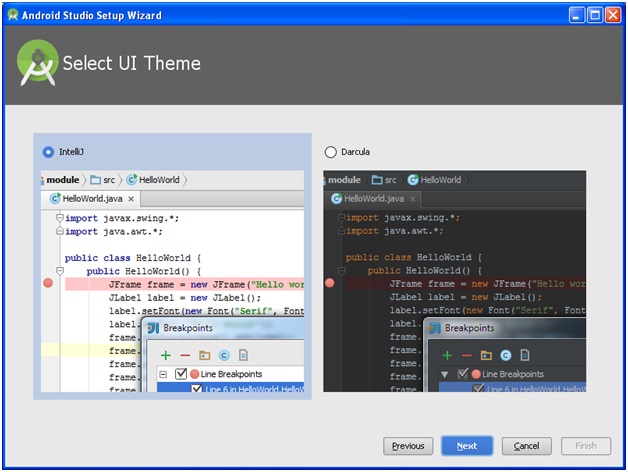
Step 10: Here you can select anyone of two theme (different color schemes). You can select which one you like most. Only the color is different in both themes (IntelliJ and darcula). Click 'Next'.
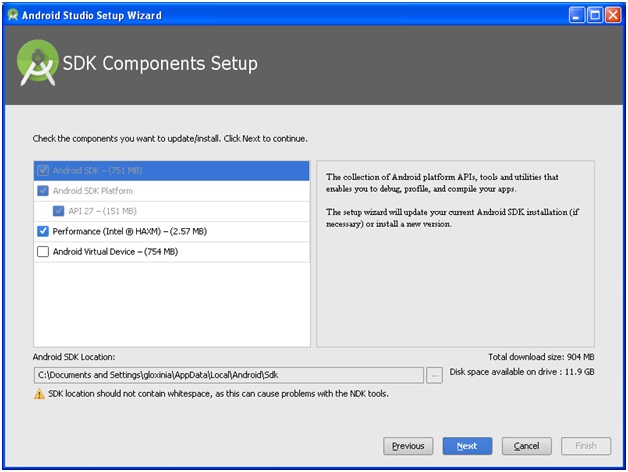
Step 11: Click 'Next'.
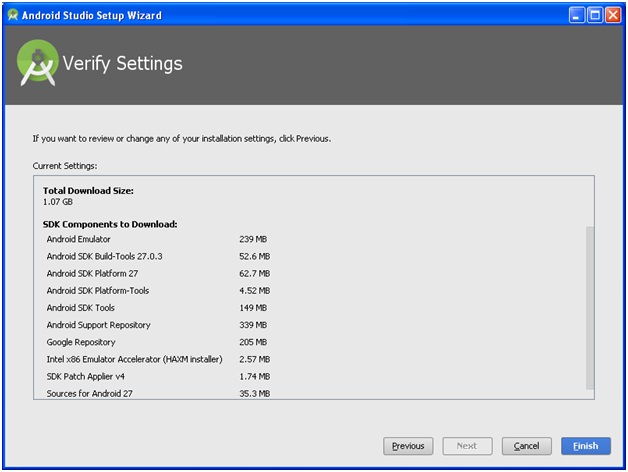
Step 12: Click 'Finish'
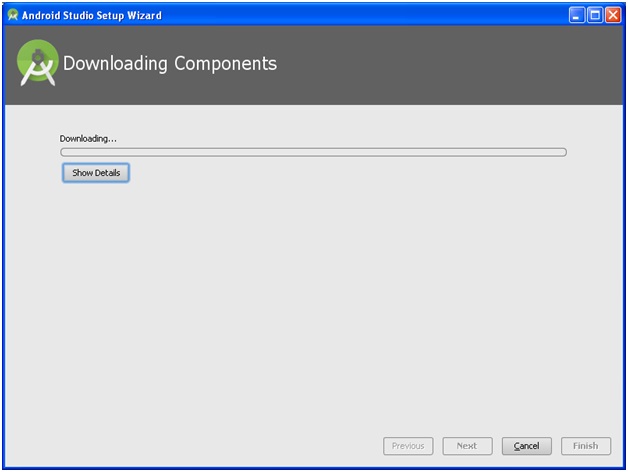
Step 13: Component downloading will start. After completing this download, click 'Finish'.
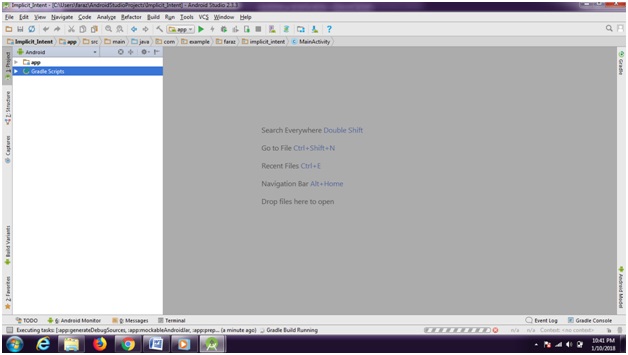
Step 14: Finally Android Studio will be looking like...
Advertisement
Advertisement