Home »
Node.js
Passport local strategy section 3 | Node.js
Node.js | Passport local strategy: Here, we are going to learn about the further steps to setup passport module (final configure the passport-local strategy, itself and the authentication request).
Submitted by Godwill Tetah, on October 04, 2019
Prerequisite:
In this article, we will finally configure the passport-local strategy, itself and the authentication request.
These codes are just to help you get started. So you can edit them at any time to confirm your own desires.
Note: You should have a basic understanding of Node.js, Express, MongoDB database and HTML.
Configure Strategy
In the app.js file, add the following code at the bottom,
const LocalStrategy = require('passport-local').Strategy;

passport.use(new LocalStrategy(
    function(username, password, done) {
        UserDetails.findOne({
            username: username
        }, function(err, user) {
            if (err) {
                return done(err);
            }

            if (!user) {
                return done(null, false);
            }

            if (user.password != password) {
                return done(null, false);
            }
            return done(null, user);
        });
    }
));
In the code above, we required the passport-local strategy and then created a function that verifies the username and password input by the user to check if it's in the database.
Configure Authentication Request
At this point, we are going to configure what happens after the user has submitted his or her user name and password.
There are only 2 probabilities at this point, it's either the user logged in successfully or there's an error.
Remember we created a route that will be used to handle both instances.
In the app.js file, add the following code at the bottom,
app.post('/',
    passport.authenticate('local', {
        failureRedirect: '/error'
    }),
    function(req, res) {
        res.redirect('/success?username=' + req.user.username);
    });
Finally, everything has been setup!!
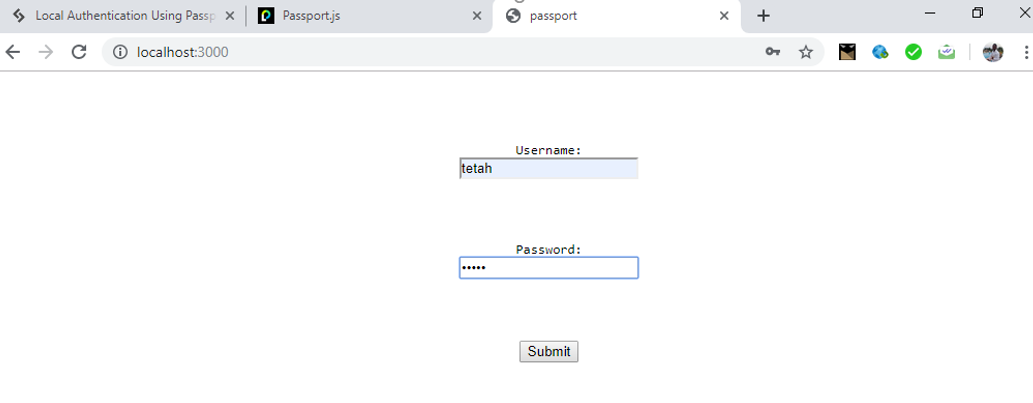
Initiate your app and open it the port in a browser.

Start your MongoDB Server...
Type any correct user name and password you created in the database and click submit.

You can also see the function of the success and error routes.
That's an easy way to get started with passport-local strategy authentication.
You can also visit the official website of passport to learn more @ http://www.passportjs.org/
Thanks for coding with me! See you @ the next article. Feel free to drop a comment or question.
Advertisement
Advertisement