Home »
Android
How to Create Virtual Device (Emulator) in Android Studio?
Create Virtual Device (Emulator): In this tutorial, we will learn how to create Virtual Device (Emulator) in Android Studio – A step by step guide.
By Manu Jemini Last updated : June 06, 2023
Virtual Device (Emulator) in Android Studio
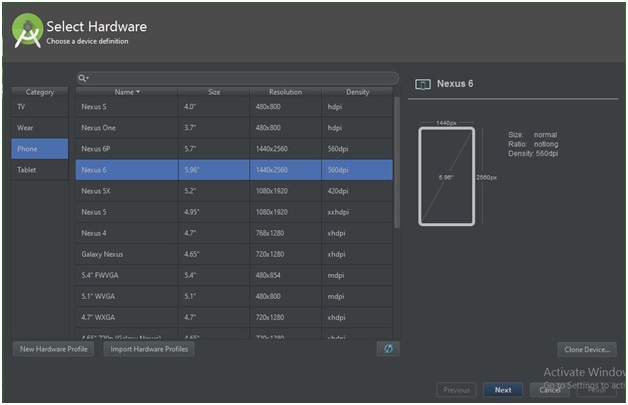
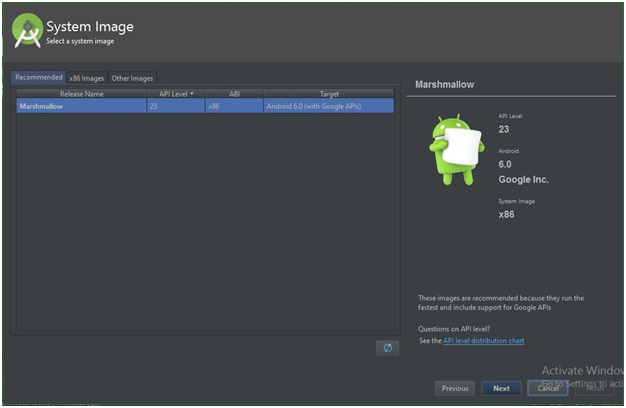
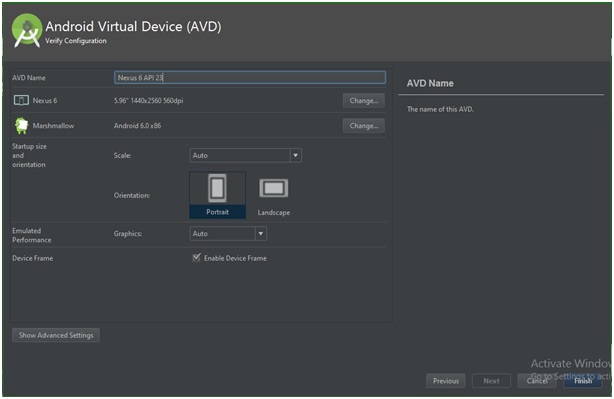
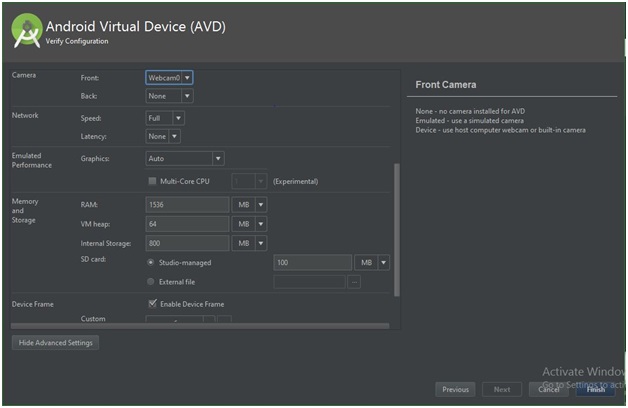
Having an emulator is always helpful to run your app. To make an emulator is easy. Just click on tools and choose android, after that from the multiple options choose AVD Manager. A window will open and you have to click create virtual machine. Choose phone and memory. In the end choose android version and press next. Then in the end fill the multiple fields.
Steps to Create Virtual Device (Emulator) in Android Studio
Step 1: Just click on tools and choose android.
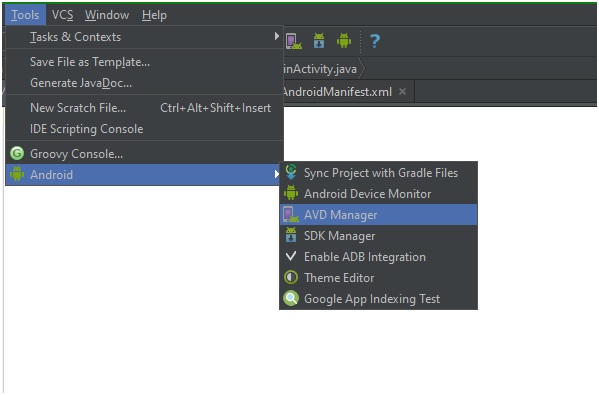
Step 2: A window will open and you have to click create virtual machine.

Step 3: Choose phone and memory.
Step 4: Choose android version and press next.
Step 5: Fill the fields and orientation of the emulator.
Step 6: Choose what camera you want to have??.
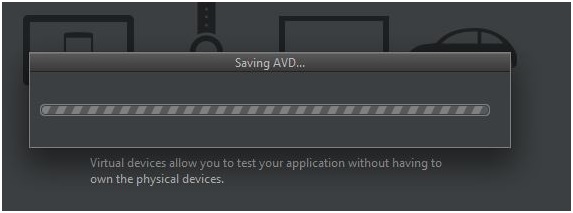
Step 7: Wait for a while....
Step 8: You will have your emulator.
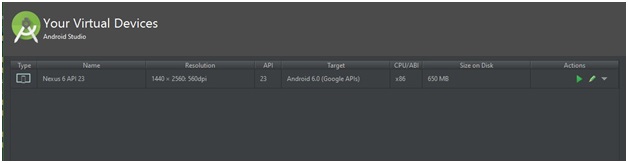
After this you are all set to run your application on your Google Nexus 6 Emulator.
Advertisement
Advertisement