Home »
Android
Android String Resources: Define string for whole project?
Android | Global String Variable: In this tutorial, we will learn how to define a String for the whole project in Android.
By Manu Jemini Last updated : June 06, 2023
Android String Resources
Defining strings in the resource is a very easy way to use a single string multiple times in your project. This is very useful if the value of the string can be changed later, if so then you just have to change it in one single file.
Saying so, it means your whole project is asking the resource for the string and if you change the value in resource it automatically gets changed. It provides very simple techniques to set it. For this tutorial to work, just create a new project with any name. You will get a default activity namely MainActivity, you can make use of it.
TextView is needed to so the string on the screen. So below is the explanation how to make it work.
Starting with your XML file, drag and drop it from the widget section. There is not implication about the parent layout type. Make your layout the way you want it.
Second thing is your JAVA file. To begin with, you should import TextView class from widget, this is done by adding this line import android.widget.TextView;. After that, in your activity, there would a default onCreate() function, this would be pre-set to use quickly.
Now, you would need to have a variable of type TextView and set it with the reference of the TextView in the layout file.
- TextView result;
- result = (TextView) findViewById(R.id.result);
- result.setText(R.string.my_string);
Go to your string file in the res → value → string.
<string name="my_string">I love Includehelp</string>
This line will do. Just add it inside the <resource> </resource>.
Above Line would do it. After doing everything up, your code should look like this. Connect an android device or run an ADV and then build you project to see the result.
Example: Android String Resources: Define string for whole project
Java file
package com.example.hp.demo;

import android.support.v7.app.AppCompatActivity;
import android.os.Bundle;

import android.widget.TextView;

public class MainActivity extends AppCompatActivity {
    TextView result;
    @Override
    protected void onCreate(Bundle savedInstanceState) {
        super.onCreate(savedInstanceState);
        setContentView(R.layout.activity_main);

        result = (TextView) findViewById(R.id.result);

        result.setText(R.string.my_string);

    }
}
XML file
<?xml version="1.0" encoding="utf-8"?>
<LinearLayout xmlns:android="http://schemas.android.com/apk/res/android"
    android:orientation="vertical" android:layout_width="match_parent"
    android:layout_height="match_parent"
    android:weightSum="1">


    <TextView
        android:layout_width="350dp"
        android:layout_height="wrap_content"
        android:id="@+id/result"
        android:layout_gravity="center_horizontal"
        android:layout_weight="0.20"
        android:hint="Result" />
</LinearLayout>
String file
<resources>
    <string name="app_name">Demo</string>
    <string name="my_string">I love Includehelp</string>
</resources>
Manifest file
<?xml version="1.0" encoding="utf-8"?>
<manifest xmlns:android="http://schemas.android.com/apk/res/android"
    package="com.example.hp.demo">

    <application
        android:allowBackup="true"
        android:icon="@mipmap/ic_launcher"
        android:label="@string/app_name"
        android:supportsRtl="true"
        android:theme="@style/AppTheme">
        <activity android:name=".MainActivity">
            <intent-filter>
                <action android:name="android.intent.action.MAIN" />

                <category android:name="android.intent.category.LAUNCHER" />
            </intent-filter>
        </activity>
    </application>

</manifest>
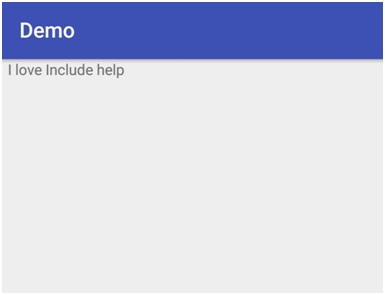
Output
Advertisement
Advertisement