Home »
Android
How to work with scrolling activity in Android?
In this article, we are going to learn about scrolling activity with its activity java and layout xml file in Android.
Submitted by Manu Jemini, on March 13, 2018
Scrolling activity is an important thing to have in your app as it gives your user a perfect view when the layout is long. The Scrolling activity can be implemented easily in android studio project because android studio gives a ready to use activity.
There are few things you have to do to reach this point, first make a new android studio project or open an existing one. In the root directory right-click on the folder and select the new activity and scrolling activity. After it gives a name to the activity and you are ready to go.
The Scrolling activity is able to produce a very beautiful layout in which all the screen names come on the left side and the corresponding screen comes on the right.
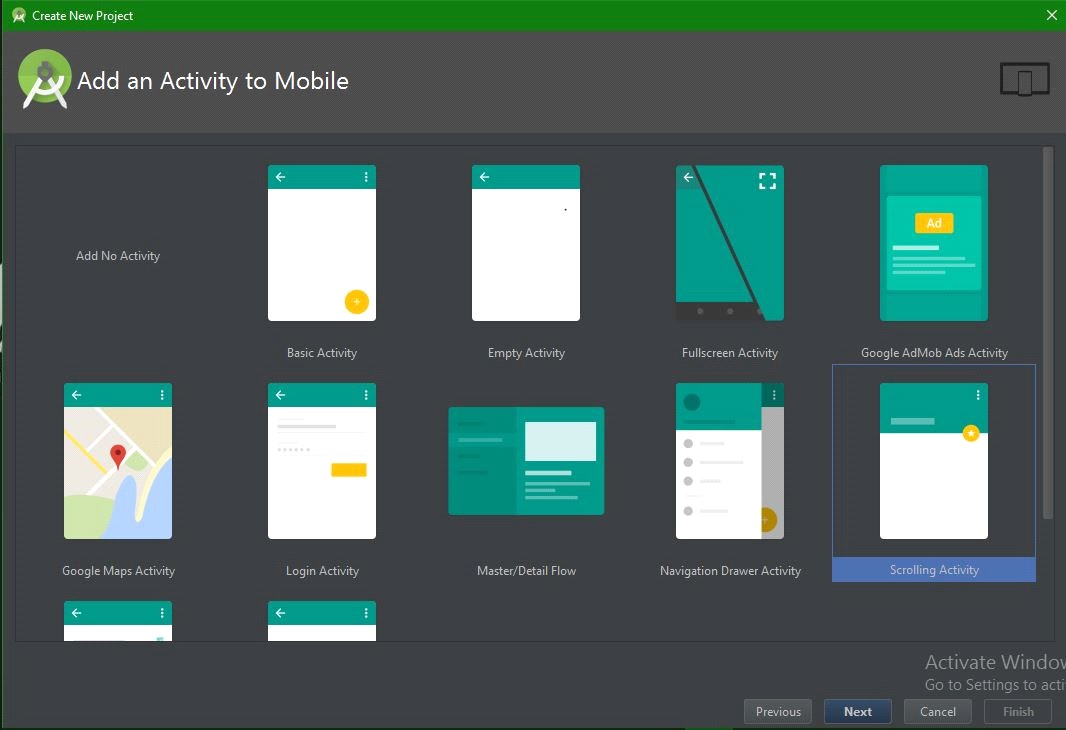
1) This pop-up window will come up when you will choose the option above. Here, select the Scrolling activity and hit NEXT.

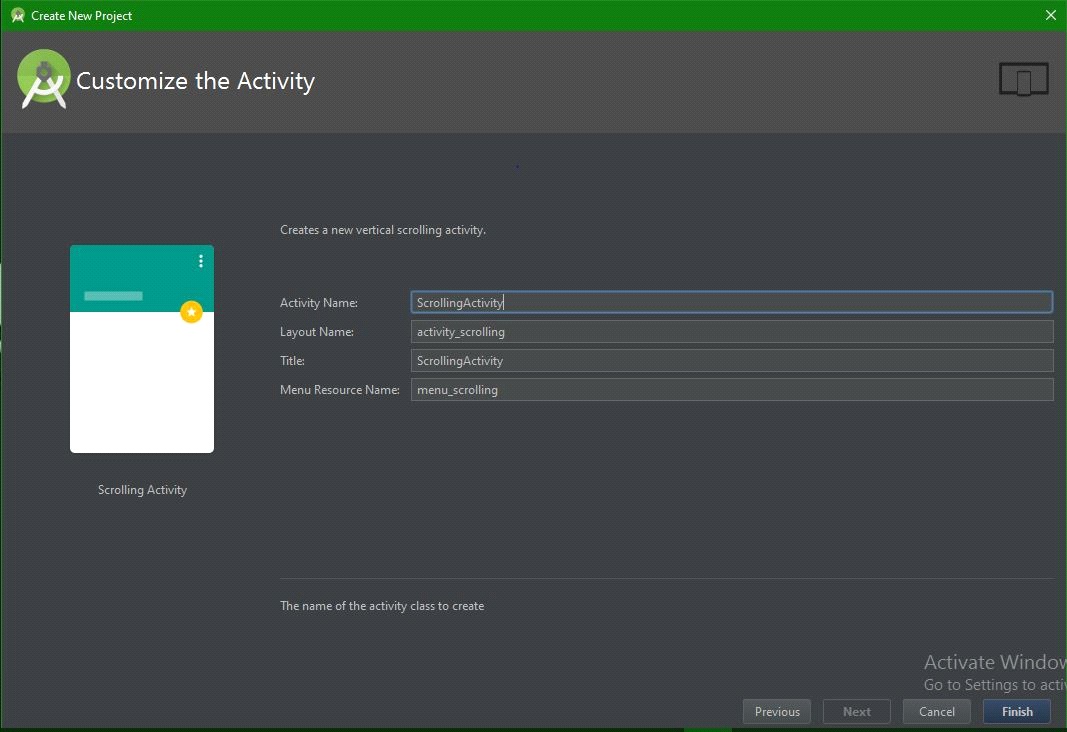
2) After clicking the Next button a window will pops-up and we have to give a name, here it is MainActvity. After you have done with it hit FINISH.

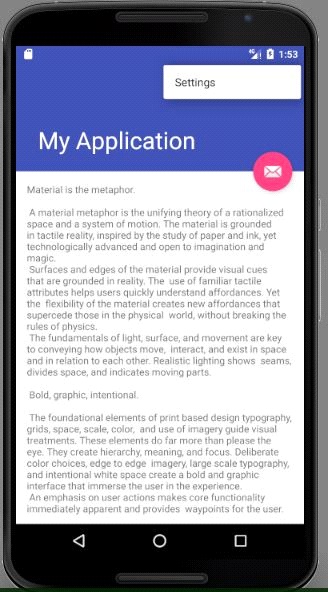
Now you are ready to launch the app, the code below is by default and you don't have to worry about the complications. The Output of this program is in the end, have a look.
1) Java file:
package com.example.hp.myapplication;

import android.os.Bundle;
import android.support.design.widget.FloatingActionButton;
import android.support.design.widget.Snackbar;
import android.support.v7.app.AppCompatActivity;
import android.support.v7.widget.Toolbar;
import android.view.View;
import android.view.Menu;
import android.view.MenuItem;

public class ScrollingActivity extends AppCompatActivity {

    @Override
    protected void onCreate(Bundle savedInstanceState) {
        super.onCreate(savedInstanceState);
        setContentView(R.layout.activity_scrolling);
        Toolbar toolbar = (Toolbar) findViewById(R.id.toolbar);
        setSupportActionBar(toolbar);

        FloatingActionButton fab = (FloatingActionButton) findViewById(R.id.fab);
        fab.setOnClickListener(new View.OnClickListener() {
            @Override
            public void onClick(View view) {
                Snackbar.make(view, "Replace with your own action", Snackbar.LENGTH_LONG)
                        .setAction("Action", null).show();
            }
        });
    }

    @Override
    public boolean onCreateOptionsMenu(Menu menu) {
        // Inflate the menu; this adds items to the action bar if it is present.
        getMenuInflater().inflate(R.menu.menu_scrolling, menu);
        return true;
    }

    @Override
    public boolean onOptionsItemSelected(MenuItem item) {
        // Handle action bar item clicks here. The action bar will
        // automatically handle clicks on the Home/Up button, so long
        // as you specify a parent activity in AndroidManifest.xml.
        int id = item.getItemId();

        //noinspection SimplifiableIfStatement
        if (id == R.id.action_settings) {
            return true;
        }
        return super.onOptionsItemSelected(item);
    }
}
2) XML file:
<?xml version="1.0" encoding="utf-8"?>
<android.support.v4.widget.NestedScrollView xmlns:android="http://schemas.android.com/apk/res/android"
    xmlns:app="http://schemas.android.com/apk/res-auto"
    xmlns:tools="http://schemas.android.com/tools"
    android:layout_width="match_parent"
    android:layout_height="match_parent"
    app:layout_behavior="@string/appbar_scrolling_view_behavior"
    tools:context="com.example.hp.myapplication.ScrollingActivity"
    tools:showIn="@layout/activity_scrolling">

    <TextView
        android:layout_width="wrap_content"
        android:layout_height="wrap_content"
        android:layout_margin="@dimen/text_margin"
        android:text="@string/large_text" />

</android.support.v4.widget.NestedScrollView>
3) Android Manifest file:
<?xml version="1.0" encoding="utf-8"?>
<manifest xmlns:android="http://schemas.android.com/apk/res/android"
    package="com.example.hp.myapplication">

    <application
        android:allowBackup="true"
        android:icon="@mipmap/ic_launcher"
        android:label="@string/app_name"
        android:supportsRtl="true"
        android:theme="@style/AppTheme">
        <activity
            android:name=".ScrollingActivity"
            android:label="@string/app_name"
            android:theme="@style/AppTheme.NoActionBar">
            <intent-filter>
                <action android:name="android.intent.action.MAIN" />

                <category android:name="android.intent.category.LAUNCHER" />
            </intent-filter>
        </activity>
    </application>

</manifest>
Output

Advertisement
Advertisement