Home »
VueJS Tutorial
Event handling in VueJS
Learn about the event handling in VueJS.
Submitted by Venkatesan C, on March 13, 2022
To Make a web page interactive and dynamic, we have to respond to events. Let's say a user clicks on a button, and we need to alert him of a text. To implement such interactivity we need to bind events and respond to such events. Event binding is what makes it possible to respond to such events. Binding an event to an element and making changes in response to an event, make a web page dynamic. In VueJS we can create and bind events to an HTML element.
Let's understand how to handle events through a sample project?
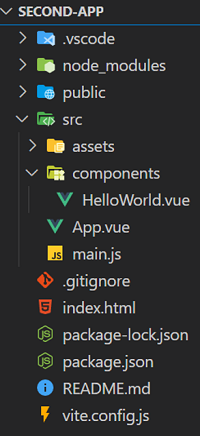
Create a Vue project using the Vite build tool. Let's name it second-app (in fact this is the same project that's been created in the VueJS installation tutorial).
Here's the project structure:
Now delete everything inside the App.vue file and paste the below code. The below is simpler to understand the methods in VueJs.
App.vue
<template>
   <h1>FullName - {{ name }}</h1>
   <button v-on:click="name = 'Tony stark'">Change</button>
   <h1>Count - {{ count }}</h1>
   <button v-on:mouseenter="count = count + 1">Mouse enter</button>
   <button v-on:click="incrementByOne">Increment by 1</button>
   <h1>Increment by 10</h1>
   <button v-on:click="incrementBy(10)">Increment by 10</button>
   <h1>Increment by 20</h1>
   <button v-on:click="incrementBy(20)">Increment by 20</button>
</template>

<script>
   export default {
     name: "App",
     data() {
       return {
         name: "Bruce Wayne",
         count: 0,
       };
     },
     methods: {
       incrementByOne() {
         return (this.count += 1);
       },
       incrementBy(count) {
         return (this.count += count);
       },
     },
   };
</script>
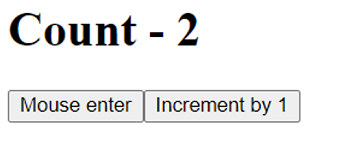
Output before the events fired:
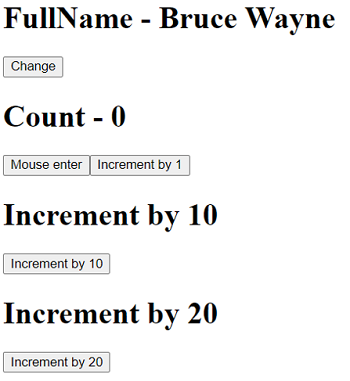
In the above code, we have five different buttons. Let's discuss each of them one at a time.
1) Change
<h1>FullName - {{ name }}</h1>
<button v-on:click="name = 'Tony stark'">Change</button>
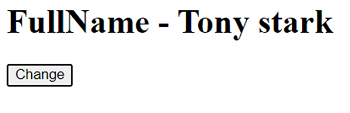
Here the "Change" button is event bound. We have bound a click event to it, such that when the click event is registered to it, it will change the name to "Tony stark".
v-on:click="name = 'Tony stark'
The above snippet is what we call "inline handlers". Since the changes that have to be made during an event are declared in the attribute's value itself, it's called inline handlers. We can also declare a function to do it as well.
Clicking the button will change the name to "Tony stark".
2) Mouse Enter
<h1>Count - {{ count }}</h1>
<button v-on:mouseenter="count = count + 1">Mouse enter</button>
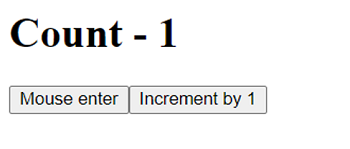
The above button is bound to a mouseenter event such that it increments the count data property whenever the event is fired. mouseenter event is triggered whenever the cursor enters the element to which it is bound, in this case, it is bound to the button.
Making the cursor pass over the button, make a mouseenter event fire onto the button resulting in an increment in the count value.
3) Increment by one
Template:
<button v-on:click="incrementByOne">Increment by 1</button>
<h1>Increment by 10</h1>
Method:
incrementByOne() {
	return (this.count += 1);
},
Here we have just implemented the same count functionality but by binding to a click event and extracting the functionality to a function. We have bound the incrementByOne to the click event.
Note that we bound by just naming the function here as incrementByOne (since we don't need to pass any argument here) but not as incrementByOne().
Clicking on the button increments the count value by 1.
4) Increment by 10 and Increment by 20
Template:
<h1>Increment by 10</h1>
<button v-on:click="incrementBy(10)">Increment by 10</button>
<h1>Increment by 20</h1>
<button v-on:click="incrementBy(20)">Increment by 20</button>
Method:
incrementBy(countAmount) {
	return (this.count += countAmount);
},
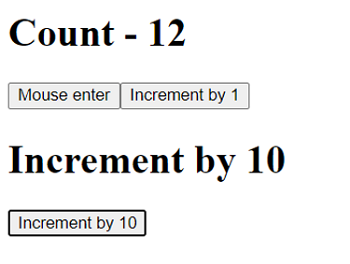
The above shows we can use the same function to implement a little functionality. Here, we have declared a general function to increment by whatever amount passed as an argument. It is incremented by 10 and 20.
Clicking on the Increment by 10 button, increments the count value by 10, which results in 12.
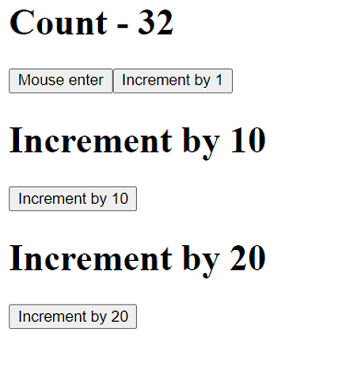
Output:
Clicking on the Increment by 20 button, increments the count value by 20, which results in 32.
With all the above clear, let's look at a bit more. Replace everything inside the App.vue with the below code:
App.vue
<template>
   <h1>FullName - {{ name }}</h1>
   <button @click="name = 'Tony stark'">Change</button>
   <h1>Count - {{ count }}</h1>
   <button @mouseenter="count = count + 1">Mouse enter</button>
   <button @click="incrementByOne">Increment by 1</button>
   <h1>Increment by 10</h1>
   <button @click="incrementBy(10, $event)">Increment by 10</button>
   <h1>Increment by 20</h1>
   <button @click="incrementBy(20, $event)">Increment by 20</button>
   <h1>Increment by 31</h1>
   <button @click="incrementByOne($event), incrementBy(10, $event), incrementBy(20, $event)">Increment by 31</button>
</template>

<script>
   export default {
     name: "App",
     data() {
       return {
         name: "Bruce Wayne",
         count: 0,
       };
     },
     methods: {
       incrementByOne(event) {
         console.log("Increment by one event",event);
         return (this.count += 1);
       },
       incrementBy(countAmount, event) {
         console.log("Increment by " + countAmount + " event",event);
         return (this.count += countAmount);
       },
     },
   };
</script>
As you can see, we just made changes with the previous code. The following changes were made
- Instead of v-on: directive, we replaced it with a simple syntax with @ to bind to events.
- Both incrementByOne(event) and incrementBy(countAmount, event) now have an additional parameter named event to print the event object to the console.
- $event variable has been passed on to both incrementByOne(event) and incrementBy(countAmount, event) as required.
- We added an additional button named Increment by 31, which called three increment functions.
In the Increment by 1 button, we only named the function as instead of, because by default without having a parameter, while binding to an event, an event object will automatically be passed on to the method.
Template:
<button @click="incrementByOne">Increment by 1</button>
Method:
incrementByOne(event) {
	console.log("Increment by one event",event);
	return (this.count += 1);
},
This will print out an event object in the console.
Let's look at the Increment by 31 button,
Template:
<h1>Increment by 31</h1>
<button @click="incrementByOne($event), incrementBy(10, $event), incrementBy(20, $event)">Increment by 31</button>
- This is an interesting button, since here we bind three functions to the button, on a click event,
- The above syntax shows that it is possible to call multiple functions for a single event by a simpler syntax.
One thing to note here is that, since we pass multiple functions here to the @click event, it is necessary to pass the $event variable to incrementByOne function as well.
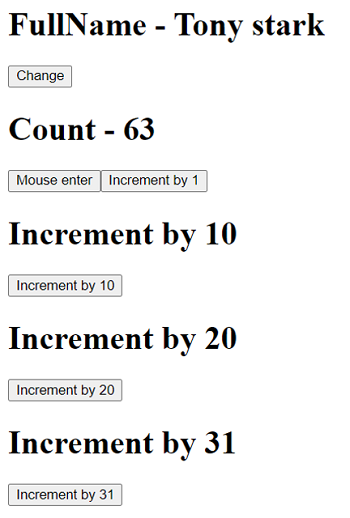
Output:
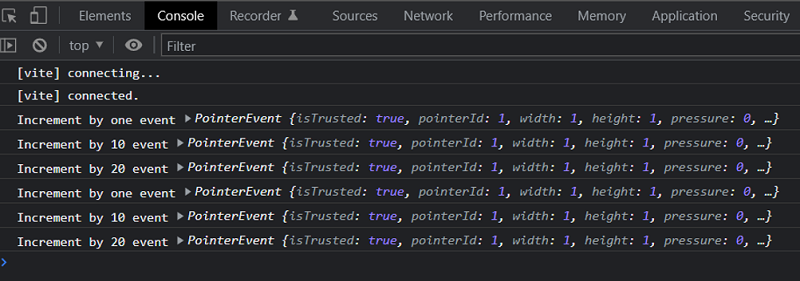
After clicking and firing all the events, the output will be as follows.
Console log will be as follows,
Advertisement
Advertisement