Home »
HTML
How to Set Up Bootstrap Environment?
By IncludeHelp Last updated : October 24, 2024
In the previous article: Bootstrap - framework for responsive web design, we discussed their two ways to use it; first by downloading bootstrap then use it as a local file and second by using CDN (content delivery network). CDN is a public host through which you don't need to download any source files. It's all up to you, what the way you want to use it. There are so many code editors are available online where you can test the bootstrap or if you want to setup bootstrap to your project, you can follow the following steps. You can download CDN from https://getbootstrap.com and follow the instructions. We have also included that in this article below. Check that for sure.
Set Up Bootstrap Environment
Most popular source of downloading Bootstrap is MaxCDN (formerly NetDNA, acquired by stack Path). MaxCDN provides bootstrapCDN, which is a free and public CDN; not develop by Otto and Thornton. Its beta version was launched on 7th June 2012 and stable version launch on 5th July 2012. It provides support for Bootstrap's CSS and JavaScript (bootstrap.min.css and bootstrap.min.js are two CDN links). So, it is easy to use Bootstrap with a CDN. It supports caching which leads to faster loading time. CDN assures that whenever a user requests a file from it, it will be served from the server closest to them.
Setting Up on CDN
When you only need to include Bootstrap's compiled CSS or JS in your <head> ... </head> tag, you can use BootstrapCDN.
CSS Only
<link rel="stylesheet" href="https://stackpath.bootstrapcdn.com/bootstrap/4.1.3/css/bootstrap.min.css" integrity="sha384-MCw98/SFnGE8fJT3GXwEOngsV7Zt27NXFoaoApmYm81iuXoPkFOJwJ8ERdknLPMO" crossorigin="anonymous">
JS, Popper.js, and jQuery
<script src="https://code.jquery.com/jquery-3.3.1.slim.min.js" integrity="sha384-q8i/X+965DzO0rT7abK41JStQIAqVgRVzpbzo5smXKp4YfRvH+8abtTE1Pi6jizo" crossorigin="anonymous"></script>
<script src="https://cdnjs.cloudflare.com/ajax/libs/popper.js/1.14.3/umd/popper.min.js" integrity="sha384-ZMP7rVo3mIykV+2+9J3UJ46jBk0WLaUAdn689aCwoqbBJiSnjAK/l8WvCWPIPm49" crossorigin="anonymous"></script>
<script src="https://stackpath.bootstrapcdn.com/bootstrap/4.1.3/js/bootstrap.min.js" integrity="sha384-ChfqqxuZUCnJSK3+MXmPNIyE6ZbWh2IMqE241rYiqJxyMiZ6OW/JmZQ5stwEULTy" crossorigin="anonymous"></script>
Setting Up by Downloading
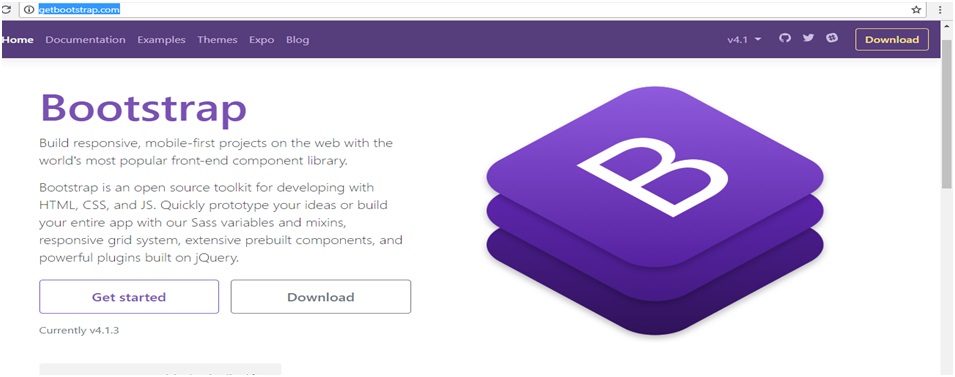
It is very easy to setup and using bootstrap. At this time latest version is bootstrap 4. You can also download the latest version of Bootstrap from its official website.
When your bootstrap is downloaded, extract the ZIP file, and see the following file/directory
Step 1
Extract and save the file in any particular folder:

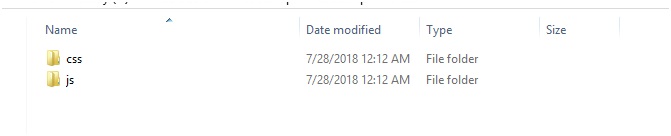
Step 2
After extracting the file you can see this two files:
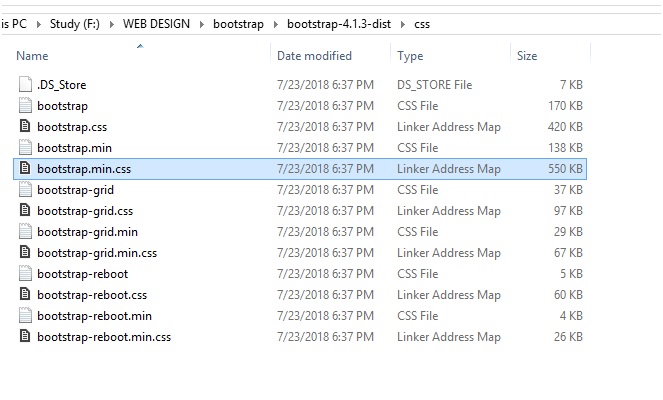
Step 3
In CSS file you have this Linker Address Map of bootstrap.min.css:
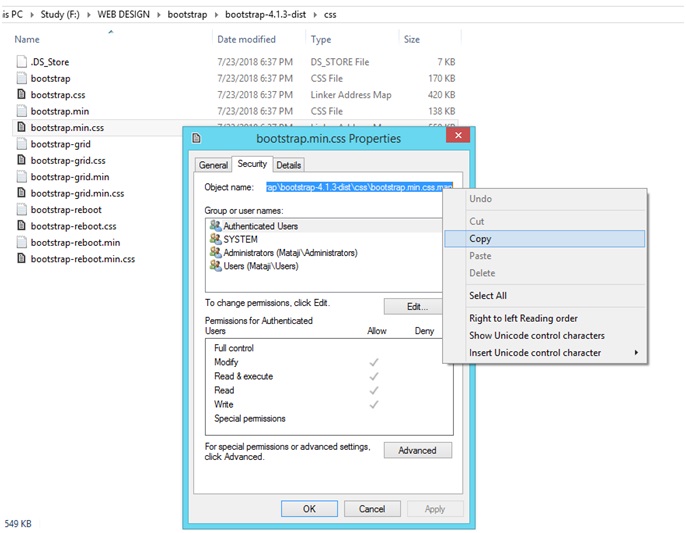
Step 4
Click and copy that path:
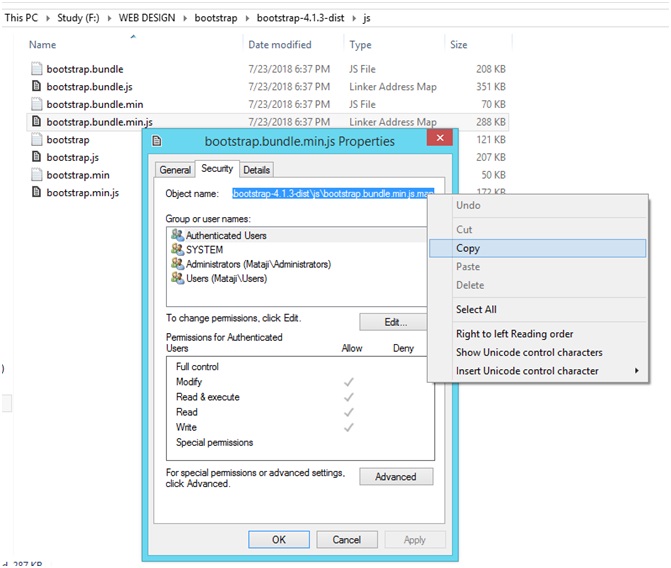
Step 5
Similarly, In JS file you have bootstrap.bundle.min.js:

Step 6
Select and Copy it's Path:
Step 7
Now, On HTML file paste these path in link like this:

Conclusion
We have now studied introduction about this amazing framework and installed it in our PCs; both local and CDN ways. We are all set to starting building a responsive yet beautiful website front-end design. Stay tuned for the next article. We will start discovering more about Bootstrap and start building front-ends sooner in upcoming articles. See you in the next Article! Happy Learning!
Advertisement
Advertisement