Home »
AdonisJs
Handling User registration & Login in AdonisJs
In this article, we are going to see how to use auth for user authentication? Also here we will be building the controllers needed for user registration & login.
Submitted by Radib Kar, on February 06, 2021
As, we have already covered how to create end pints & corresponding Controller file, here I will not detail on that. Rather I will instruct you to create A user controller & add blank functions named
Handle requests for user registration & login
"Register" & "login", to handle requests for user registration & login correspondingly. Also, create the requests in postman & add routing in your roiute.js file to route the endpoints towards the blank functions of the UserController. You can also write some console log & validate with postman whether your requests are reaching towards correct function or not.
All of these till now, I have discussed in our past tutorials. So please follow our past tutorials if you are unable to do what I have said till now. If you are still facing some issue feel free to comment below.
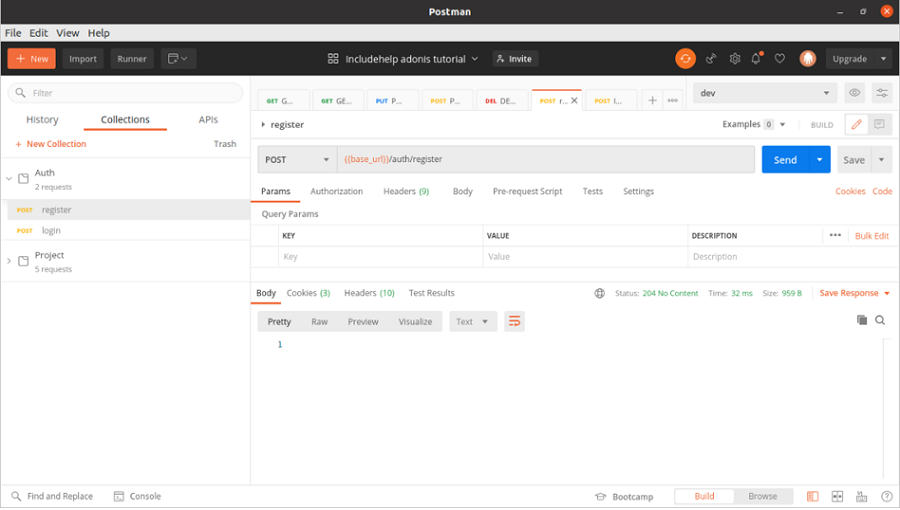
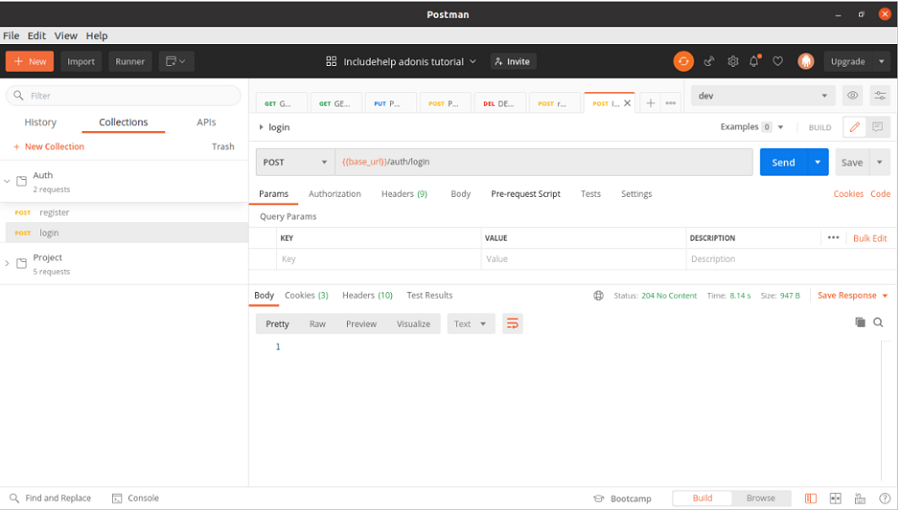
So till now, you should have created something like below:
Postman endpoints
route.js file
Route.post('auth/register', 'UserController.register');
Route.post('auth/login', 'UserController.login');
UserController.js file
'use strict'

class UserController {
    register(request, auth, response){
        console.log('Request to register');
    }
    login(request, auth, response){
        console.log('Request to login');
    }
}

module.exports = UserController
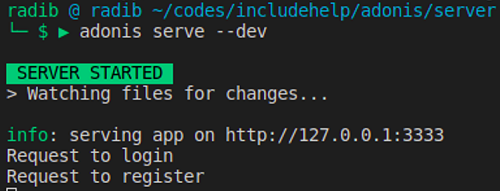
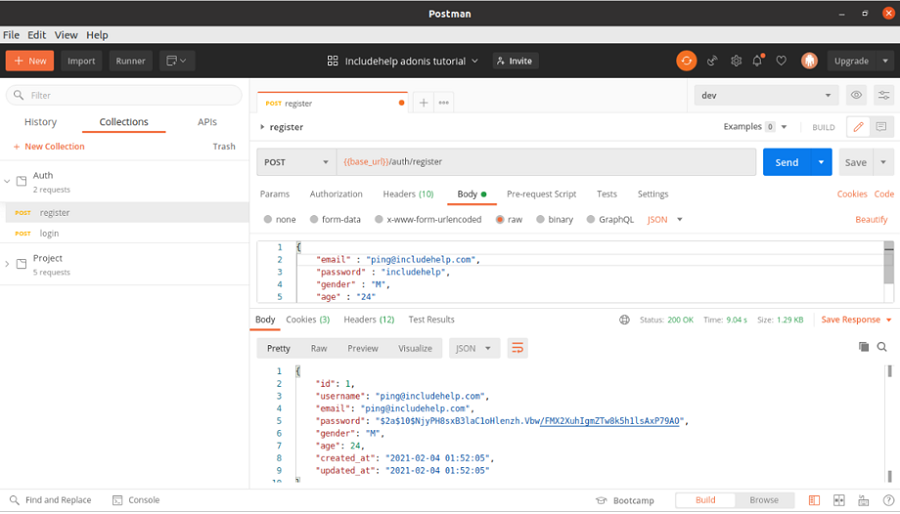
After sending a request to the endpoints, you should see similar like below:
Now it's time to add auth to generate jwt token which we talked in our last tutorial.
The first thing is what kind of request you will be sending for register?
Of course, it's a POST request which will have a body where the body will be a JSON which will contain all fields to be filled in your database. If you remember, our user table had five fields(columns)
- username(string)
- email(string)
- password(string)
- gender(string)
- age(integer)
username would be the email id and we won't take username input as input, rather we will assign the email id in the username field.
So your request body for registering user should be like this (choose raw then JSON).
{
    "email": "your input email here",
    "password": "your password here"
}
Now the request reaches towards the controller and there you need to extract all the column fields from the request body. That can be done like below:
const { email, password, gender, age } = request.post();
Then create a user object with these inputs using the create() method
const user = await User.create({
    email,
    password,
    username: email
});
This will create the user in your database table where User is the user Model & create function creates a new row,
This is what serves the registration purpose for us.
But we would like to log in the user as soon as it gets registered.
Let's create the login function first.
But before creating the login function, we need to set the authenticator as jwt. Go to the config/auth.js file where you will find then blow by default.
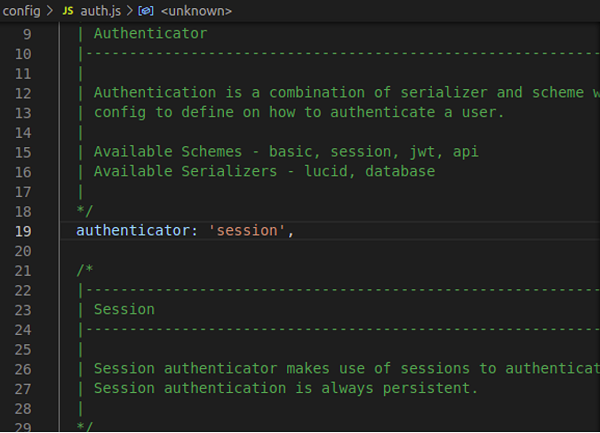
Change the authenticator as 'jwt'
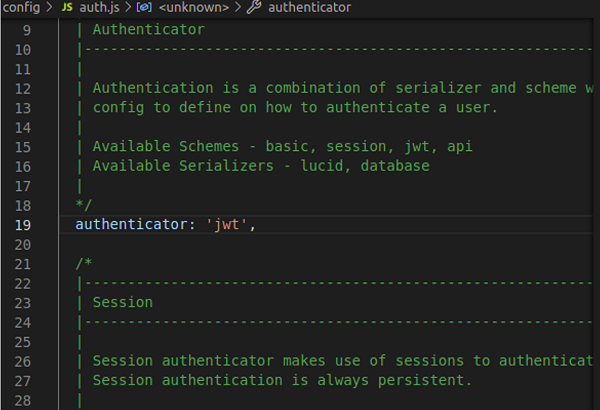
Remember, this is a mandatory step, otherwise, you will be getting 500 internal server error.
Validate the user with auth
In the login function grab the email & password similarly and then validate the user with auth like below:
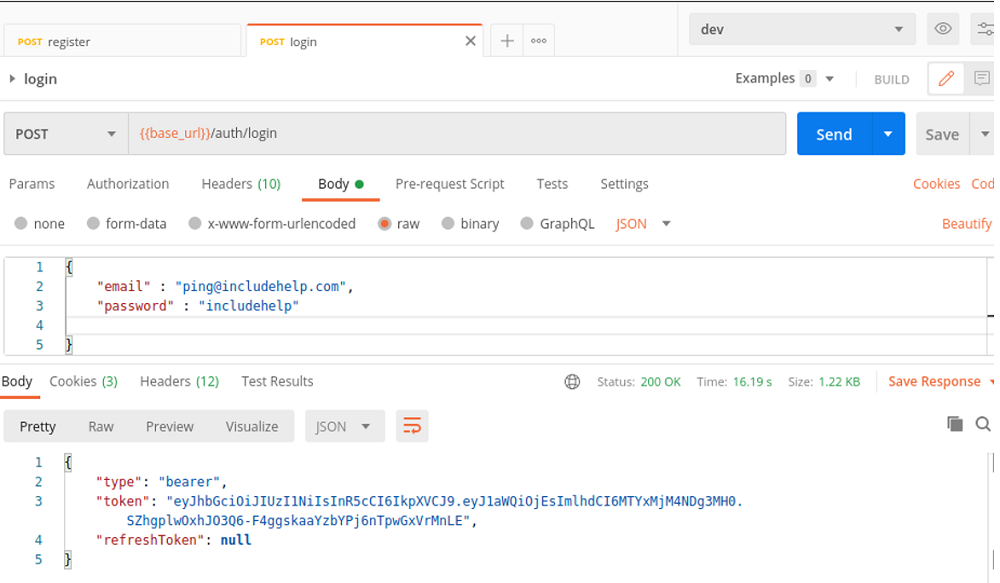
const token = await auth.attempt(email, password);
This returns the jwt token which we need if your credential is correct, you can either return this token as response now to test or can print in the console
Register method and call the login method
Your login method is created. Now go back to the register method and call the login method so that once a user registers they get logged in.
return this.login(...arguments);
Full controller code
Below is the full controller code snippet for your reference,
'use strict'

const User = use('App/Models/User');
class UserController {
    async login({request, auth, response}){
        try {
            const { email, password } = request.post();
            const token = await auth.attempt(email, password);
            return token;
        } catch (error) {
            return response.status(error.status | 500).send(error);
        }
    }

    async register({ request, response }) {
        try {
            const { email, password, gender, age } = request.post();
            const user = await User.create({
            email,
            password,
            gender,
            age,
            username: email
            });
            return this.login(...arguments);
        } catch (error) {
            return response.status(error.status | 500).send(error);
        }
    }
}
module.exports = UserController
Now, test with the postman and you should see outputs like below:
Below are the testing results.
I would like to recommend you to try more cases like while logging in try to send invalid credentials & see what the results are.
Also, try to put the same email id while registering different users & see what the response is.
Bonus information
Here goes a bonus for you regarding jwt token. Collect the jwt and let's debug it to know what it consists actually. Jwt.io is jwt debugger where you can paste the jwt token and there you will see the id which the jwt corresponds too. Try by giving wrong jwt tokens and see if it shows anything or not
Advertisement
Advertisement