Home »
Embedded Systems
8051 Microcontroller Programming Using Keil µVision IDE
In this tutorial, we will learn how to do programming on an 8051 microcontroller in a stepwise manner. How to set up the Keil µVision IDE, how to compile a simple C program, and finally generate hex code to burn in the microcontroller?
By Sudarshan Paul Last updated : May 13, 2023
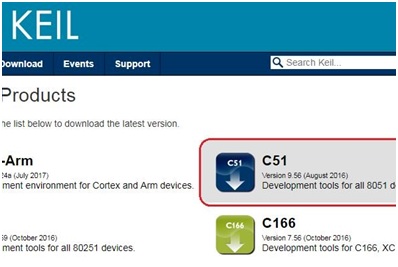
Step 1: Download the Keil µVision IDE
For learning purposes, you can try the evaluation version of Keil which has code limitation of 2K bytes. You must download the C51 version for programming on 8051 microcontroller architecture. (Keil Downloads)
Step 2: Create a project using the keil µVision IDE
The option to create a new project will be available under the project tab in the toolbar. Next, you have to store the project in a folder and give a suitable name to it.

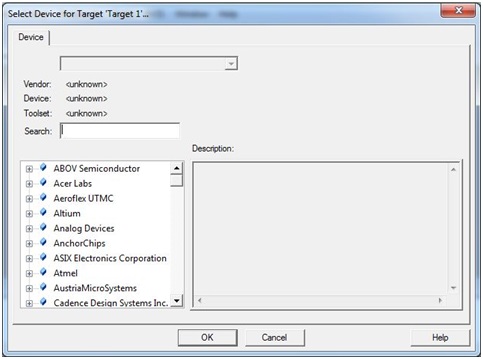
Step 3: Select the type of device you are working with
The device selection dialog provides you with the option to select the 8051 derivatives for which you want to develop the program. If you are not sure about your device you can refer to the description of the devices which is displayed on the left pane of the dialog. Accordingly, select your device and click OK to confirm.
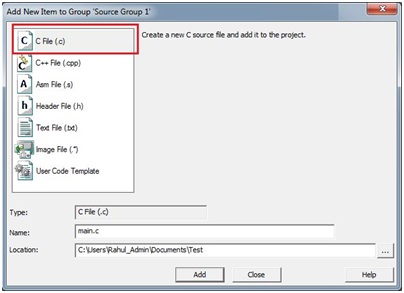
Step 4: Add C files to your project
You must add C file to your project before you begin coding. This can be done by right-clicking on your project from the project pane and selection “Add a new item to source group 1”. In the next dialog box, you will be given with the choice on what type of file you want to add such as C, C++, header, text etc. Since here we are dealing with Embedded C programming, select C File (.c) option. Provide the necessary name, location and click on add.

Step 5: Coding in C
The main part has finally arrived, so now you can go along with programming in C with your respective microcontroller.
Let's take an example of a small C program to blink the LED connected to Port 1 of 8051.
#include <reg51.h>

// delay function declaration
void delay(void);

void main(void) {
  // an infinite loop
  while (1) {
    // Turn ON all LED's connected to Port1
    P1 = 0xFF;
    delay();
    // Turn OFF all LED's connected to Port1
    P1 = 0x00;
    delay();
  }
}

// delay function definition
void delay(void) {
  int i, j;
  for (i = 0; i < 0xff; i++)
    for (j = 0; j < 0xff; j++);
}
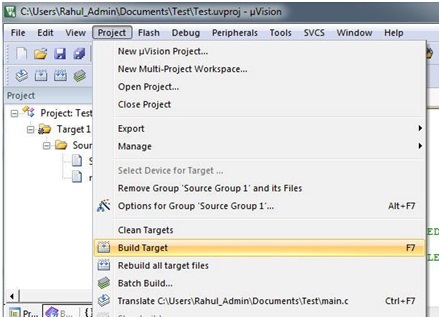
Step 6: Compile and built the C project using Keil µVision IDE
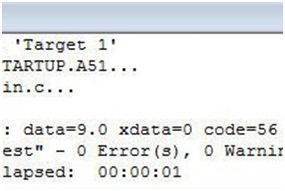
In order to build your recently created C program go to Project tab and click on Build Target on the menu bar. An alternate way to do this is by pressing the F7 key. If the code that you have written is correct, the code will successfully compile without any errors. You can check your output in the Build Output pane.
Step 7: Generate the Hex file using Keil µVision IDE
The code you compiled cannot be directly fed to the microcontroller, it is not possible. For that purpose, you have to generate the hex code for your respective file.
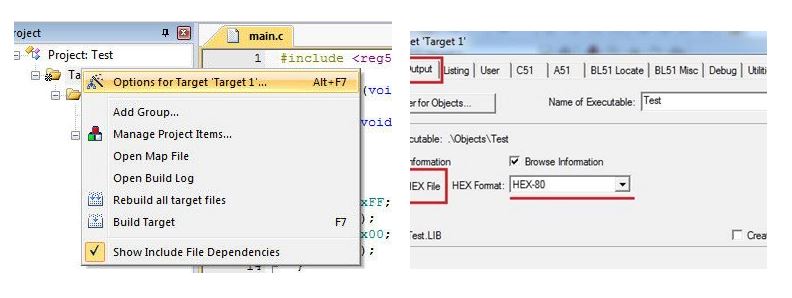
In order to generate the hex code, right click on the 'Target 1' folder and select options for target 'Target 1'. Select the Output tab in the target 'Target 1' dialog box. Make sure Create Hex File option is checked and the HEX format should be HEX-80. Click OK.
Again rebuild your project by pressing F7. Your required hex file would have been generated with the same as your project in the Objects folder.
If you wish you can also view your hex code by using a notepad.
Step 8: Burn the Hex code into 8051 microcontroller
In order to burn the hex code to your microcontroller, there are two ways which are specific to the device you are working with. Some devices, for example, P89V51 they have their own built-in bootloader and you can burn the hex code directly through the serial port. Mostly you will require a specific programmer for your 8051 microcontroller through which you can easily upload your hex code by connecting the programmer via normal USB port.