Home »
C++ programming language
Creating a Window using OpenGL | C++
In this article, we shall learn how to initialize (create) a window using OpenGL and understand its structure?
Submitted by Himanshu Bhatt, on October 04, 2018
Basic step to make any program on OpenGL is created a window where all the code will work so how it we can create it? After installing OpenGL libraries on your machine (OpenGL installation guide for Ubuntu: How to install OpenGL in Ubuntu) we can begin.
How to structure an OpenGL program?
Let's first understand how to structure an OpenGL program?
- Place all initialization and related one-time parameter setting together preferably in functioninit().
- Geometric description of the picture that we want to draw (display) in user-defined function which will be referenced in GLUT function, glutDisplayFunc().
- main function will contain GLUT function for setting up the display window and getting the image screen.
C++ Example for Creating a Window using OpenGL
Let's get our hands dirty with the code:
#include <GL/freeglut.h>

// Program to create an empty Widdow
void init() {
  glutInitDisplayMode(GLUT_SINGLE | GLUT_RGB);  // Line C
  glutInitWindowSize(640, 480);
  glutInitWindowPosition(1000, 200);
  glutCreateWindow("Simple Window");
}

void display() {
  glClearColor(1.0, 1.0, 1.0, 0.0);
  glClear(GL_COLOR_BUFFER_BIT);
  // gluOrtho2D(0.0,100.0,0,100.0);
  glFlush();
}

int main(int argc, char **argv) {
  glutInit(&argc, argv);  // Line A
  init();                 // Line B
  glutDisplayFunc(display);
  glutMainLoop();

  return 0;
}
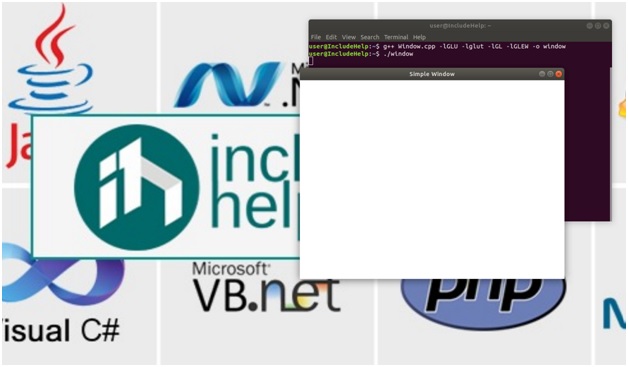
Output

Explanation
#include <GL/freeglut.h>
#include <GL/freeglut.h>, we used the GL/freeglut library for our program and you can find it almost in all our programs.
glutInit(&argv, argv)
In-Line A, we called this glutInit(&argv, argv) because it initializes the OpenGL utility toolkit (GLUT), hence it must be done at the beginning and it is one of must do step.
init() and glutInitDisplayMode()
In Line B, we called the user-defined function to init(). Now we understand what each line mean, glutInitDisplayMode() is used for choosing buffering options and choice of color mode. Here we used GLUT_SINGLE for a window display that means one buffer for will used for one color we can use subsequent two or three buffer mode to increase the number of colors, we used GLUT_RGB meaning we will use Red, Green and Blue colors as our primary colors. glutWindowSize() is used to define the size of the window to be created. glutWindowPosition() is used to define the start point of the window on the screen (It start from a top left the corner, that is 1000 pixels left, and 200 pixels below). Glutcreatewindow() is responsible to create the window on the screen, also we can pass a string argument with it which display that string on the top of the newly created window.
glutDisplayFunc()
glutDisplayFunc() it takes a name of the function as its parameter and it displays it on the screen (though we don't have anything to display in our displays() function it will not display anything).
For background color, as default color of the background is Black, to change it we use two functions, one is glClearColor(r,g,b, a) which accepts 4 parameters, for each Red, Green, Blue, and Alpha value. It accepts these three colors only because we defined in Line C that we will use only this one and we passed a value (float) between 0 and 1 for defining its composition and the resulting color will be the color of the background, Alpha value is used to determine the resulting of two overlapping colors.
where a = 0 is transparent object, a = 1 is opaque object
glClearColor()
But simply using glClearColor() won't change the background color, surely it will set the background but it won't be visible; unless we use glClear(GL_COLOR_BUFFER_BIT), this will activate the color process from the graphics processor and assigned color will display on the window.
gluOrtho2d()
gluOrtho2d() takes four floats as parameters and they are Xmin, Xmax, Ymin ,and Ymax which define thecoordinate system within the window. In last, we use glFlush() which flush down everything to the screen.
glutMainLoop()
glutMainLoop() is a must function as it is responsible to hold the display on screen or else the program will end without human eye noticing a thing.
Advertisement
Advertisement