Home »
AutoCAD
AutoCAD 2022 – Circle Command
Learn about the Circle Command in AutoCAD 2022, how to use it?
By Akash Periyasamy Last updated : April 01, 2023
What is Circle Command?
Circle is defined as a geometry constructed by joining infinite number of line segments. In AutoCAD 2022, the circle command is used to draw the circles of required dimension within the design workspace. The dimensions of the circle can be altered easily by the user and therefore, it provides a user-friendly workspace for the designer to work on his designs.
How to Enable Circle Command?
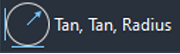
The circle command is enabled by clicking on the icon shown below present in the ribbon panel:

Methods of Drawing a Circle in AutoCAD 2022
The various method of drawing a circle in AutoCAD 2022 are listed below:
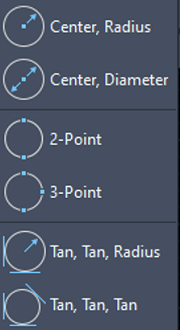
- Center, Radius
- Center, Diameter
- 2 - Point
- 3 - Point
- Tan, Tan, Radius
- Tan, Tan, Tan
Let us now understand each method with the help of an example for better understanding.
1) Center, Radius
-
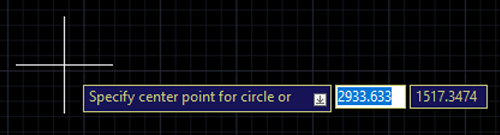
Enable the command by clicking on it.

-
Specify the center point of the circle and press enter.
-
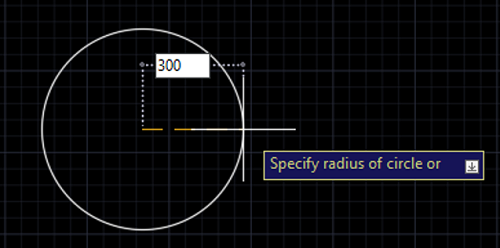
Specify the radius value of the circle as 300mm.
-
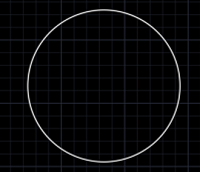
Now, the circle is created.
2) Center, Diameter
-
Enable the command by clicking on it.
-
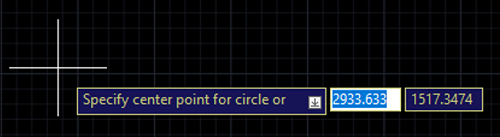
Specify the center point of the circle and press enter.
-
Specify the diameter value of the circle as 1000mm.

-
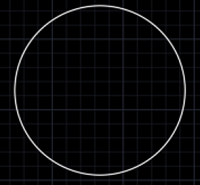
Now, the circle is created.
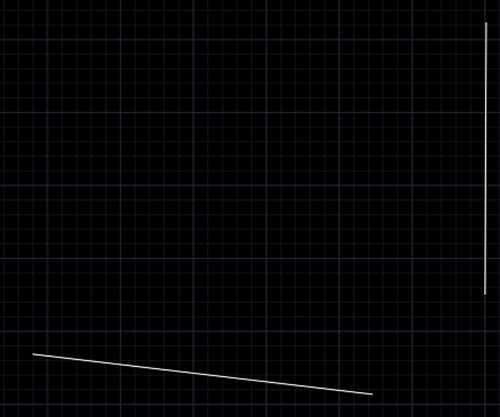
3) 2 - Point
-
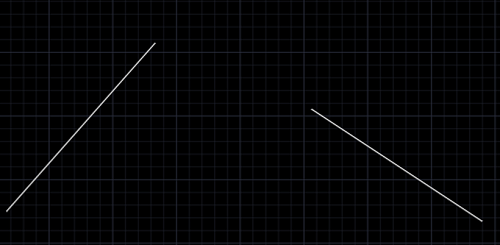
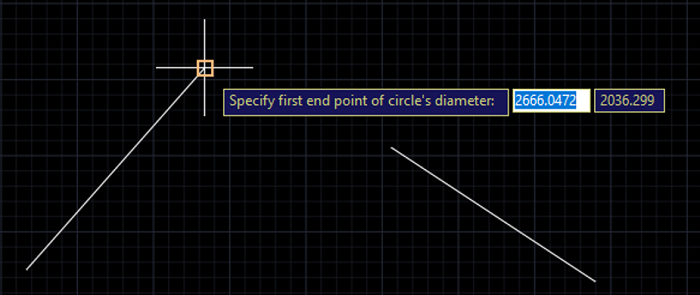
Draw two lines of random dimension and orientation.
-
Enable the command by clicking on it.
-
Specify the first point of the circle.
-
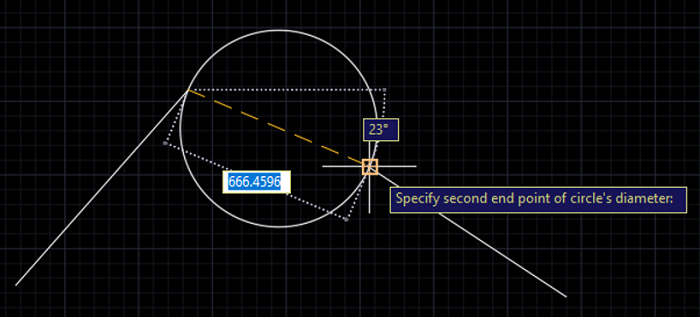
Again, Specify the second point of the circle and press enter.
-
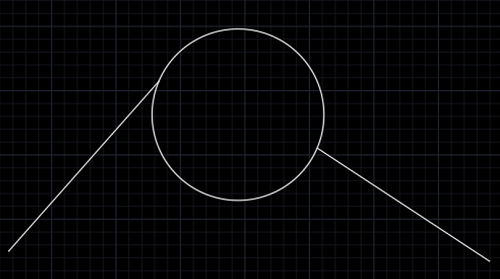
Now, the circle has been created.
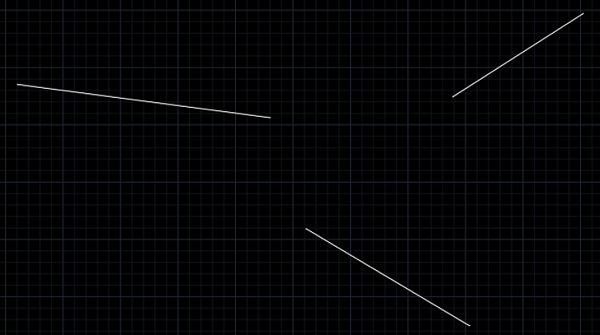
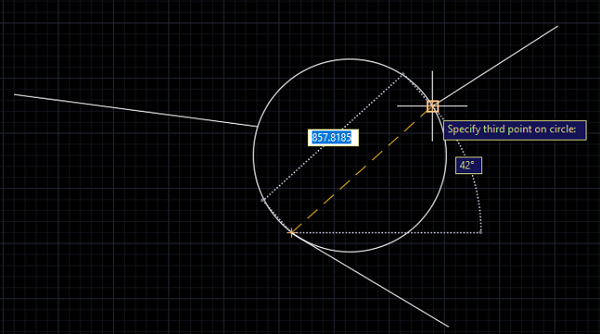
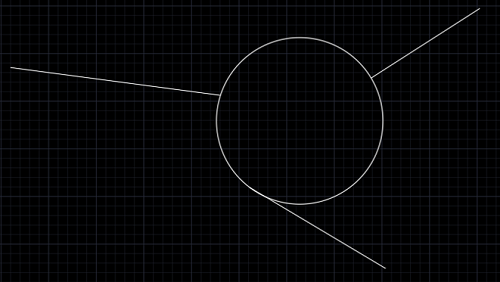
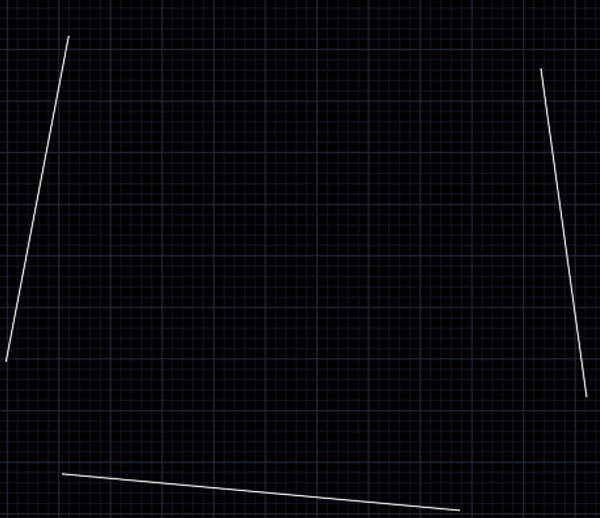
4) 3 - Point
-
Draw three lines of random dimension and orientation.
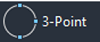
-
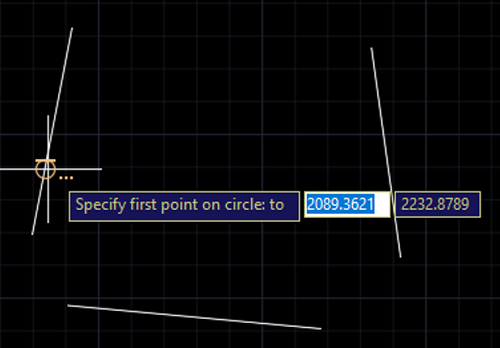
Enable the command by clicking on it.
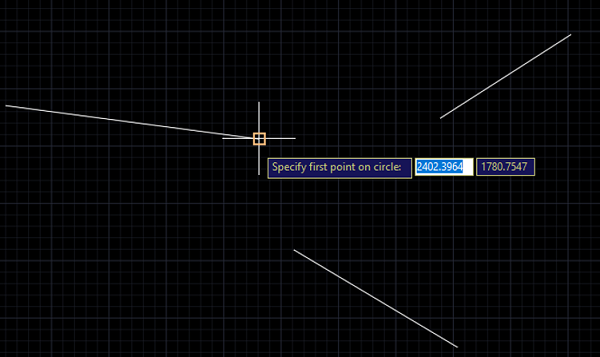
-
Specify the first point of the circle.
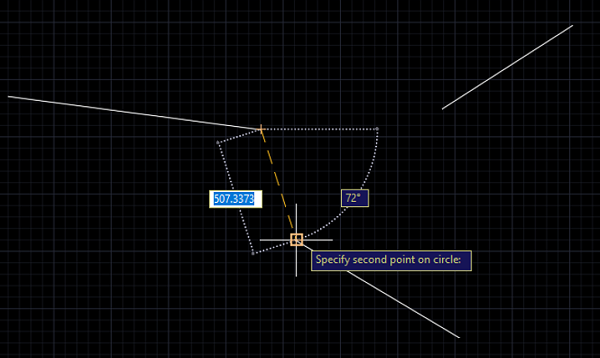
-
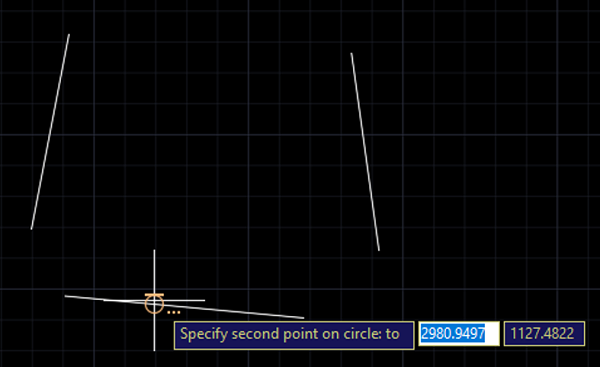
Specify the second point of the circle.
-
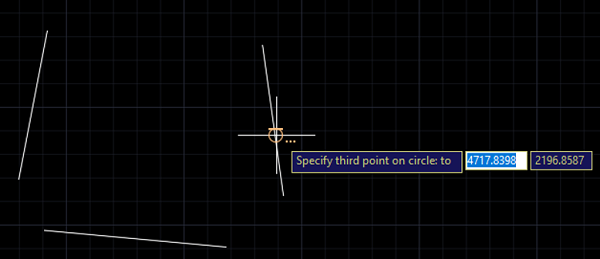
Again, Specify the third point of the circle and press enter.
-
Now, the circle has been created.
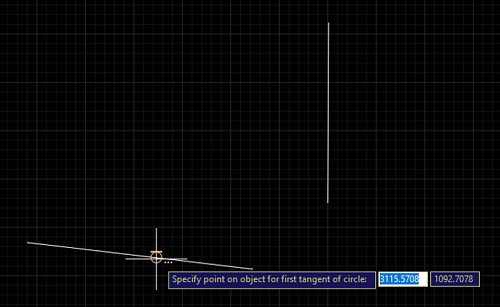
5) Tan, Tan, Radius
-
Draw two lines as per you wish to get clear understanding.
-
Enable the command by clicking on it.
-
Specify the first tangent point on the first line.
-
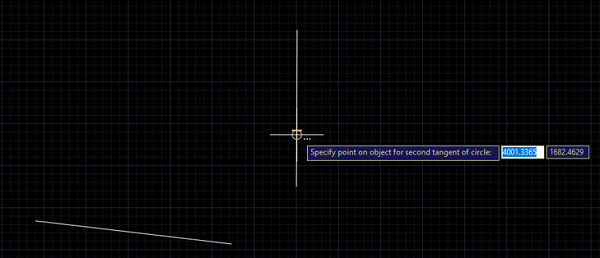
Specify the second tangent point on the second line.
-
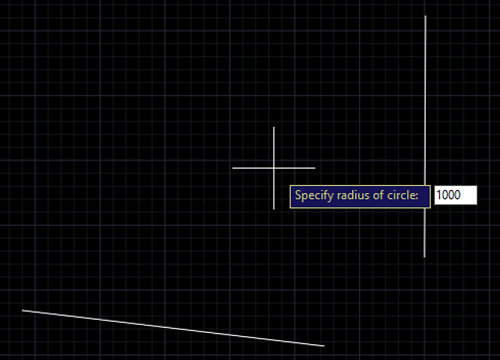
Enter the radius value as 1000mm and press enter.
-
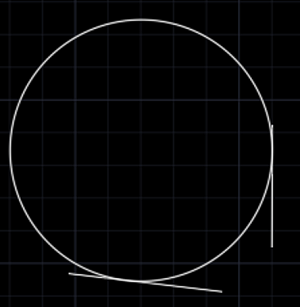
Now, the required circle will be drawn.
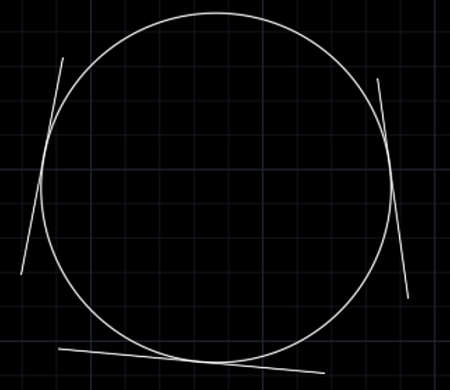
6) Tan, Tan, Tan
-
Draw three lines as per you wish to get clear understanding.
-
Enable the command by clicking on it.

-
Specify the first tangent point on the first line.
-
Specify the second tangent point on the second line.
-
Enter the third tangent point on the third line and press enter.
-
Now, the required circle will be drawn.
Advertisement
Advertisement