Home »
AutoCAD
AutoCAD 2022 – Arc Command
Learn about the Arc Command in AutoCAD 2022, how to use it?
By Akash Periyasamy Last updated : April 01, 2023
What is Arc Command?
Arc command is used to produce a smooth curve between two or more points in the design workspace. The arc is nothing but a sector of the circle that is used to produce a curve. In AutoCAD, by default, the arc is drawn in the anti-clockwise direction, and to draw one in the clockwise direction, press the CTRL key on the keyboard.

Types of Arc in AutoCAD 2022
The various types of arcs that are available for the user are listed below:
- 3 Point
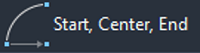
- Start, Center, End
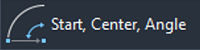
- Start, Center, Angle
- Start, Center, Angle
- Start, End, Angle
- Start, End, Direction
- Start, End, Radius
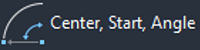
- Center, Start, End
- Center, Start, Angle
- Center, Start, Length
- Continue

Now, let us understand each type with the aid of a suitable example.
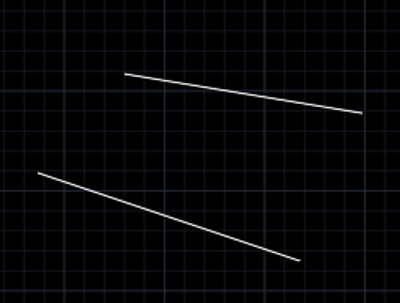
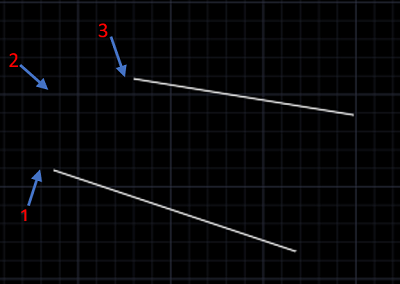
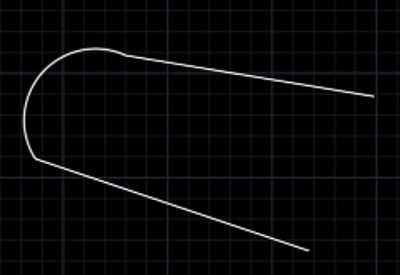
1) 3 Point Arc
-
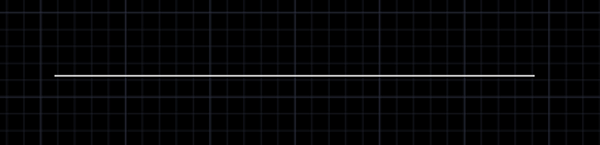
First, draw two lines of required dimension.
-
Select the 3 Point Arc command from the ribbon panel.

-
Indicate the First point, Second point and Third point of the arc.
-
Now, the required arc will be created.
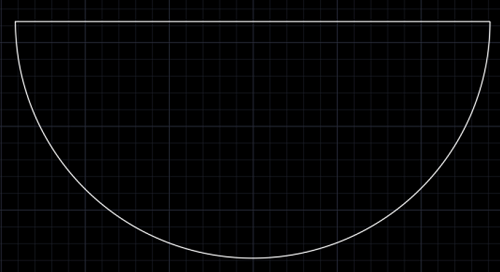
2) Start, Center, End
-
Draw a line using line command.
-
Click on the Start, Center, End Arc Command.
-
Specify the starting point, midpoint and endpoint of the line.

-
Now, the arc will be created.
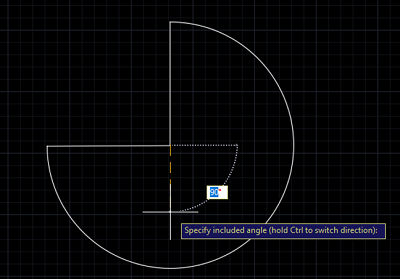
3) Start, Center, Angle
-
Draw two perpendicular lines of length 500mm using line command.

-
Click on the Start, Center, Angle Arc Command.
-
Specify the starting point, midpoint and angle as 90 degree.
-
Now, the arc will be created.

4) Start, Center, Length
This command is similar to the start, center, end command.
-
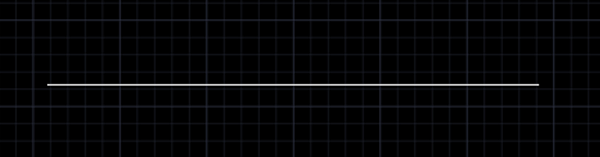
Draw a line of 1000mm length using line command.
-
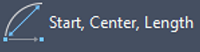
Click on the Start, Center, Length Arc Command.
-
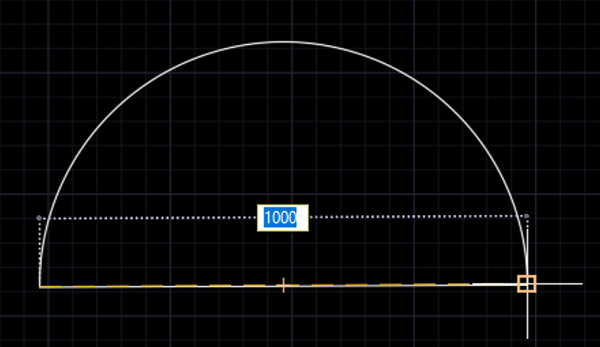
Specify the starting point, midpoint and length of the line.
-
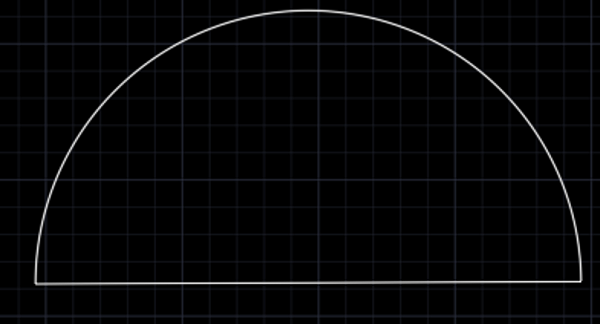
Now, the arc will be created.
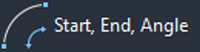
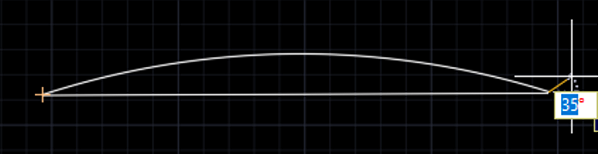
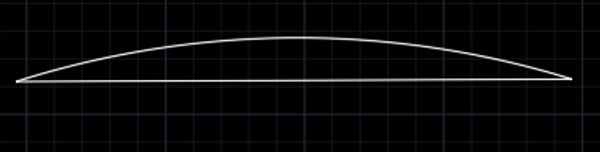
5) Start, End, Angle
-
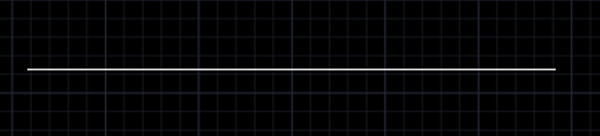
Draw a line of 1000mm length using line command.
-
Click on the Start, End, Angle Arc Command.
-
Specify the starting point, endpoint and angle of the arc as 35 degree.
-
Now, the arc will be created.
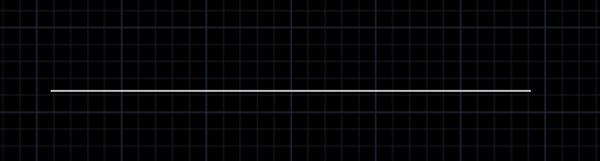
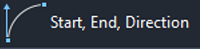
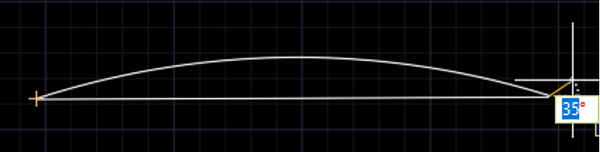
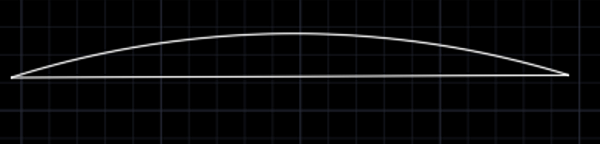
6) Start, End, Direction
-
Draw a line of 1000mm length using line command.
-
Click on the Start, End, Direction Arc Command.
-
Specify the starting point, endpoint and by moving the mouse, we can alter the angle of the arc along the required direction. We can fix the direction where the angle is around 35 degree.
-
Now, the arc will be created.
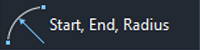
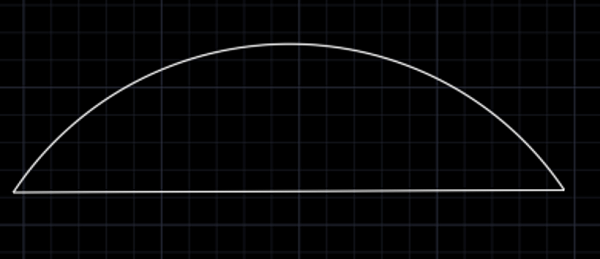
7) Start, End, Radius
-
Draw a line of 1000mm length using line command.
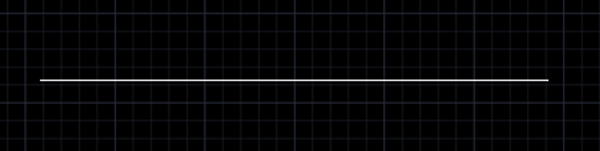
-
Click on the Start, End, Radius Arc Command.
-
Specify the starting point, endpoint provide the radius value of the arc required. For our example, let us provide 600mm radius value.
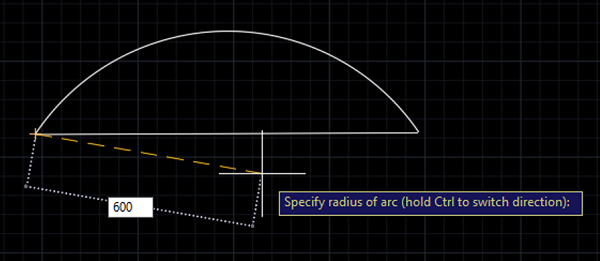
-
Now, the arc will be created.
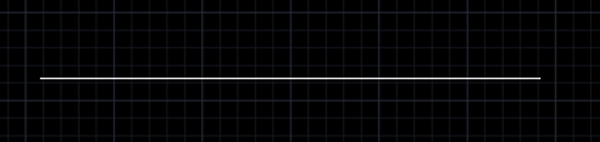
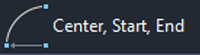
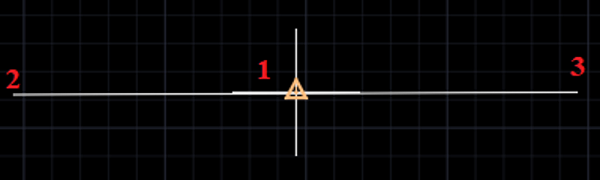
8) Center, Start, End
-
Draw a line of 1000mm using line command.
-
Click on the Center, Start, End Arc Command.
-
Specify the midpoint, starting point and endpoint of the line.
-
Now, the arc will be created.
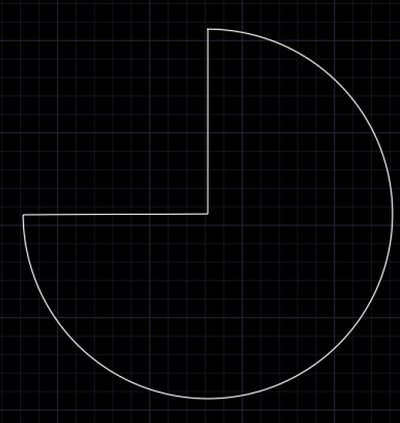
9) Center, Start, Angle
-
Draw two perpendicular lines of length 1000mm using line command.
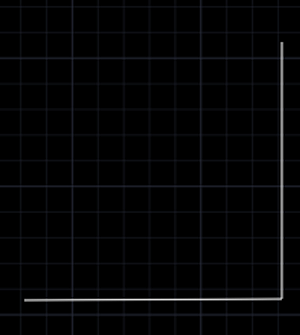
-
Click on the Center, Start, Angle Arc Command.
-
Specify the midpoint, starting point and angle as 90 degree.

-
Now, the arc will be created.
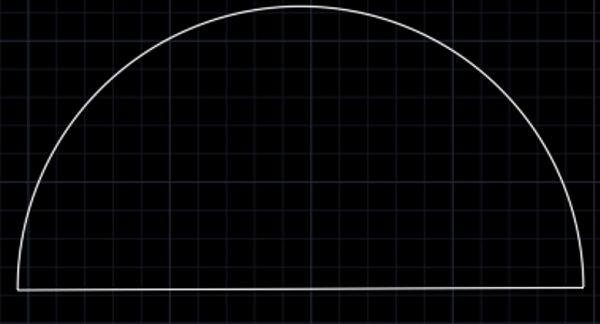
10) Center, Start, Length
-
Draw a line of 1000mm length using line command.
-
Click on the Center, Start, Length Arc Command.
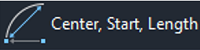
-
Specify the midpoint, starting point and length of the line.
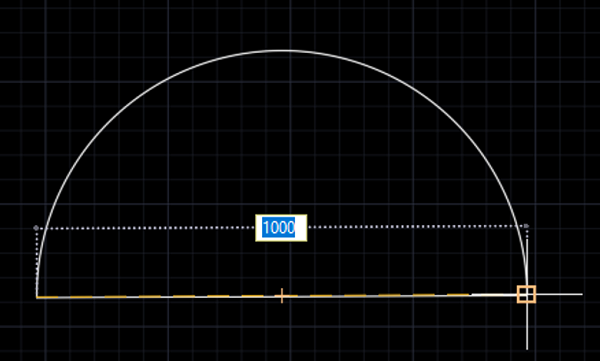
-
Now, the arc will be created.
11) Continue
This command is used to continue the process of drawing an arc from the last point in the design workspace. It provides a continuous option to draw an arc without much interruption to select the arc command.
Advertisement
Advertisement