Home »
AutoCAD
AutoCAD 2022 – Dimensions
Learn about the Dimensions Commands in AutoCAD 2022, how to use it?
By Akash Periyasamy Last updated : April 01, 2023
What is Dimensions?
Dimensions are elements that are added to the object in the design workspace to specify the geometric values of the object. It includes length, breadth, width, angle, etc. All these values are necessary for the production of the component as dimensions play an important role in the assembly. Dimensions ensure that the component is made as per the required size without much alteration.
How to Enable Dimensions Command?
The two standard methods of enabling the dimension command are explained below:
-
First Method:
In this method, the command is enabled by clicking on the icon shown below which is present in the ribbon panel.

-
Second Method:
It is an alternative method in which the command is enabled by typing DIM in command line.
Types of Dimensions
The different types of dimensions are,

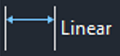
- Linear
- Aligned
- Angular
- Arc Length
- Radius
- Diameter
- Jogged
- Ordinate
Now, let us understand each type of dimension with a suitable example for better understanding.
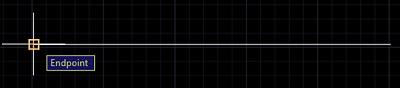
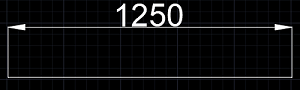
1) Linear Dimension
-
Draw a line of random length in the design workspace.

-
Enable the linear dimension command.
-
Click on the first point on the line.
-
Again, click the second point of the line.

-
Now, the dimension of the line will be displayed.
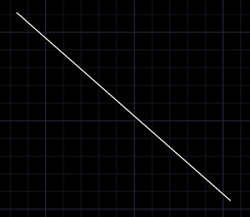
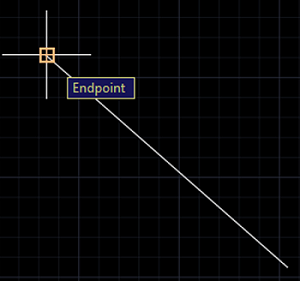
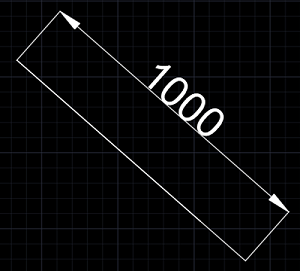
2) Aligned Dimension
-
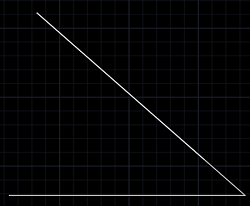
Draw an inclined line of random length in the design workspace.
-
Enable the aligned dimension command.

-
Click on the first point on the line.
-
Again, click the second point of the line.
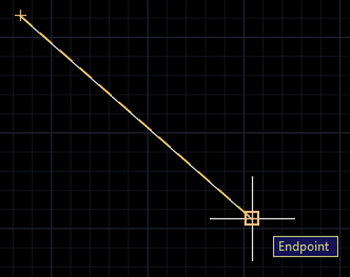
-
Now, the dimension of the line will be displayed.
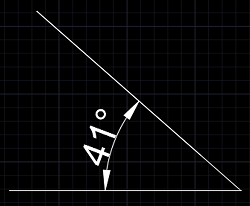
3) Angular Dimension
-
Draw two lines in such a way that they are inclined to each other.
-
Enable the angular dimension command.

-
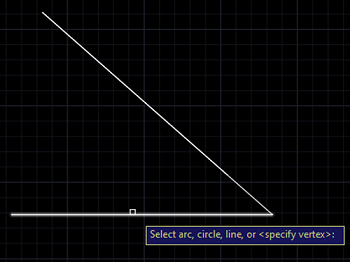
Click on the first line.
-
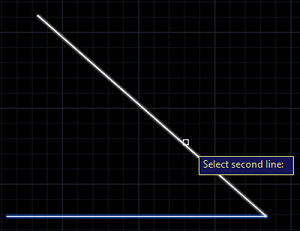
Again, click the second line.
-
Now, the dimension of the line will be displayed.
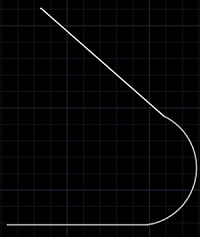
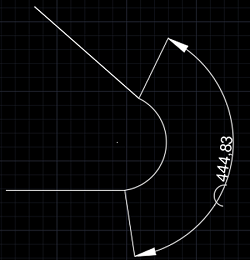
4) Arc Length
-
Draw an arc joining two lines as per your wish for good understanding.
-
Enable the Arc Length Command.

-
Click on the arc to determine its length.
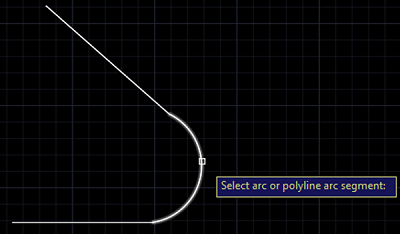
-
Now, the length of the arc is determined.
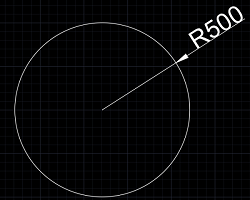
5) Radius Dimension
-
Draw a circle of random dimension.
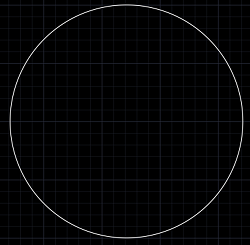
-
Enable the radius dimension command.

-
Click on the circle for which the dimension is to be determined.
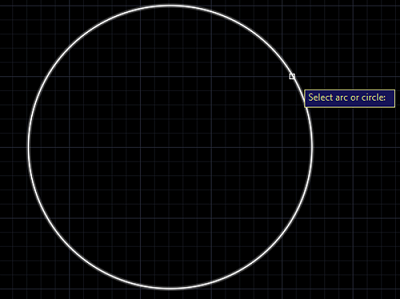
-
Now, the radial dimension of the circle is determined.
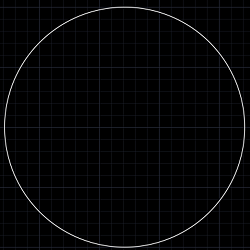
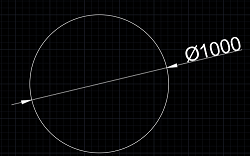
6) Diameter Dimension
-
Draw a circle of random dimension.
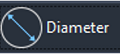
-
Enable the diameter dimension command.
-
Click on the circle for which the dimension is to be determined.
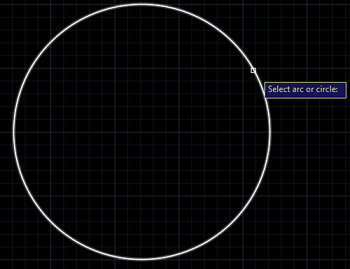
-
Now, the diametral dimension of the circle is determined.
Advertisement
Advertisement