Home »
AutoCAD
AutoCAD 2022 – Erase Command
Learn about the Erase Command in AutoCAD 2022, how to use it?
Submitted by Akash Periyasamy, on January 21, 2022
At times, we can find that some features in the design will not be required any longer and they are needed to be removed from the existing workspace for reduced baffling. Erase command is used in these situations. It is used to delete the unwanted entities from the object whenever required by the user. Mistakes are natural in the design workspace and they can be easily rectified using the Erase command.
How to Enable Erase Command?
The Erase command can be enabled by two methods:
-
First Method:
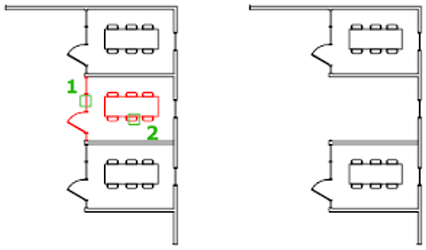
In the ribbon panel present at the top of the design workspace, click on the icon shown below to enable the erase command.

-
Second Method:
It is one of the shortcut methods to enable it. Enter "E" in the command line and press enter. This will automatically enable the command.
Now, let us understand the command with the aid of simple example:
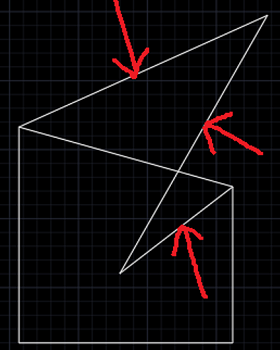
In the figure shown above, the marked lines are unwanted lines that the user found out after drawing them. So, the lines are removed using the following steps:
-
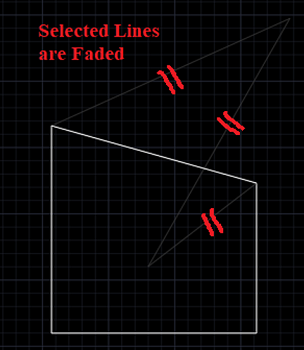
Enter "E" in the command line and press enter.

-
Click on the lines that are needed to be removed and press enter.
-
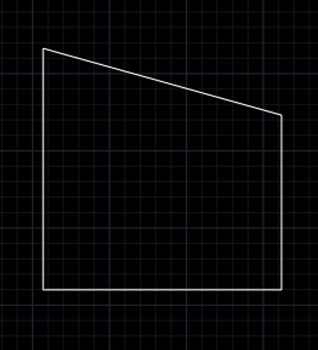
Now, the unwanted lines are removed and the required lines are left in the design workspace.
Advertisement
Advertisement