Home »
AutoCAD
AutoCAD 2022 – Extrude Command
Learn about the Extrude Command in AutoCAD 2022, how to use it?
By Akash Periyasamy Last updated : April 01, 2023
What is Extrude Command?
Extrude command is one of the frequently used commands that is used to convert a 2D object into a 3D dimensional object by providing thickness to it. A 2D object can be converted easily into a 3D object by just providing thickness to the extruded surface. It is one of the handy commands that the user mostly uses.
How to Enable Extrude Command?
The two standard methods of enabling the extrude command are explained below:
-
First Method:
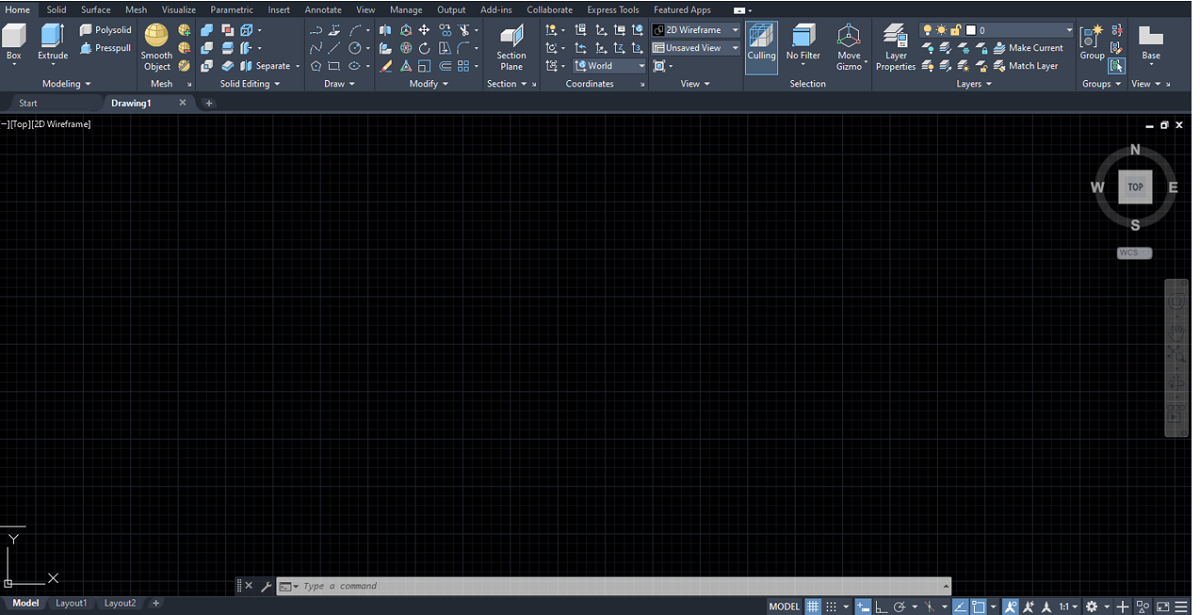
In this method, the command is enabled by clicking on the icon shown below which is present in the ribbon panel.

-
Second Method:
It is an alternative method in which the command is enabled by typing EXT in command line.
Concept of Extrude Command with an Example
Now, let us understand the concept of this command easily by drawing a cube for more clarity about it.
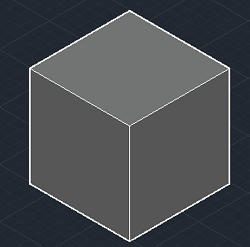
-
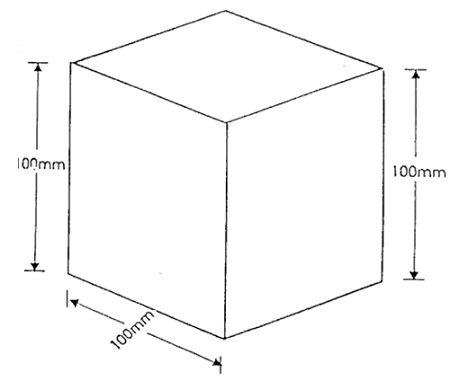
The cube shown in the diagram below is to be created by the user using the extrude command.
-
First open the AutoCAD 2022 software and open a new file.
-
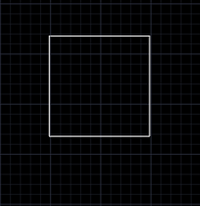
Draw the two-dimensional surface of the cube by providing the dimensions as 100mm length and 100mm width.
-
Now, enable the extrude command by any one of the methods explained above.

-
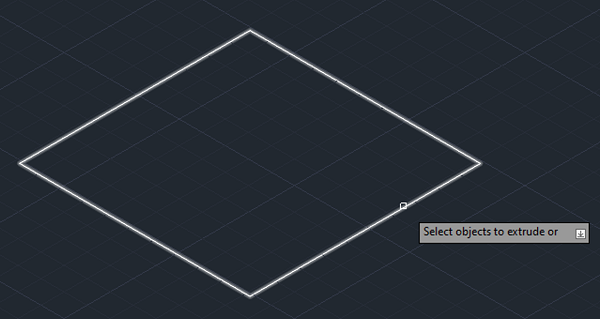
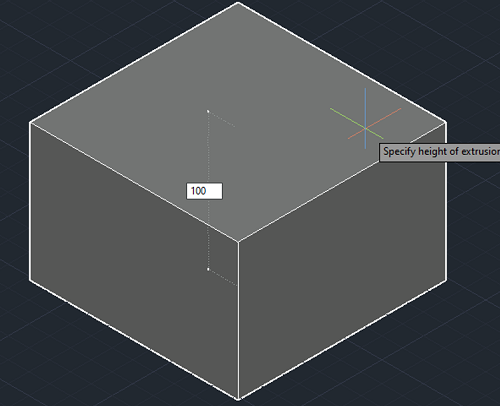
Select the object that is required to be extruded by the extrude command.
-
Specify the height of the cube as 100mm and click ok.
-
Therefore, the required cube is created with the help of the extrude command.
Advertisement
Advertisement