Home »
AutoCAD
AutoCAD 2022 – Chamfer Command
Learn about the Chamfer Command in AutoCAD 2022, how to use it?
By Akash Periyasamy Last updated : April 01, 2023
What is Chamfer Command?
Chamfer command in AutoCAD 2022 is used to beveled edges at the corners of the object. In a real-time scenario, sharp corners are the regions where stress gets concentrated and causes failure to the component. So, it is indispensable to avoid these sharp corners either by providing a fillet or chamfer as these reduce the stress concentration. Chamfering is just providing a slant to the sharp corner.
How to Enable Chamfer Command?
The two standard methods of enabling the chamfer command are explained below:
-
First Method:
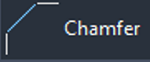
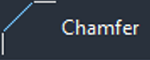
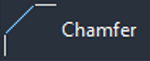
In this method, the command is enabled by clicking on the icon shown below which is present in the ribbon panel.
-
Second Method:
It is an alternative method in which the command is enabled by typing CHA in command line.
Now, let us understand the concept of this command easily with the aid of examples for more clarity about it. There are two major methods of creating a chamfer at a sharp corner and they are explained below:
(a) Distance Method
In this method, the length of the first and second chamfer is specified and so the chamfer is created as per the requirement.
-
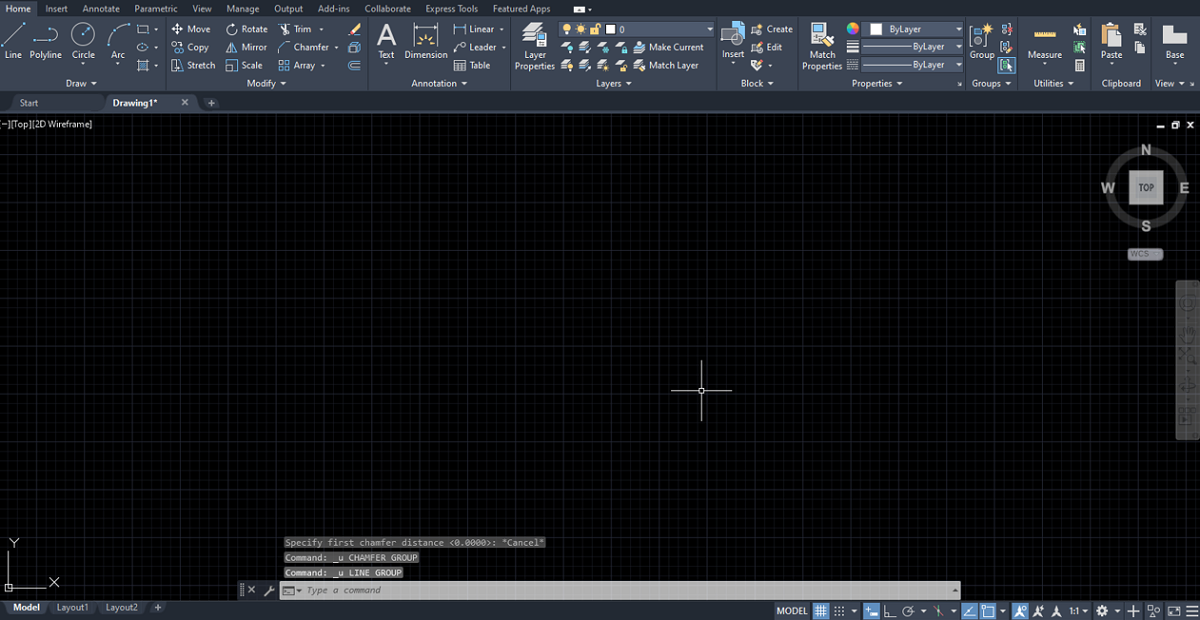
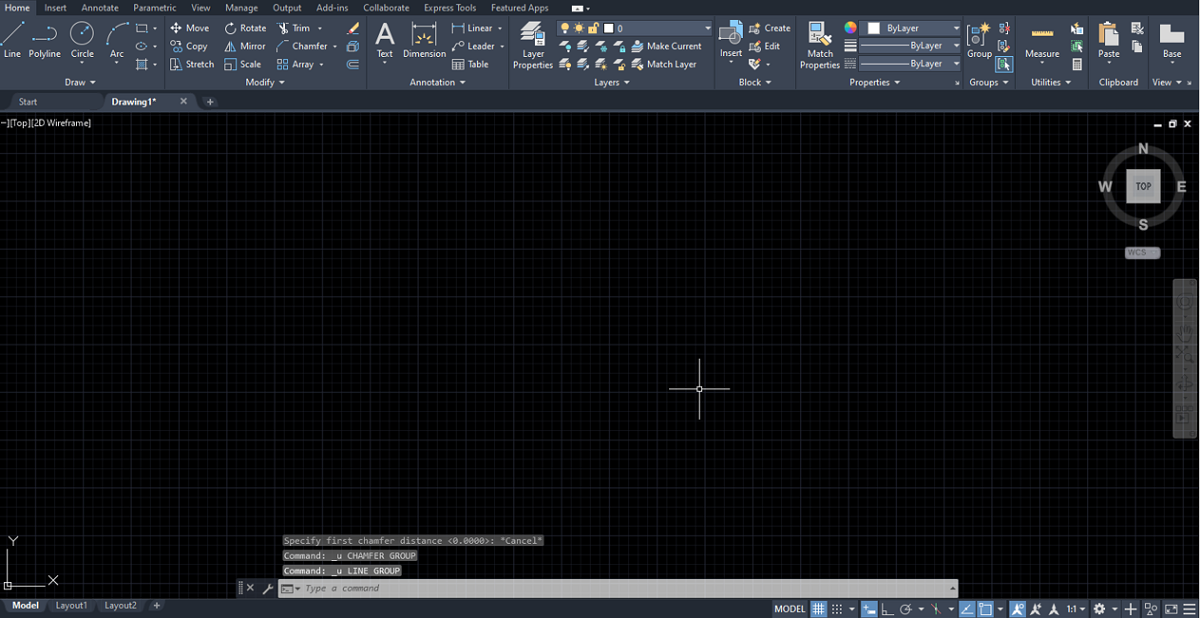
Open a new design workspace in the AutoCAD 2022.
-
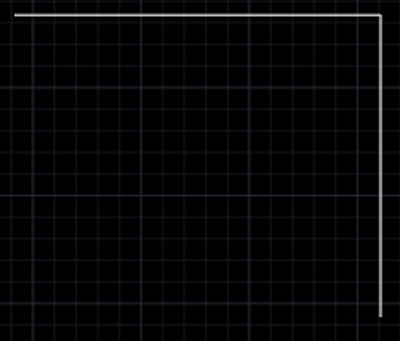
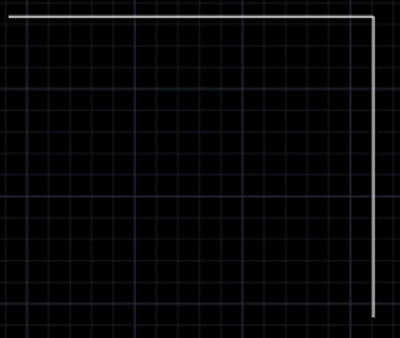
Draw two perpendicular lines of random dimension at any point in the design workspace.
-
Enable the chamfer command by anyone of the methods explained above.
-
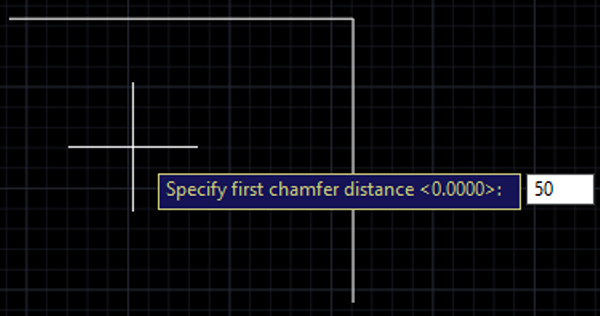
Now click on the Distance option visible in the command line for enabling the distance method.

-
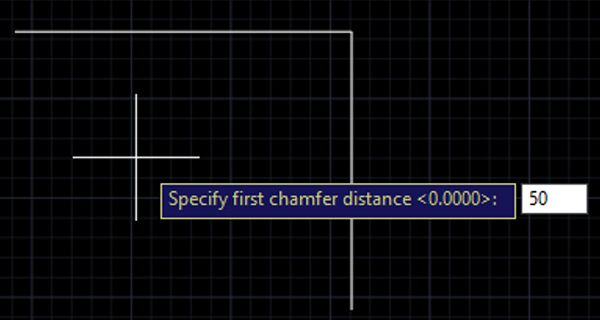
Specify the length of the first chamfer and press enter.
-
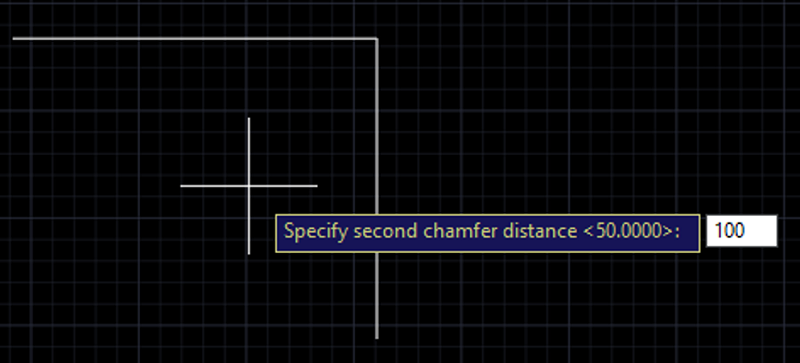
Again, specify the length of the second chamfer and press enter.
-
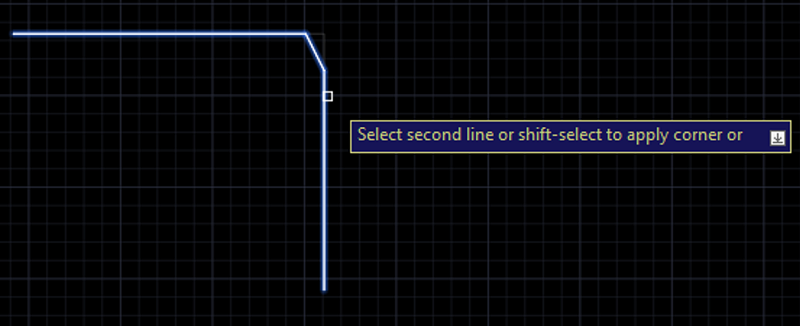
Now, select the first line and the second line.
-
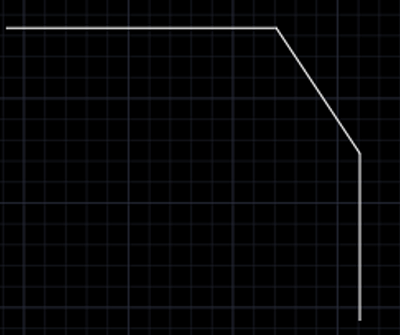
Thus, the chamfer is created as per the requirement.
(b) Angle Method
In this method, the length of the first chamfer and the chamfer angle is specified and so the chamfer is created as per the requirement.
-
Open a new design workspace in the AutoCAD 2022.
-
Draw two perpendicular lines of random dimension at any point in the design workspace.
-
Enable the chamfer command by anyone of the methods explained above.
-
Now click on the Angle option visible in the command line for enabling the distance method.

-
Specify the length of the first chamfer and press enter.
-
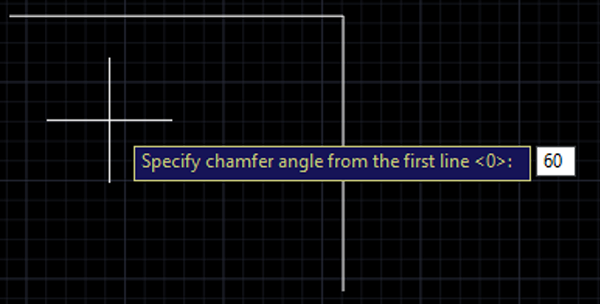
Specify the chamfer angle and press enter.
-
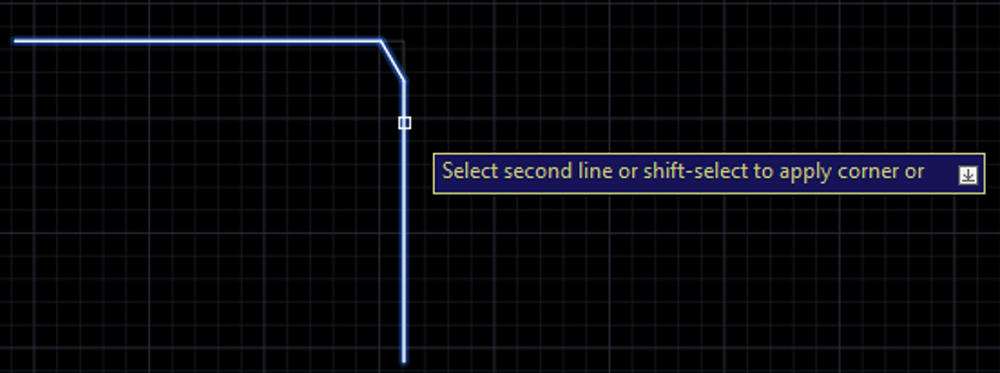
Now, select the first line and the second line.
-
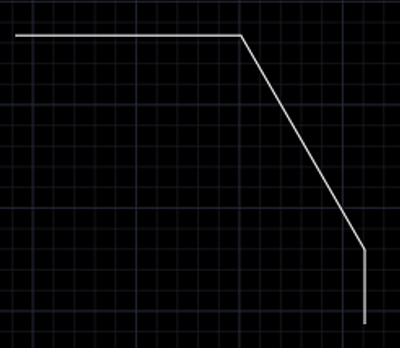
Thus, the chamfer is created as per the requirement.
Advertisement
Advertisement